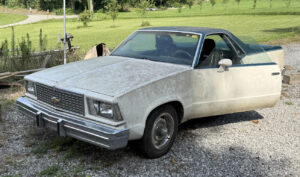
I inherited my grandfather’s 1979 Chevrolet El Camino. It is basically a car with a truck bed. This article will be an overview of the process I used to get it running and on the road again. Note that I am not a professional auto mechanic, so do not take this article as offical auto repair advice. The vehicle had been sitting in a shortage shed for a long time. It had a 25 license plate sticker, so I assume that it had not been driven for about two years. There were oil change stickers on the windshield, which showed a next service date of 3/26/24 at 131,658 miles. This makes me believe that the vehicle currently has around 127,000 miles. The lens cover on the instrument panel is faded, so it is not possible to see what the current mileage is on the odometer. I believe the odometer has turned over at least once, since they only had six mileage digits in vehicles back then.
VIN Number
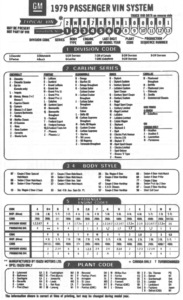
I was able to get the VIN number from the title. It is also under the windshield, but difficult to read. It is interesting to know that it is possible to determine the model, manufacture year, engine, and build location from the VIN number. VIN numbers were standardized to 17 digits in 1981, so I had to use a classic car VIN number guide for this one which is only 13 characters.
- VIN 1W80H9R######
- Manufacturer – 1 = Chevrolet
- Model – W = El Camino
- Body Style – 80 = Sedan Pick Up – 2 Door
- Engine Code – H = 5.0 L
- Year – 9 = 1979
- Assembly Plant – R = Arlington, TX
- Production Number – ######
Battery Replacement
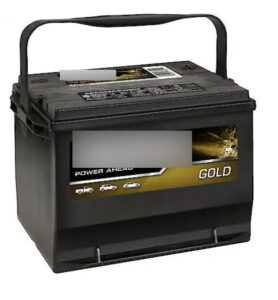
The battery was about five years old according to the battery sticker. From previous experience, I know that car batteries should be replaced about every five years, especially if it has been sitting idle.
I purchased a new battery, which is the same battery type that was already in it. I learned that there is a $20 charge that is added to the price of the battery, which is refunded to you once the old battery is turned into the store where you purchased the new battery. I think it is some environmental program to recycle old auto batteries.
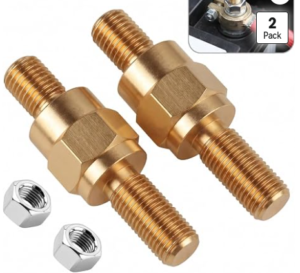
The first problem was that the old battery was missing a post connector, so I had to order new post connectors online. After I got these, I was able to connect the new battery and try starting the vehicle.
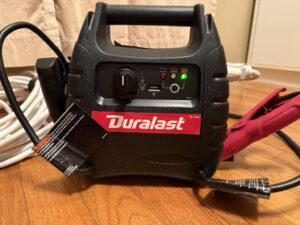
After installing the new battery, it would still not start or turn over. Only a single click. This was probably due to the battery charge being low from sitting on the store shelf. The new battery had a date of February 2006, so it was probably sitting for five months. I connected my battery jumper, and that at least got the engine to start turning over.
Ignition
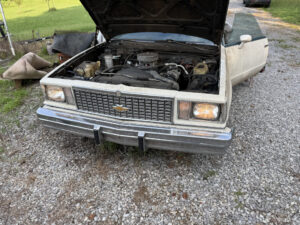
With some help from a neighbor, I added some gas to the carburetor. This time the engine started firing when turning the key, and it would continue to run as long as I kept my foot on the gas. My neighbor showed me how to adjust the screw that sets the throttle setting. After adjusting the throttle, the vehicle now idled properly. I let it run for about 20 minutes to give it time to let the battery recharge.
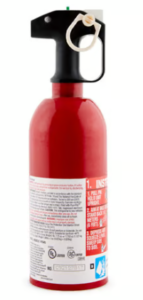
I’ve learned that you must be careful, because it is possible to start a fire under the hood by doing this. I did invest in an automobile fire extinguisher to keep inside the vehicle in case of emergency.
Gas and Fluids
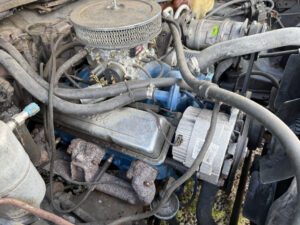
Before starting the vehicle, I checked the gas level with a hose, and by the sound it was completely out of gas. I filled up a gas canister at a local gas station that sells 100% gas. The vehicle will now start after pushing the gas pedal briefly one time.
I also checked the oil level which appears to be good. I will still want to change the oil, since it has not been changed in over two years. Radiator fluid and transmission fluid also appeared to be fine, but those will probably also need to be changed as well.
Cab Cleanout and Eliminating Smell
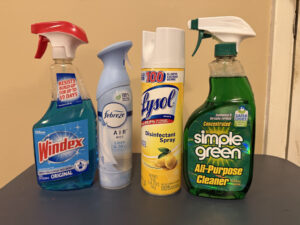
First I used gloves and threw out the excess trash in the cab of the vehicle. Then, I used my vacuum cleaner with hose attachment to clean excess trash. I used a generous amount of disinfectant spray on multiple occasions. I set plates of baking soda behind the seats to help absorb some of the smell over night. I opened both doors regularly to help expunge the smell. I also used air freshener, which did a good job of eliminating any remaining odor.
I used regular window cleaner spray to clean all of the windows. Some of the windows took multiple cleanings on the inside and outside to get all of the grime off.
Cleaning and Under the Hood
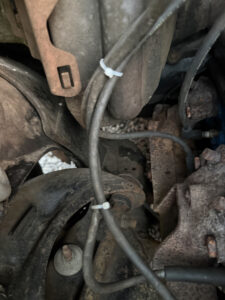
I used Simple Green spray to clean under the hood and wiped it down with a cloth, making sure not to get any close to the battery or engine parts. Plastic bags can be used to cover the battery and engine to protect from any liquid cleaners. I will probably do further cleaning later with a brush. I also used zip ties to prevent any hoses or cables from getting too close to the engine, which can cause heat damage to the cables.
Cover
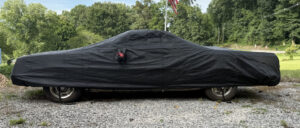
Since the vehicle is parked outdoors now, I ordered a cover to keep rain water from forming a puddle in the bed. Eventually, it would be nice to get a bed liner to protect the bed of the vehicle. The strap that goes under the vehicle goes behind the front wheels, so it can be tricky to get it all the way under to the other side. It is also important to place a tall object in the bed, to make a “tent”, again to keep water from puddling during rain showers.
Tires
All of the tires were around 20 PSI or lower. I used the air compressor on my battery jumper to air up the tires to 35 PSI. One important lesson that I learned is that the end of the hose on the battery jumper can be screwed into the tire, so you don’t have to hold it the entire time. It does take about 10 minutes using this air compressor to add 5 PSI to the tires.
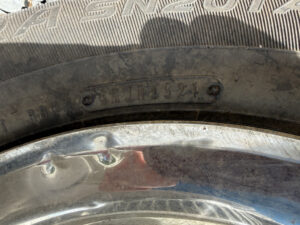
The tires to appear to be in good shape, but I believe they were manufactured in 2021 according to the marking on the tires, which ends in 4521. I believe this means the 45th week of 2021, from my experience with others tires. I want to get the tires replaced anyway, since the vehicle had been sitting for so long.
Break Lights / Turn Signal
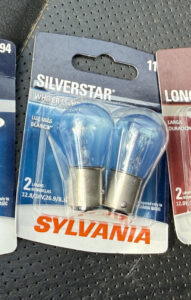
The headlights, turn signals, and tail lights all worked except for the driver side rear brake light/blinker. I purchased and installed a replacement bulb for the blown brake light. It was very noticeable which light was blown, because it had a dark discoloration. The tail light apparatus is in the rear bumper, and contains four different lights.
Other lights
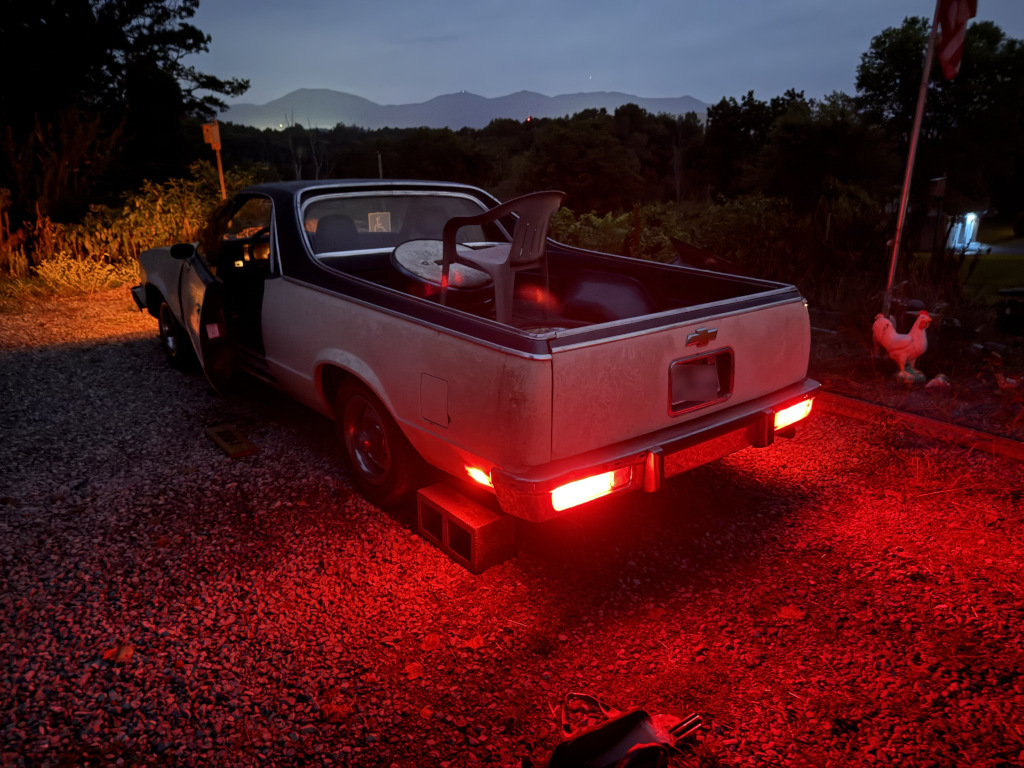
I also tried replacing the license plate light in the tailgate, but new installed light did not work either. I believe there is a problem with the wiring, and I noticed a wire plug between the bed and the tailgate, which may be the problem.
Title
Getting a new title for the vehicle in my name took several trips between the lawyer’s office (executor) and the county clerk’s office. The important documents to obtain are the original title, the Affidavit of non-dealer transfers of Motor Vehicles document, and a notarized memo stating that the executor has authority to sign for the deceased of the estate. By taking these documents to the county clerk’s office, I was able to get the vehicle registered and a license plate. The new title in my name came in the mail about a week later.
Insurance
I was able to get a break on insurance, since this car will not be a “daily driver” and just a project car for show. For now, I just need to be able to drive it to get the tires changed and get the vehicle washed.
Next steps / future repairs
At this point, the vehicle is drivable, but there is still a lot of work that needs to be done to it. Below is a list of repairs that I plan to make.
- Replace cracked windshield glass
- New tires
- Paint job
- Fix electric window controls
- Driver’s side door does not close flush with the body of the vehicle. The door can be lifted from the outside to get it to close flush.
- Passenger side door doesn’t open from outside
- Inside dome light does not illuminate. I tried replacing it, but I apparently got a bulb for an older El Camino.
- Replace instrument panel / gauge cover
- Replace inside carpet
Car wash and engine bay cleaning
I took the El Camino to the local car wash, to give it the first car wash it’s had in a long time. It cleaned up very nicely with soap spray, some scrubbing, and a rinse.
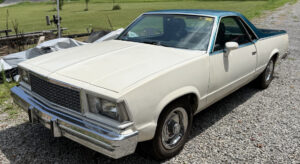
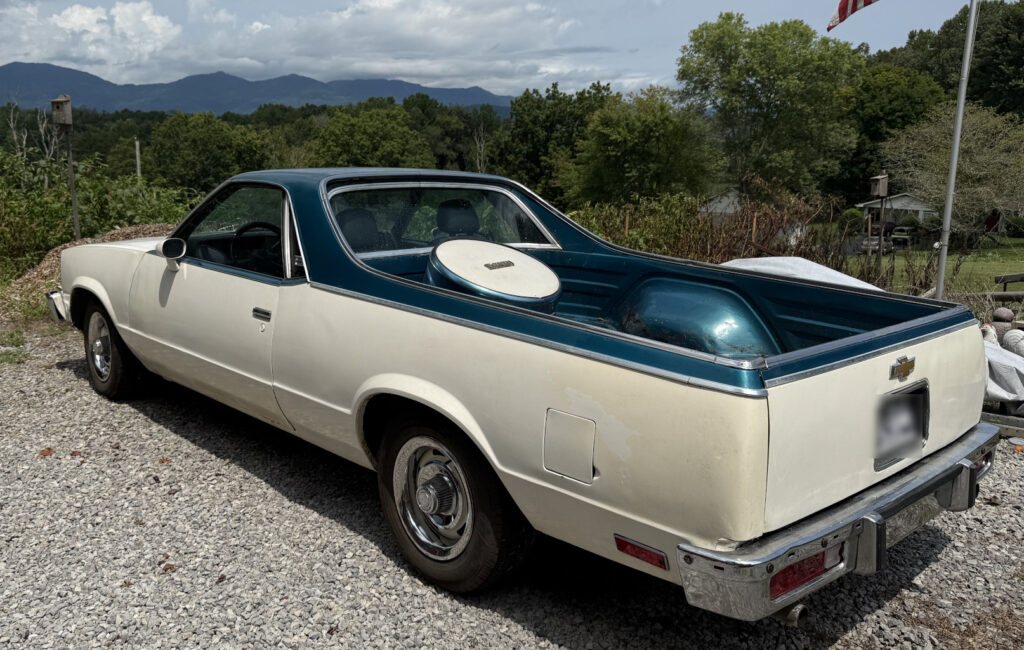
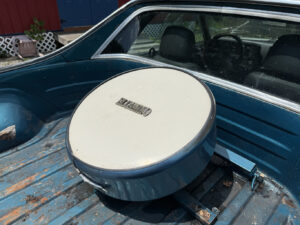
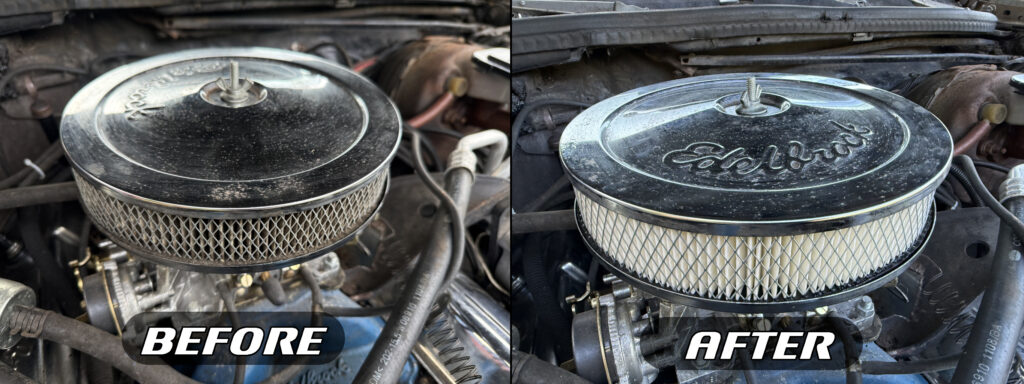
I’ve been working on cleaning under the hood as well. I’ve mostly used simple green with on the foam spray setting (pull out on the nozzle). Then I spray with a bottle of water, and it’s amazing to see the dirt and grime wash away. Some of the hoses and cables look like new now. I am careful to to get any near any electrical components or near the air filter and carburetor. I used chrome cleaner on the metal around the air filter.
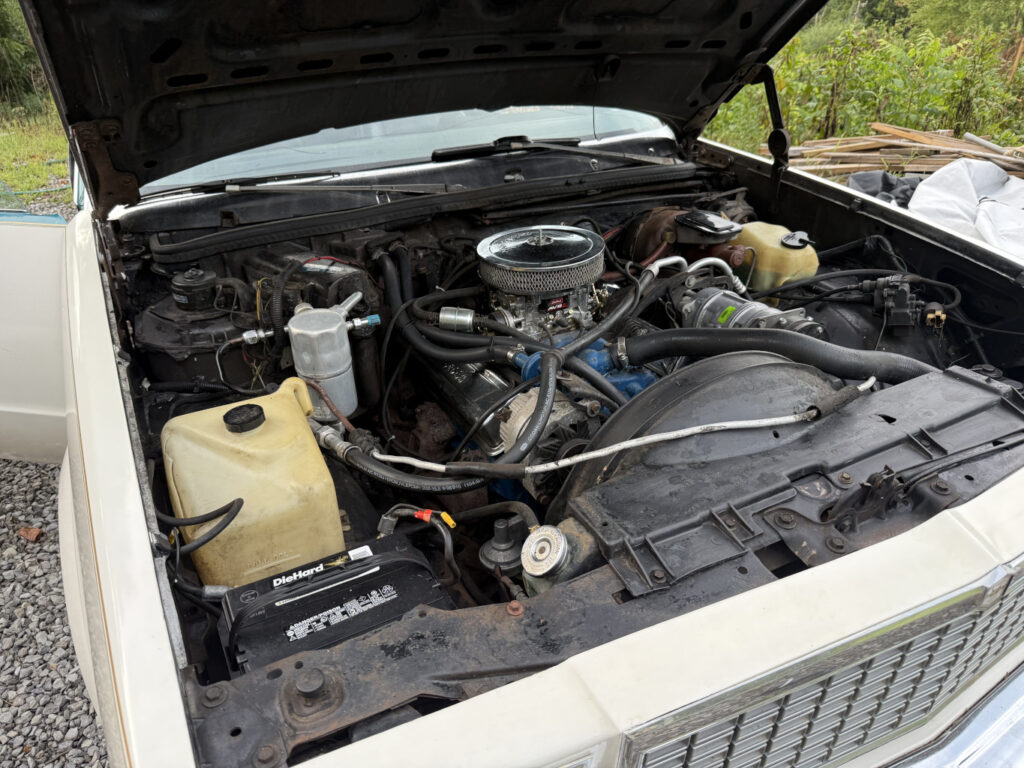
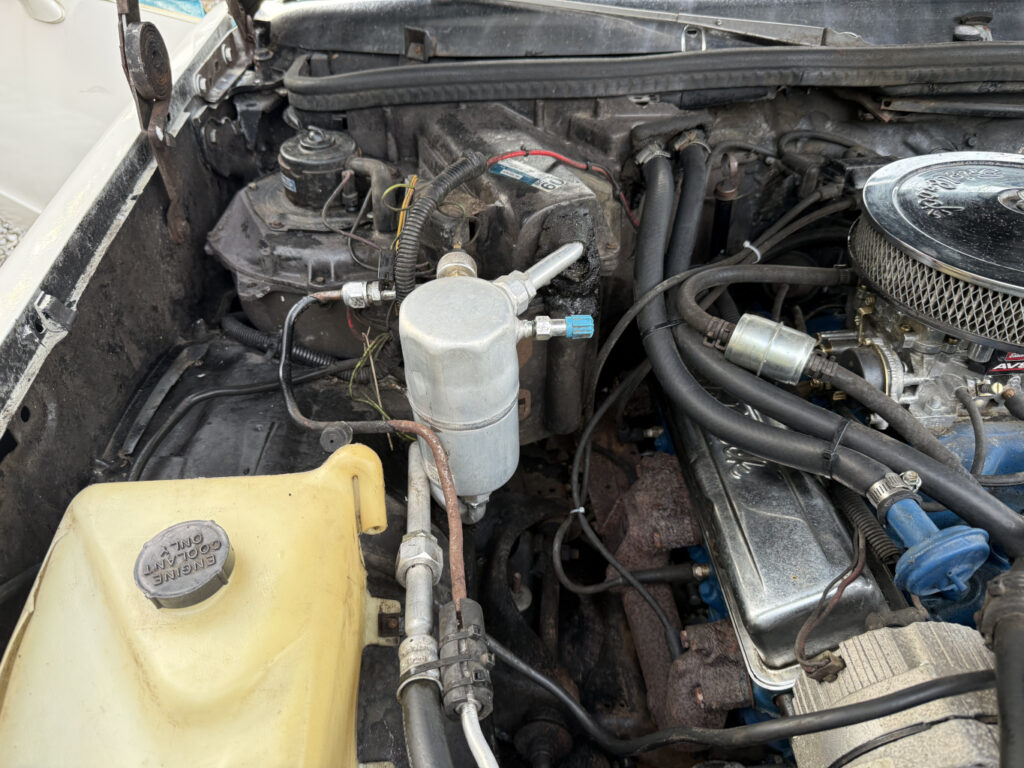
I also sprayed some tire cleaner on the tires and now those look almost brand new. I do still want to get them changed, since the tires are probably over five years old.
Air filter
I ordered a new air filter for the El Camino, after searching around town for one. The air filter that I found online was 10″ in diameter, but the old one I measured as 9.5″, so I wasn’t sure if it would fit for if they just rounded up to the nearest inch. It was delivered today, and I was able to put it in and it was a perfect fit. It definitely looks much cleaner than the old one, and the engine seems to run better as well, but that could be my imagination.