
Note – This is not an installation guide. This is the process I went through to setup the PowerPak to play my custom developed NES games.
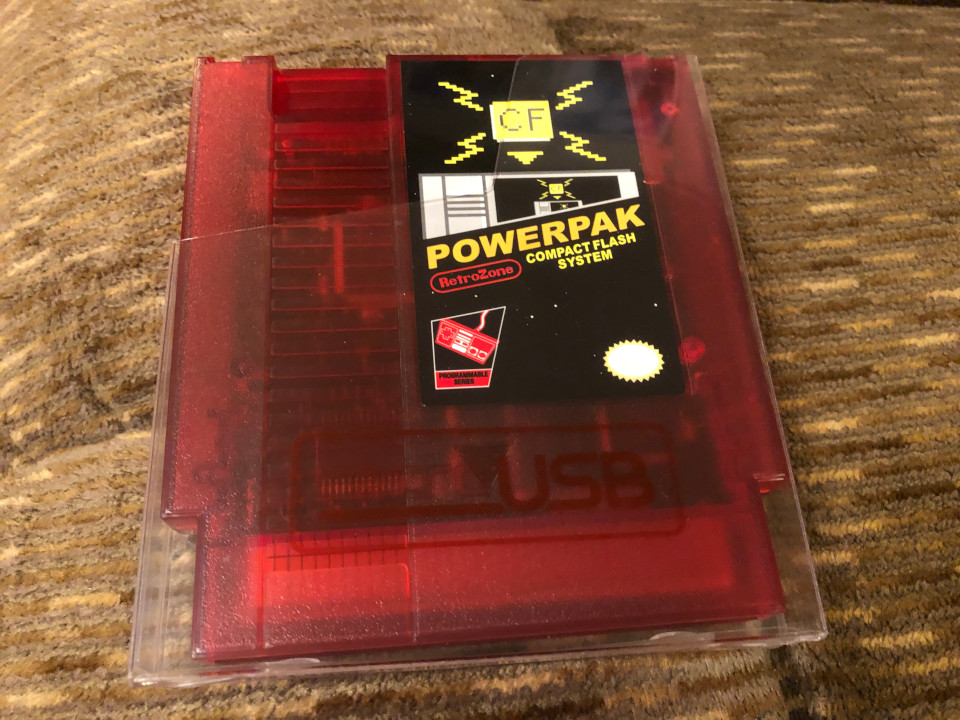
I recently ordered a PowerPak from RetroUSB, which allows classic 8-bit NES (Nintendo Entertainment System) games to be played on actual NES hardware. This is a description of the steps that I followed to play the two NES games that I created (Space Dude and Prez) using the RetroUSB cart.
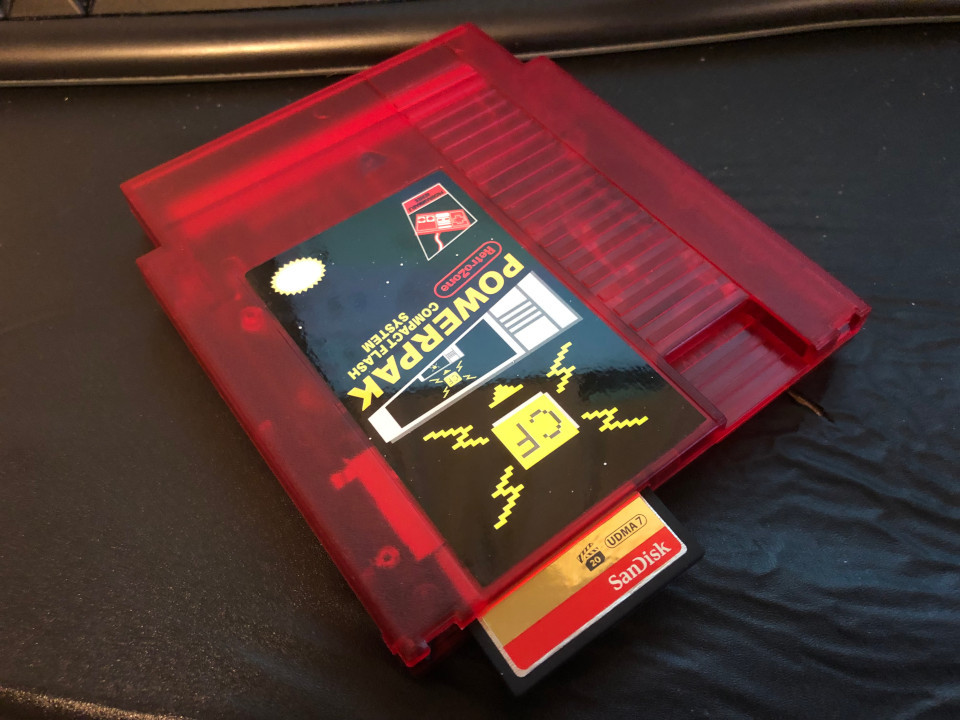
The first thing to know is that he PowerPak uses a CompactFlash (CF) card to store the NES game files. CompactFlash cards appear to be frequently used with digital cameras, and are about 1.5 inches wide and tall. A CompactFlash card does not come with the PowerPak, which is noted on the item page, but I overlooked that when I ordered the PowerPak. Additionally, a CompactFlash card reader is also required to copy the NES game files to the Compact Flash card. The card will cost around $20 to $100 depending on the size of the card (as of the time this is being written). A simple Compact Flash card reader will cost around $15.
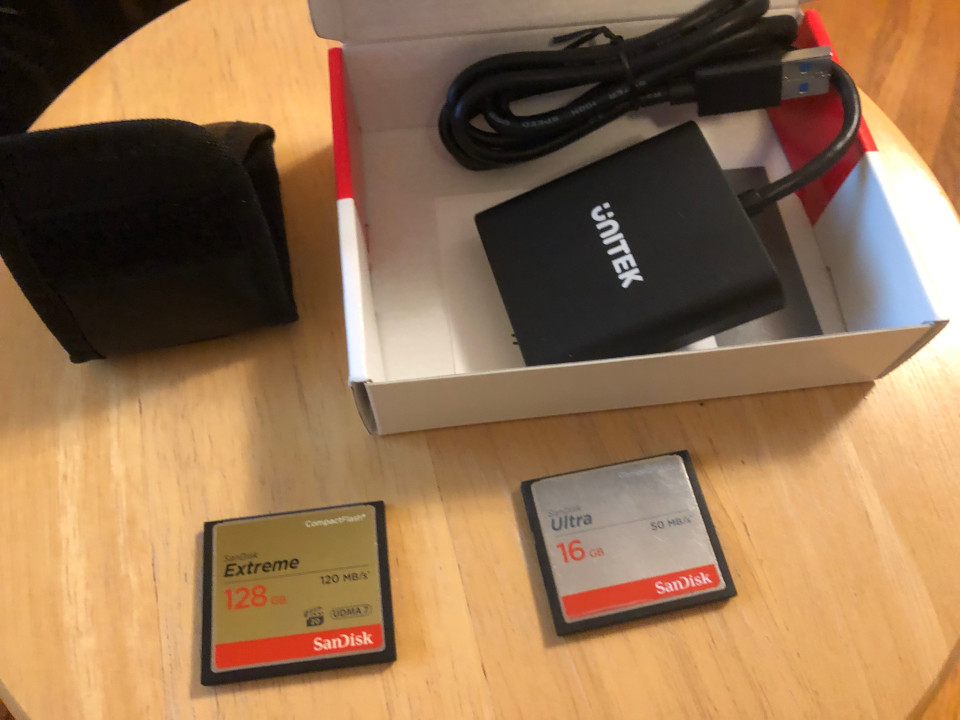
I ordered the Unitek USB card reader as well as SanDisk Ultra 16GB and SanDisk Extreme 128GB CompactFlash cards. The RetroUSB site notes that larger CompactFlash cards with higher write speeds may not work with the PowerPak, which is why I ordered the 16GB card just in case the 128GB card didn’t work. The 128GB card actually came with a nice small carrying case.
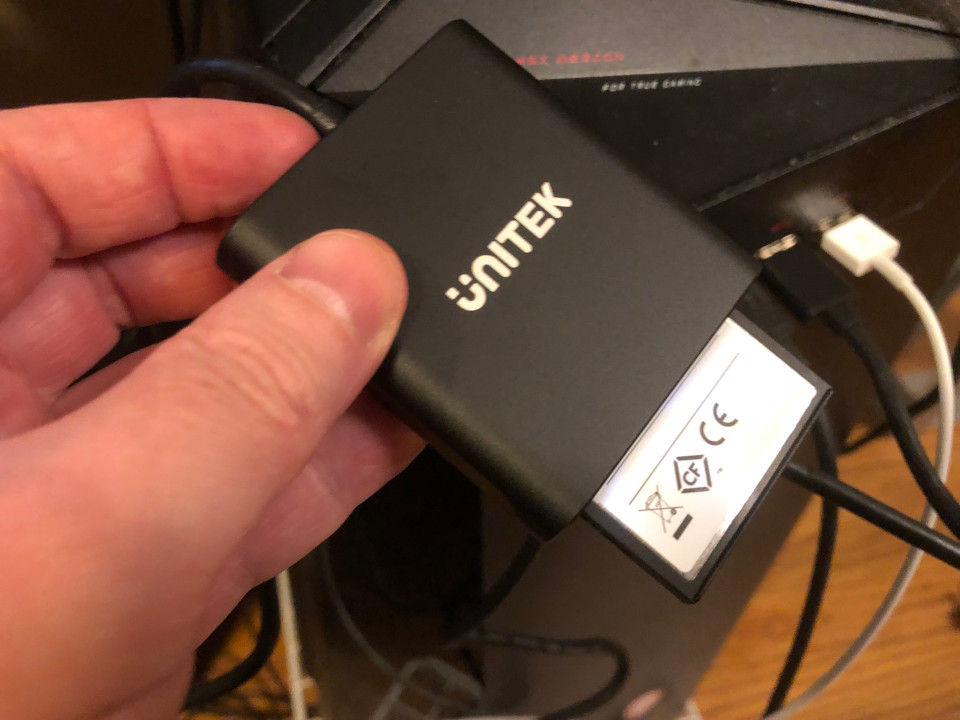
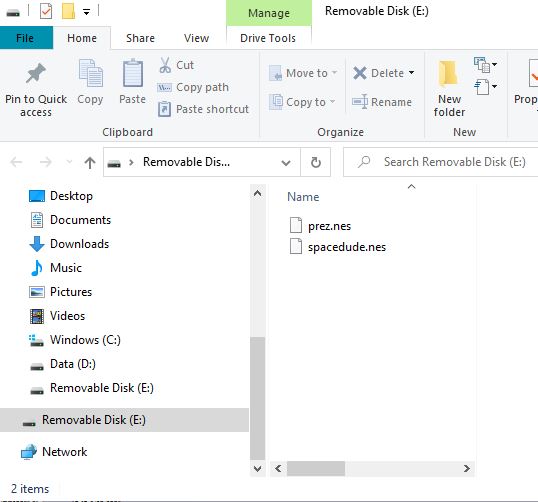
I plugged the card reader into the USB 3 port on my desktop computer, inserted the 128GB CompactFlash card, and it automatically detected the device, created an E: drive, and opened a folder for the CompactFlash card. I copied my two NES game files to the new folder.
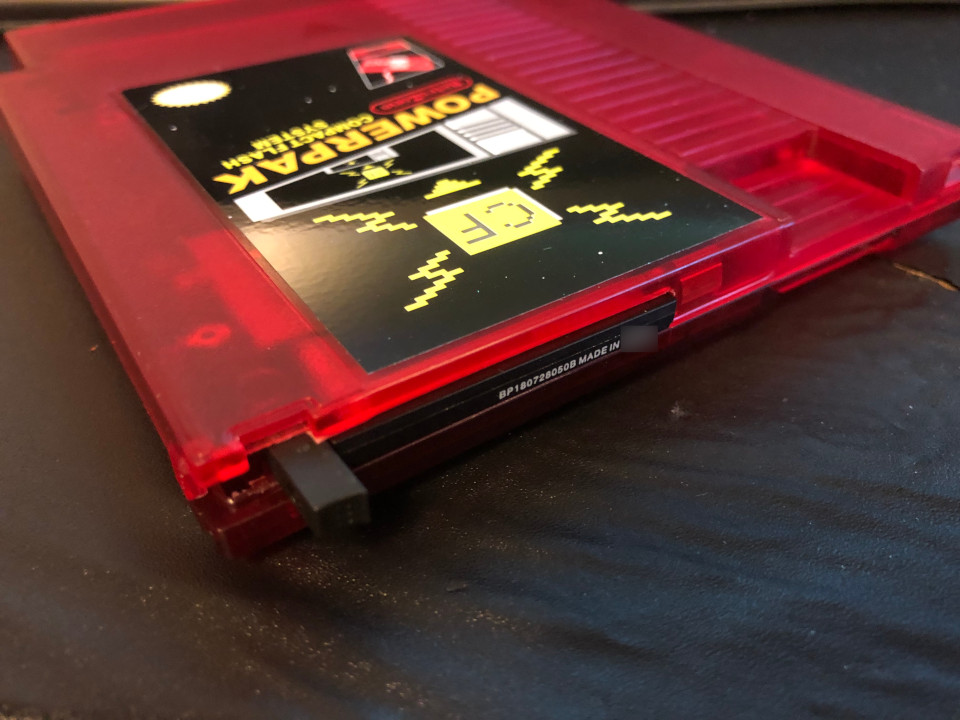
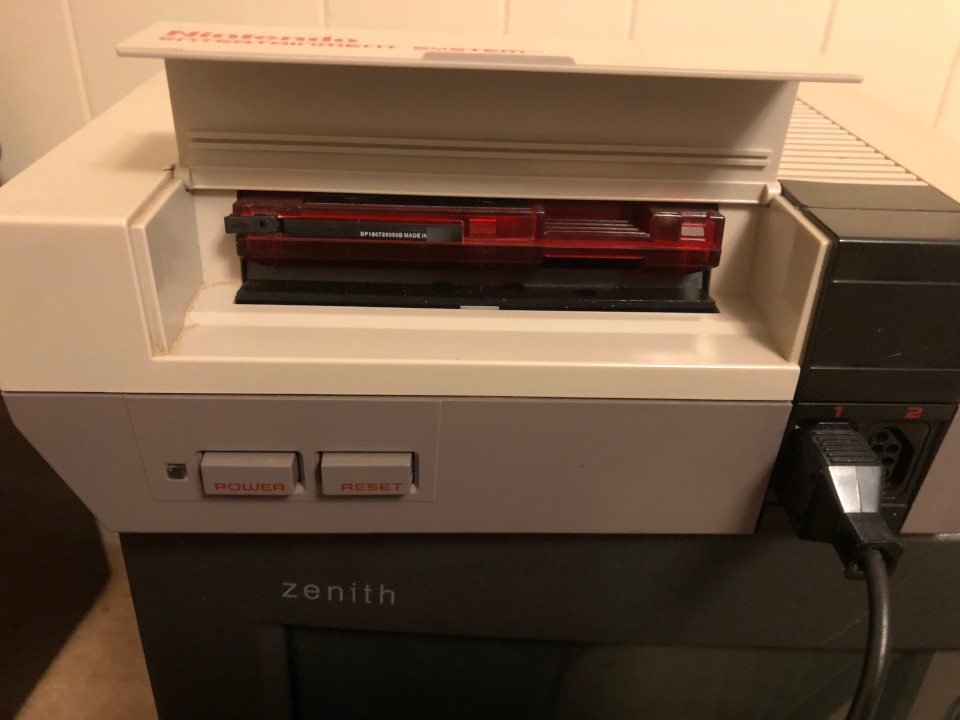
Next, I pulled the CompactFlash card out of the reader and put face up into the top of the PowerPak. The card has to be pressed in completely so that the card is flush with the top of the cartridge. Then press down on the tab to lock it into place. To eject the card, push the tab back up then press down.
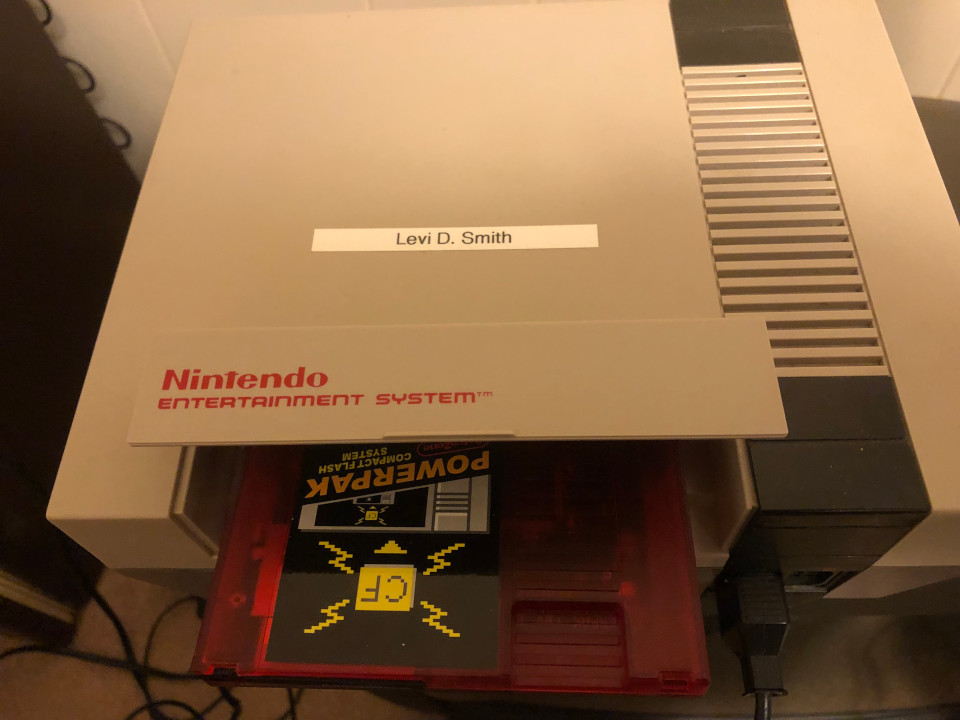
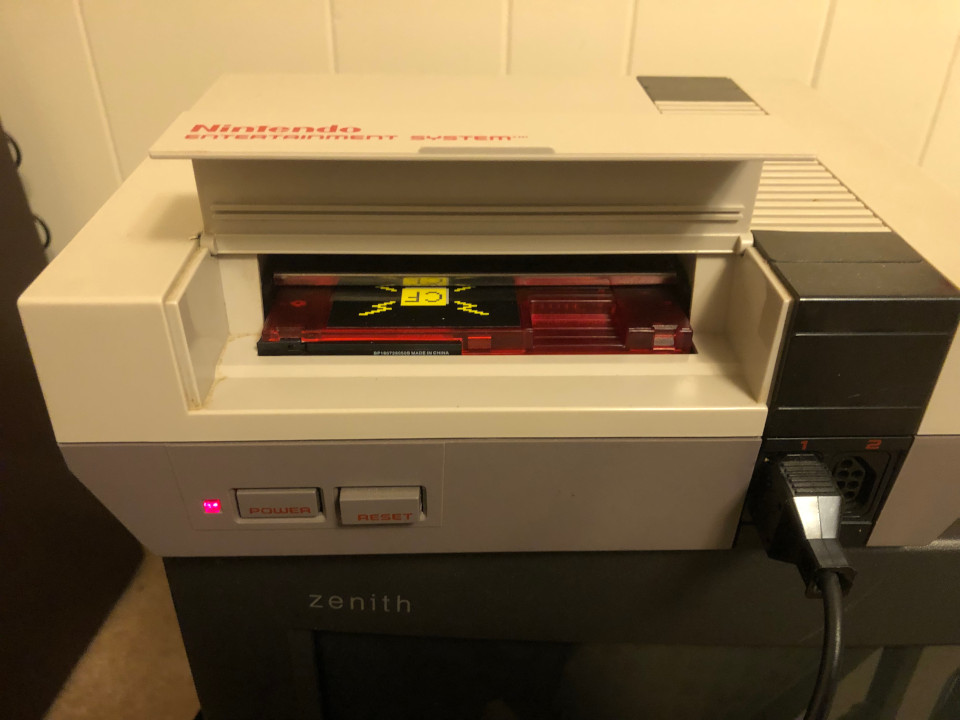
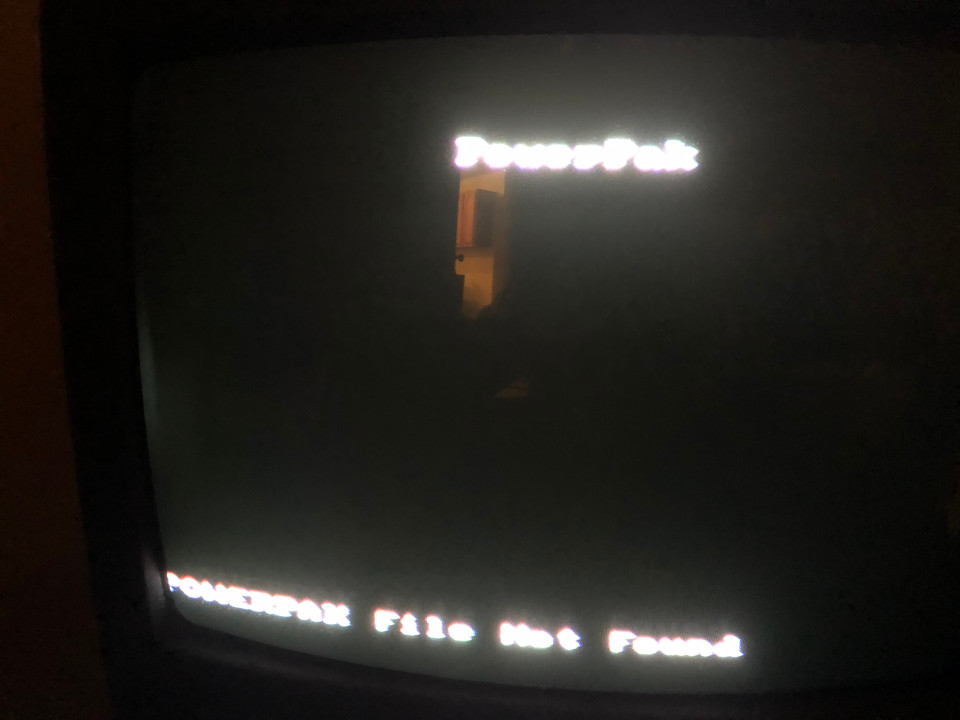
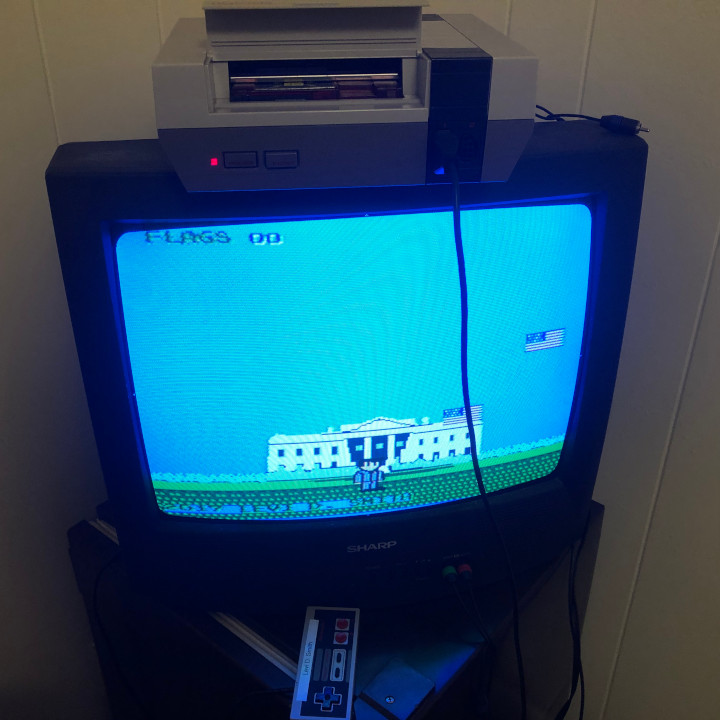
The moment of truth is actually inserting the PowerPak into an actual Nintendo Entertainment System from the 1980s and pressing the power button. Unfortunately, on the first try it returned “PowerPak file not found”. However, it did at least detect the PowerPak and display a message.
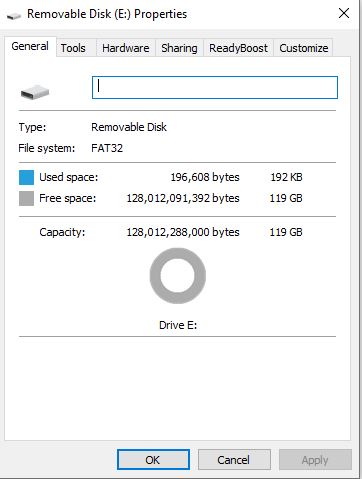
Looking at the online PowerPak user manual, the first check is to see if the CompactFlash card is using either FAT16 or FAT32 file system. This can be checked by putting the card in the card reader, right clicking the card reader drive (such as E:), and checking the file system. In my case, it was using FAT32. If not, right clicking the drive should bring up an option to format the card. On my system, there was only an exFAT option, which doesn’t appear to be exactly the same as FAT16 or FAT32. If that is the case, then other options (Linux?) may be required to correctly format the CompactFlash card. I didn’t look into it since my card was already formatted as FAT32
Next I tried the 16GB CompactFlash drive and copied my NES files using the same process, and got the same “PowerPak file not found” messsage. I went back to the manual and noticed that the “POWERPAK directory” needed to be downloaded from the RetroUSB website, decompressed, and copied to the CompactFlash drive. Going back to the PowerPak page, this appears to be what is referred to as the “Mappers” file. I downloaded the PowerPak Mappers v1.34 file, extracted to a folder on my desktop, and then copied it to the 128GB CompactFlash card.

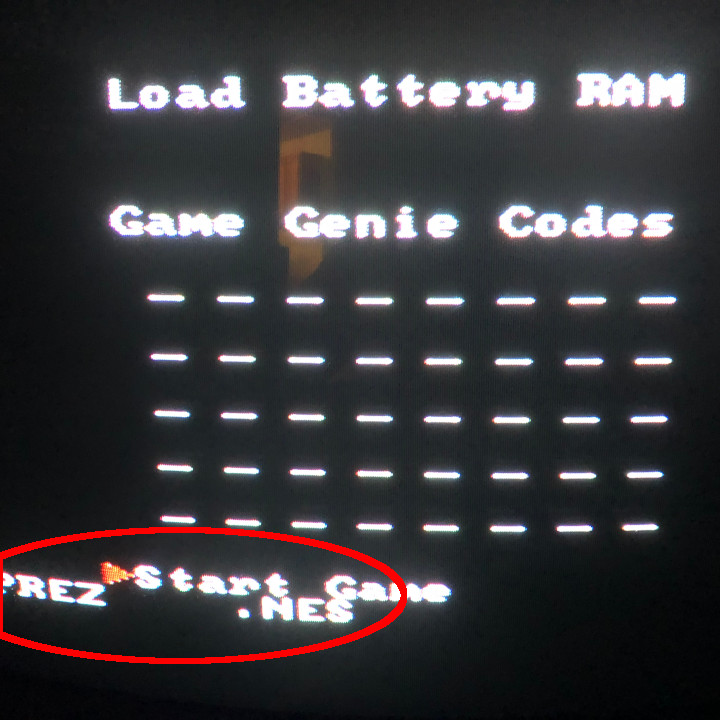
Making some progress. Now I was able to see the PowerPak logo on the title screen. Pressing start brings up a screen to enter Game Genie codes. Pressing start again allowed me to select one of the two NES games that I copied to the CompactFlash drive. The display was cut off some on the top of the screen on the television, but I could still determine which game it was. Pressing start again started the load process. Unfortunately, the game never loaded. After waiting about a minute I tried pressing reset on the console deck but it returned an error. Then I turned the power on and off, which displayed the title screen and code entry screens again, but did not let me select one of my games. It just went directly to the game loading screen that hangs. I also adjusted the television picture and brightness to make the photos look not as blurry.
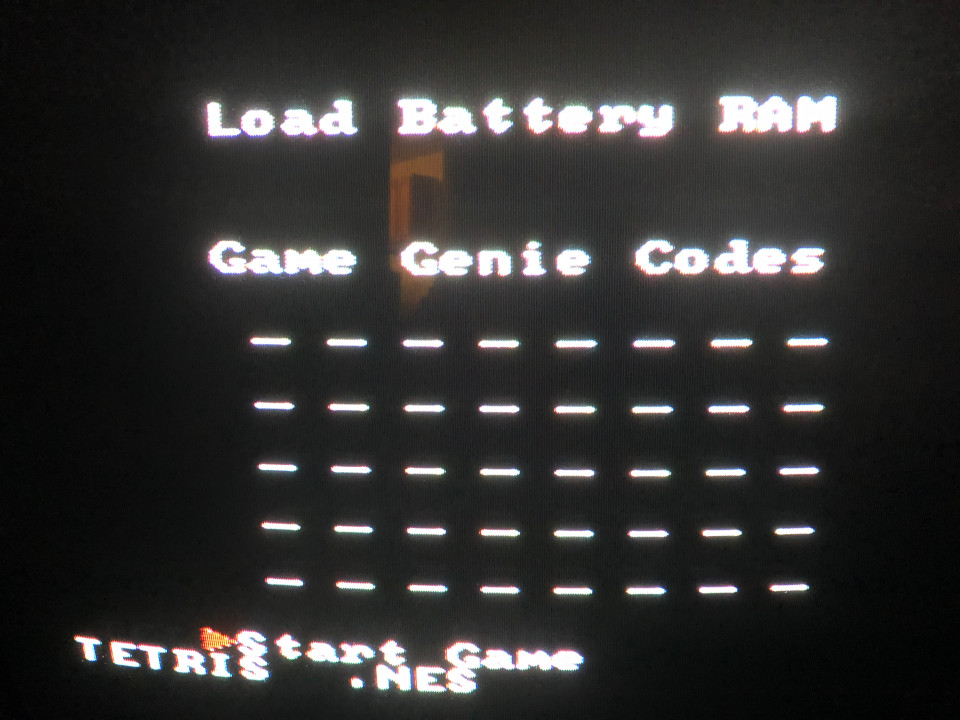
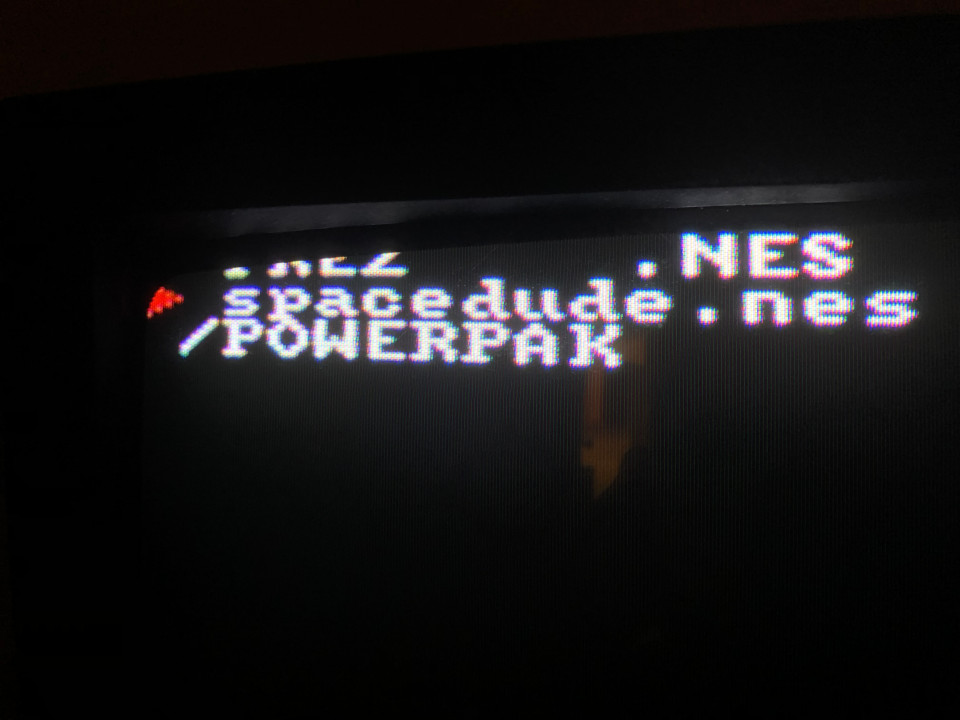
Going back to the manual again, I learned that pressing start on the title menu loads the last loaded game. To get the game selection screen, the A button needs to be pressed on the title screen. Then select your game. Important – On the Game Genie code entry screen, it should display the filename of the game you just selected. I was wondering why it showed TETRIS.NES, which wasn’t even on my CompactFlash card. So again, press the A button (not start) on the title screen, then select your game, then select Start Game. When in doubt, press the A button instead of the start button.
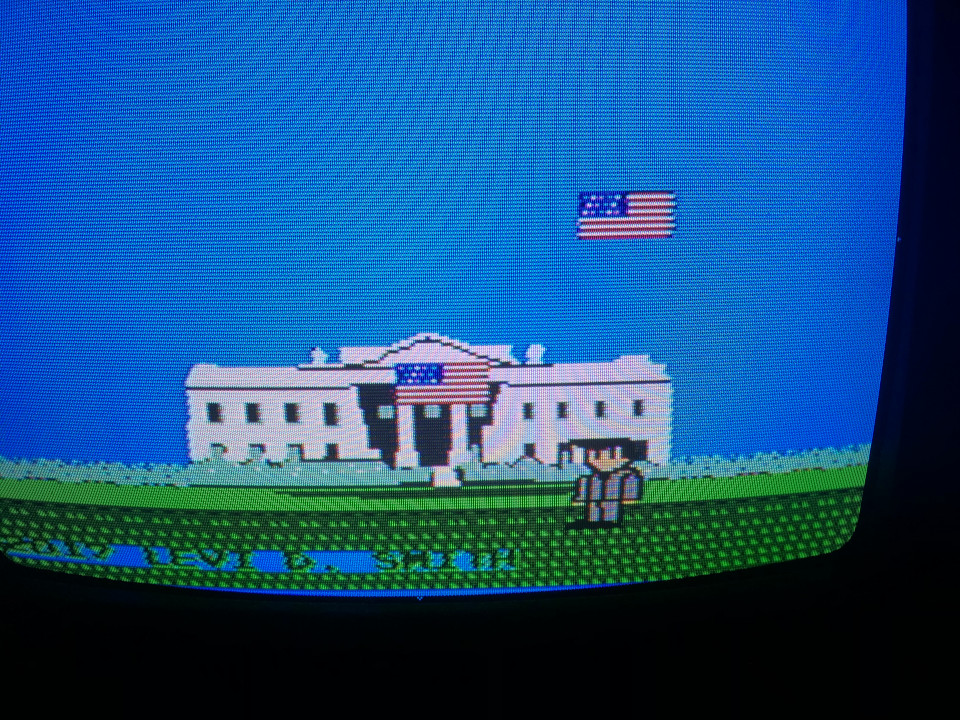
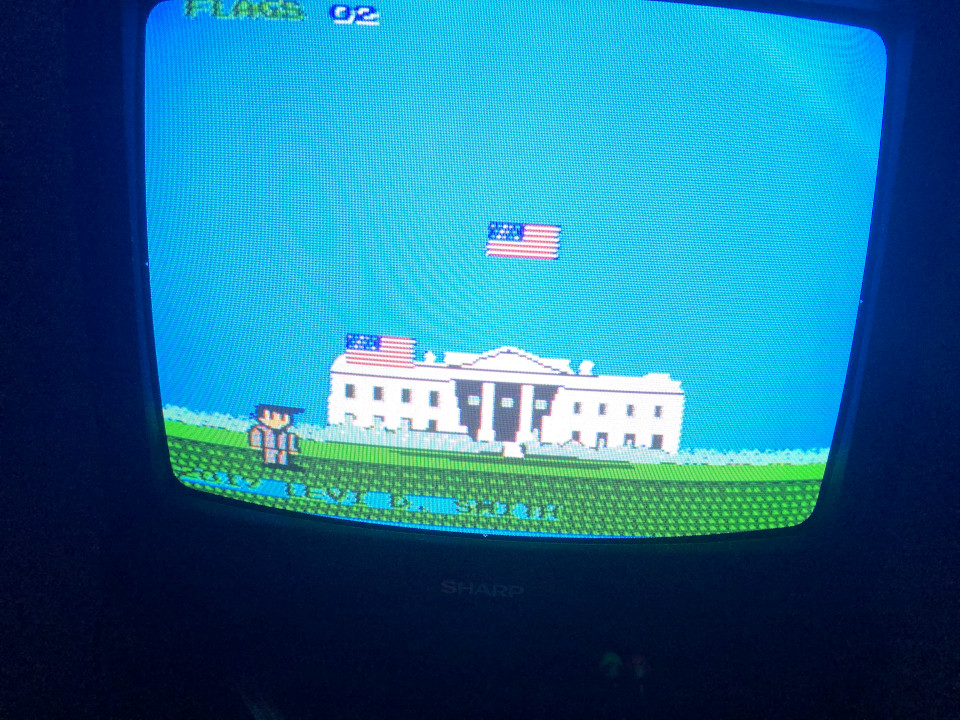
After making that correction, my games loaded successfully! My Prez game looked great, and looked just like it does on the emulator. Except that it’s actually running on an original Nintendo console! The Space Dude game ran as well, but some of the colors were off, such as the ship being colored black. Resolving that may require going back and looking at the original 6502 code that I wrote and modifying the colors.

By the way, it worked correctly on the 128 GB CompactFlash card. For some reason, I got copy failures when copying the POWERPAK Mappers folder to the 16 GB card. Since it is working for the 128 GB card, I haven’t went back to look at the problem with the 16 GB card. Maybe it needs to be reformatted. I think I got impatient waiting for the files to copy and pulled it out of the reader as it was estimating copy space.
Overall, I am happy with the PowerPak and thrilled to see my games running on an actual NES and playing with an NES controller. I won’t say that it’s easy enough for the average Joe to setup without spending some time. It took me about 3 hours to figure everything out, while also writing and taking pictures for this post. If I were to give one of these to somebody as a Christmas present, I would probably go ahead and setup the CompactFlash card with everything, because most people probably don’t own CompactFlash card readers. I hadn’t even heard of CompactFlash card until I bought the PowerPak and noticed that the card slot was for something I hadn’t used before. I would also definitely let anyone using it know to press the A button on the title screen to load a game, because most people just assume that the A button and start button do the same thing, and the start button was usually the default for starting most NES games.