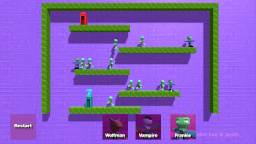
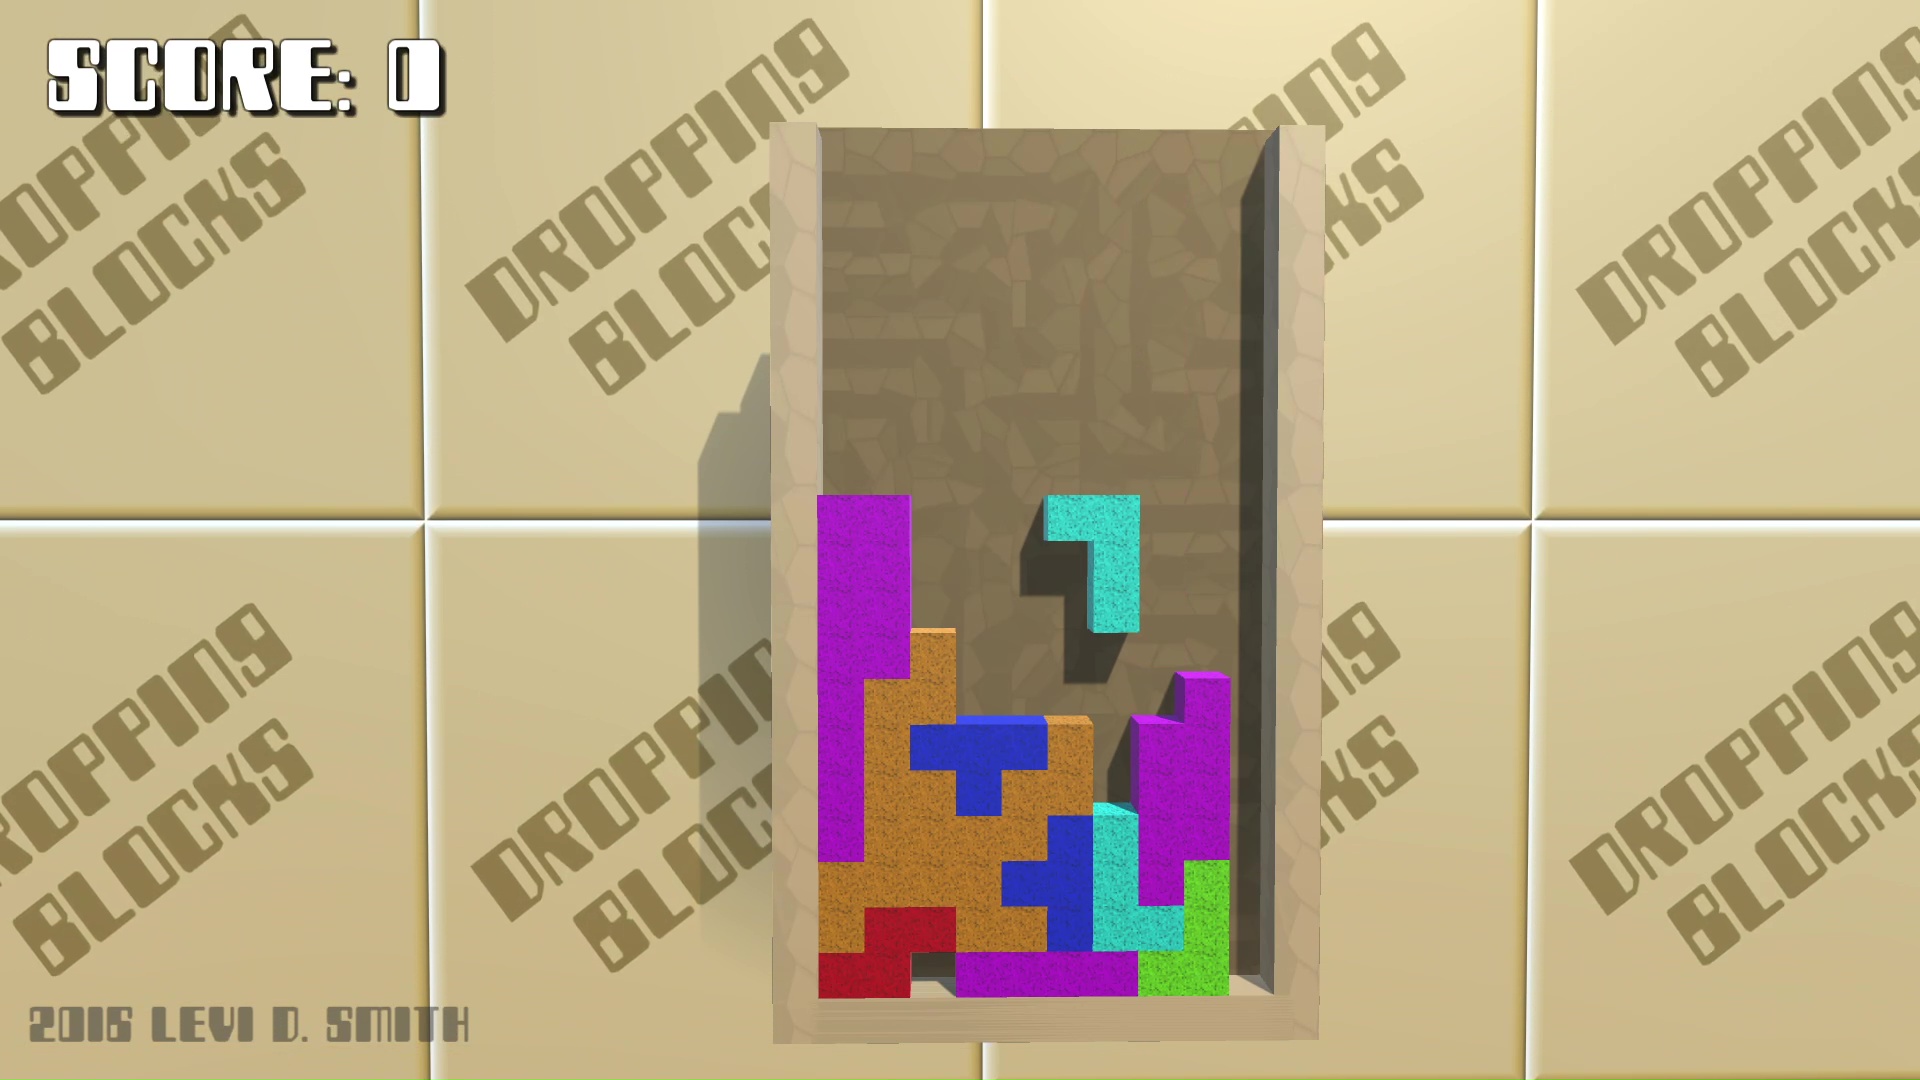
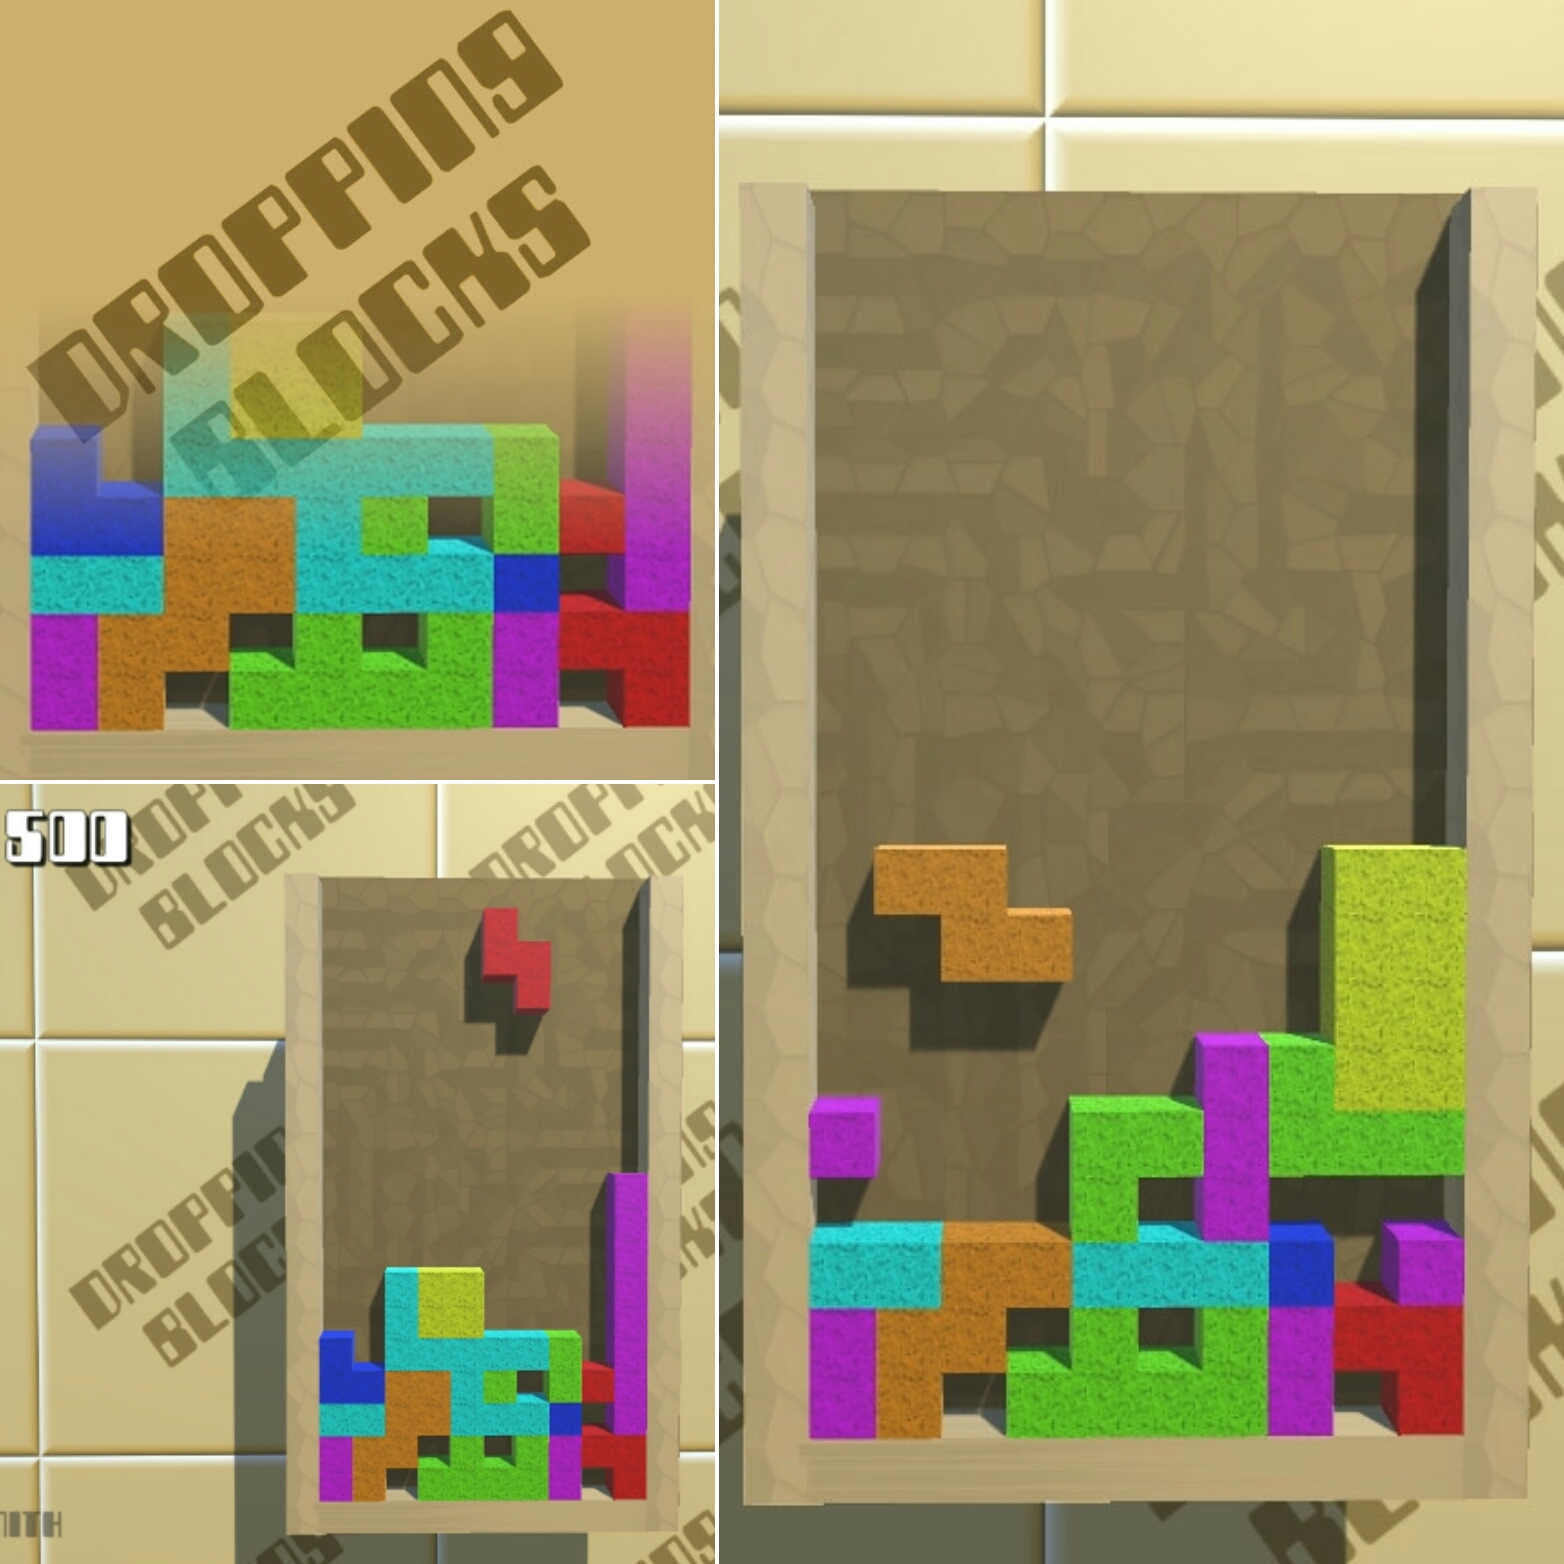
Dropping Blocks is a falling blocks game that I developed as a warmup for Ludum Dare 37. Drop the blocks and complete the lines to add to your score.
I took a different approach when developing this game, as I did not create a board structure to hold the blocks. Each of the blocks is just a Unity GameObject, with a Block script attached which contains its row, column, and center offset for handling rotations.
Every time a piece is dropped, it checks all of the other pieces to determine if any of the blocks are directly below any of the blocks in the actively dropping piece. If so, then the status of all of the blocks in the currently dropping piece are set to “not dropping” and a new piece is generated. The downside to this approach is that all of the blocks must be checked every time a block lands. It may be improved by creating a hash structure using the rows as keys, so that only the blocks in the row below the piece will be checked.
A piece is generated by generating a random number from 0 to 6 and instantiating the block in the arrangement for that piece. An array of Materials holds all of the colors of the pieces, and is assigned to the block based on the piece types.
The line check code loops through each line index, and then determines if there are blocks at every column in the line. This is also inefficient, since all of the blocks have to be checked to determine if a block is in each column for the row. Again, a hash table structure may make this more efficient for checking the row and eliminate some of the unnecessary looping. When I play the game in the Unity editor, there is a noticeable delay when a block lands. However, in the Windows build the delay is not apparent so there may be some optimizations made for the Windows build.
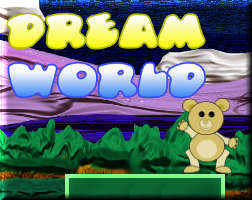
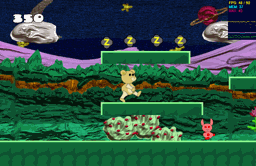
Adventure through the connected dream worlds to find the clarity of your true reality. Dream World was my submission for Ludum Dare #30.
Controls:
Arrow Keys to move
Spacebar to Jump
Tools used:
Engine – Stencyl 3.1.0 (used standard behaviors such as “Jump and Run Movement”)
Audio – Audacity 2.0.3, Bfxr 1.3.3, Garage Band (Mac)
Graphics – Taron’s Verve Painter 0.99u.12, Gimp 2.8, Inkscape 0.48, Spriter b10
Dream World Day One Announcement
For the Connected Worlds theme, I decided to create a game that explores the connection between the real world and the dream world. You play as a stuffed bear who must collect Z’s and avoid the nightmare rabbits. Little Nemo was one of my favorite games for the NES, so I am drawing a lot of inspiration from that game.
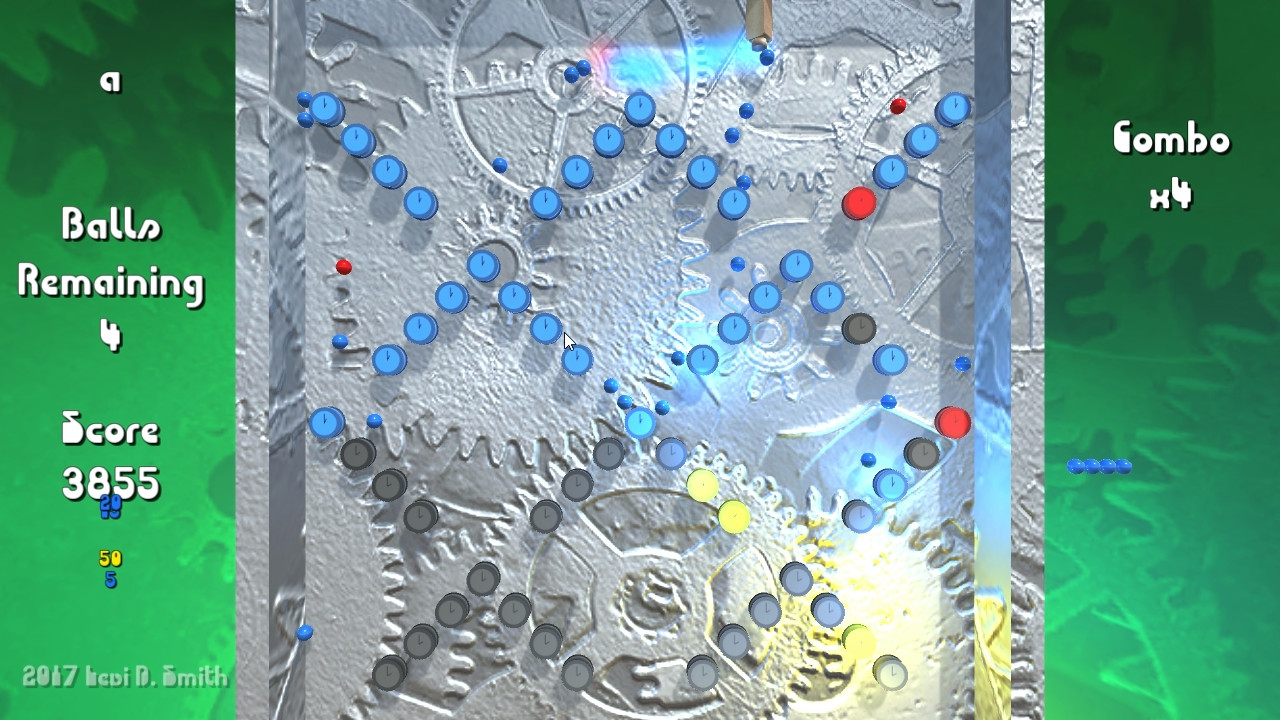
Earlier today, I did some game development off stream. I was working on the colors for the background. In previous games like Note Chomper, I have synchronized the hue with the music volume by calculating the RMS value of the AudioSource on the game object playing the music. It is a nice effect, but sometime appears flickery. I tried it for this game, and it just didn’t look great. I tried modifying my code so that it uses frequency instead using the AudioSource GetSpectrumData method, but it still didn’t look right to me. I also tried setting the hue to the sound of the cannon being shot, but I didn’t like it because it would be one hue (red) at the beginning while the balls were being shot, but then another value (blue) for the rest of the time. I ended up settling on tying the hue to the current combo value. I clamped the range from 0 to 50 combo value, which I converted to a 0f to 1f value. I passed that value to my script which handles setting the background material color, which then sets a target hue. The hue can be converted to a color using Color.HSVtoRGB, passing the hue as the first parameter and 1f for the second and third parameters. I then converted my 0f to 1f value to a value in the range of 0.5f (180 degree hue which is cyan) to 0f (0 degree hue which is red). So as the combo increases, the target hue value moves backwards from cyan to red on the ROYGBIV scale. I also have value specified for speed of transitioning, so that it is a smooth change in color and it doesn’t jump directly from one hue to another.
I also updated the cannon model. It didn’t look right before, because it was too small for the balls that it was shooting. I added a cylinder at the bottom, for where the balls should come out. I used the boolean modifier to “drill” another smaller cylinder hole in the middle. I had to ensure that the hole was big enough to give the appearance that the balls were coming out of it. I also had to significantly increase the size of the model, so much that the top is no longer visible on the screen, but I think that’s not really a problem.
It still really didn’t look like the balls were coming out of the cannon, so I created a particle effect that looks like a puff of smoke. when the ball is shot, the smoke particle effect is instantiated. I made it a separate GameObject prefab, which has a custom script attached that destroys it after a few seconds. One neat effect that I added is setting the color of the particle effect to that color of the ball that is being shot. I just pass in the ball score to the SetScoreColor of the particle effect, and it uses the Ball color constants that I defined last time to set the smoke color. I was really happy with how the effect turned out.
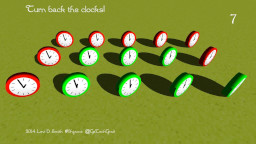
Finally, I added multiple levels to the game. To do this, I created text files which contain the layout of the clocks on the levels. I just used an ‘O’ to represent each clock. I may end up using other letters for future objects to be added to the game. I put these text files in the Resources folder under Assets in my project, which allows me to assign them to a TextAsset List that I defined in my LevelManager. I added new parsing code which loops over each line in the text file (rows) and each character in every line (columns). Based on the row and column position, the clock is Instantiated in the appropriate location. It’s always important to subtract the row from total rows in the files, otherwise the level layout will be upside down.
Adding a Next Level button was a trivial change. I added a new function in my Level Manager to handle incrementing the level number, which loops back to zero if it is equal to or greater than the level List size. I also added a function which deletes all of the objects that are children of the Room object, which is the parent of all of the objects that are Instantiated for a specific instance of a level (the clocks, the cannon, etc).
Another problem that arose from the new level layouts is that sometimes the balls would get stuck between two clocks. I added code which compared the velocity of the RigidBody of the ball to Vector3.zero (not moving), and destroyed the ball if those are equal. That worked at first, but I found that when the level restarted, all of the balls were being destroyed. Apparently on the first Update, the ball’s velocity was getting returned as zero. To solve this, I added a countdown, which added Time.deltaTime for every frame that the velocity is zero. Otherwise, it would set the coutdown back to zero (the ball is moving). Once the countdown reaches a defined value (I used 1f, which is one second) then the ball is destroyed. I need to go back and add a puff of smoke (probably the same one that I used for the cannon) when the ball is destroyed, so that it doesn’t look like the ball magically disappears.