Dream Build Play – Your App Needs Some Attention

One of the frustrating things about putting a game on the XBox Creator’s platform is when you get the dreaded “Your App Needs Some Attention” email a few days after submitting the game.  This is usually due to the requirement that you must display the player’s gamertag on the title screen.

There is a UserProfile prefab in the XBox Unity kit that is supposed to do this for you.  Unfortunately, there are some issues with it that keeps it from working correctly.  For my first XBox Creator’s game called Kitty’s Adventure, I resolved the issue of it not displaying the gamertag by putting the XBox Services loading and sign-in code on it’s own Scene in Unity, and I don’t proceed to the title screen until the UserProfile object exists and the IsSignedIn property is set to true.

In my Turn Back the Clocks 4 game, I realized that I had an old GameObject in the XBox Services loading scene (was probably a placeholder I forgot about), which just loads the title screen in the Start method.  Therefore, the XBoxServices were not given enough time to load.  I know that was definitely a problem, and I’m hoping fixing that is enough to get the submission to pass.  The certification process is a little confusing as well.  There’s the Certification Tool that runs after you create an appxupload package in Visual Studio.  It’s possible to pass everything in the Certification Tool, and still get a failure after you submit the package to the Microsoft Dev Center website, which I think requires to real person at Microsoft to start your game and verify the gamertag.  However, it doesn’t seem to be as bad as the Evil Checklist and peer review process that was used for XBox Live Indie Games, which required six or so other developers to play your game, which could take a week or longer.  I’m so glad that we no longer have to worry about the “title safe area”, playing from any controller index, or memory card pull tests.

It’s a bit confusing, because it says that you game “is in the Store”, but they give you three weeks to fix the problem before the game is unpublished.  What “in the Store” means is up to interpretation, because it now says that your game may not appear in the Creators Collection until it is resolved.  I think that is a new condition that they added since I published my first Creators game.  Also, for my first game, I had one “product” (entry in the Windows Developer console) for the Windows build and a separate one for the XBox One build, but for this game I submitted both the Windows 10 PC and XBox One as one product package.  Just having one product is easier to submit, but I think keeping the platform submissions separate makes things more manageable and easier to tell which platform the problem is related.  It requires that you manage two separate entries in the Windows Developer dashboard, but it does let you easily see analytics (such as downloads) for each platform.
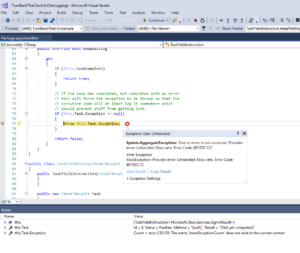
One of the problems that I had with my first XBox Creator’s game was the “XBox Veto” error when running the game with XBox Services integrated on the XBox One console in Dev mode.  While I was researching for this game, I discovered that the veto error was due to the sandbox name of the XBox One not matching the name of the sandbox ID that is in the XBox configuration panel in Unity.  Once I changed that, I no longer got the XBox Veto error.  However, I did get an error about the social object needing a local account, but I only saw that error once and it never happened again.  Then I was able to deploy my debug configuration to the XBox One, and now it successfully displays the gamertag and gamerscore of the test account on the title screen.  Unfortunately, it doesn’t seem to work when deploying the master config to the XBox One (it just displays the default “<gamertag><gamerscore>”, so I’m not sure if that is the expected result (it only works for the debug config) and it works correctly when it goes live.  I spent hours working on this (I didn’t intended to spend my entire vacation working on it) so I went ahead and made another submission to the Windows Developer site, hoping that it passes this time.

Looking back, I really wish I had sent more time on the game before putting it on the XBox One platform instead of rushing it out for the Dream Build Play deadline.  I still think it’s a really fun game, but it seems like a lot is lacking without leaderboards and some things like the model for the bonus wheels need improvement.

You can find my Dream Build Play entry for Turn Back the Clocks 4 at: https://developer.microsoft.com/en-us/Windows/dream-build-play/game/586

 

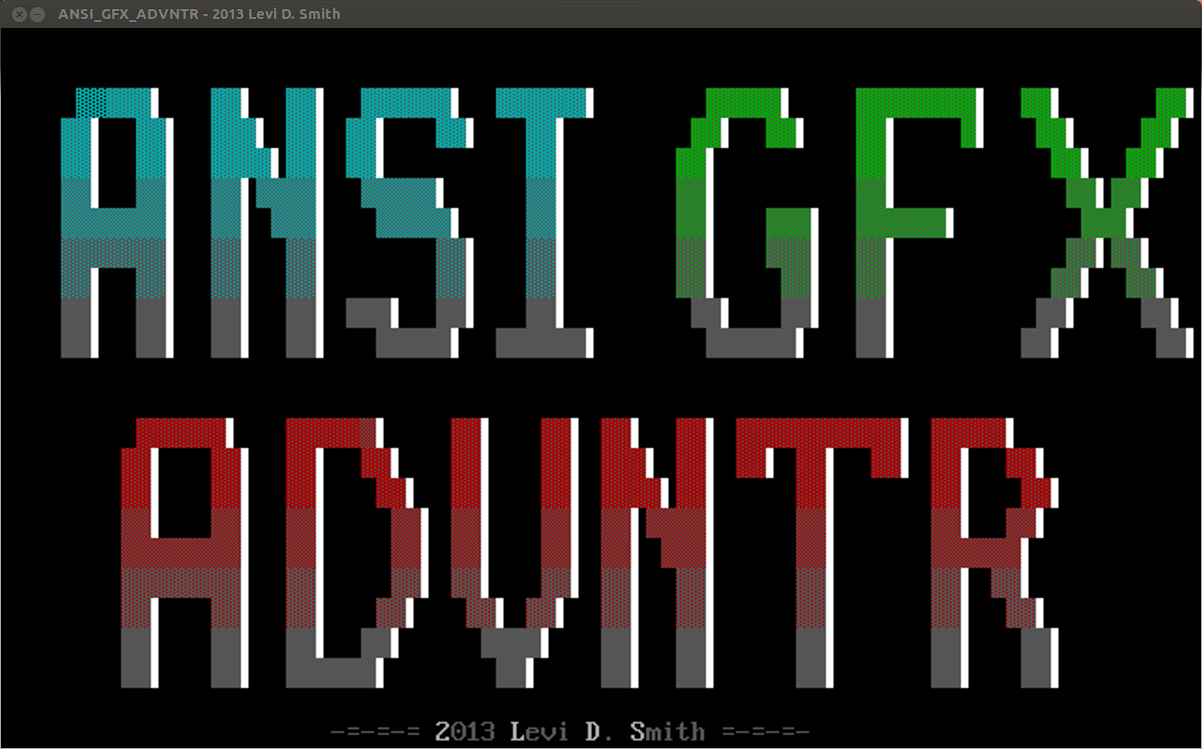
ANSI_GFX_ADVNTR – It’s a Small World

For this mini-LD, I decided to create a game in the style of the BBS door games that I played when I was a teenager in the mid-90’s. We had a 64 line BBS in Atlanta called INDEX (Information, News, and Data Exchange), which was huge at the time, since most BBSes only had one or two lines. This meant that when all of the telephone lines were tied, you had to wait for someone to hang-up before you could dial-in with your modem to play any games. However, these were the first games that I had ever played online, which had a persistent world and where you could interact and compete against other players online. These online DOOR games were really the precursor to current day MMOs.

Two of my favorites were L.O.R.D. (Legend of the Red Dragon) and Trade Wars 2002. I did a few web searches on these old games for inspiration, and I came across the Wikipedia page for Seth Able, the original creator of L.O.R.D. and in-game bard character. I looked through the list of his projects, and noticed a recent game called Growtopia. I knew I had heard about that game before somewhere. Then I realized that it was on the Ludum Dare website, and Seth Able (now Seth Robinson) is actually a Ludum Dare administrator. I guess the game development community is really a small world after all.

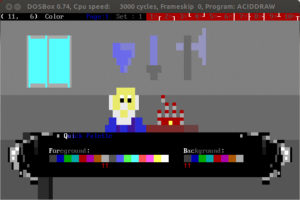
I wanted to use ANSI style graphics, but I knew I didn’t have time to implement a full networked game running through a VT100 terminal, so I decided to go with C and SDL and export my ANSI graphics into PNG images. To get the BBS DOOR game aesthetics, I created all of the artwork in AcidDraw using DOSBox running under Ubuntu Linux. Then I took a screenshot of that image using Gimp, cropped, resized, and then exported to PNG. It was much simpler to do it this way, rather than trying to write a complete VT100 terminal emulator in a weekend. However, I do have all of the original .ANS art files, so those could be used to port my game into a real BBS DOOR game.

Creating ANSI graphics using AcidDraw.

I started out by making the title screen and then the village, which is the hub for the game world. From the village, you can access the Inn, Blacksmith, explore regions, or view stats. I tried structuring my code like my other games, with a game loop that calls an Update event handler and Draw method for each screen. However, since C is not object oriented, I had to make sure that the names for the Draw and Update methods on each screen were unique, so I prepended the screen name before each method. Then in my main game file, I keep a state variable which determines which screen is active, and then calls the appropriate Draw and Update method based on a switch statement using the state variable.

I had two files that contained data structures, which are the Player and Enemy. To keep things simple, I avoided pointers and just had one instance for each. The characteristics for the enemy is loaded when the battle event is activated. It is important to declare the data structure variables as “extern” in any other files which use them, which is something that I had forgotten over the years. All of the structure definitions and function prototypes are defined in corresponding .h header files, which makes includes much simpler when everything is laid out correctly. The only headache is keeping the method prototypes in the header files and the method definitions in the game code in sync. If you add a method parameter or change the method name, you’ve got to change it in both places. I’m thankful that we no longer have to do that in languages like Java and C Sharp.

The game plays much like classic BBS DOOR games. You can rest at the Inn to regain your health, for a small price. The blacksmith will “upgrade your weapon”, but for now it just raises your attack power. I would like to add unique weapons and armor in a future release. On the stats screen you can view your health, gold, level, experience, and points required to level up.

The player starts out with two areas to explore, the meadows and forest. As the player progresses through the game, they will open up new areas to explore with more difficult monsters to defeat. Aside from the monster battle, there are three unique events while exploring: 1) The player can find money. 2) The player can encounter the old woman, who will either heal you or steal some of your money. 3) The player can interact with the merchant. Buying items from the merchant will open up new areas to explore from the village. Some merchants may refuse to talk to you unless you have a special item to show them. I had much bigger plans for the items acquired from the merchant, but I had to scrap those ideas for the sake of time.

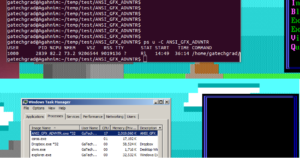
I did learn (or re-learn) a few lessons while making this game, which is my first SDL game since I wrote Legend of Tux back in 2009. First of all I met my old friend the Core Dump, after trying to use an attribute that was set to NULL. Then after I thought I was done with the game, I noticed that the menu would sometimes go blank. After viewing the system processes, I noticed that I had a memory leak. Obviously, a simple game like this one shouldn’t take 2 Gigabytes of memory. I determined that the probable culprit is the method call which creates a texture from a character string, TTF_RenderText_Solid. I’m assuming that the menu went blank because the program ran out of memory to allocate new SDL_Surfaces for the menu text, so it wasn’t able to blit the text surface to the screen. This problem was fixed by calling SDL_FreeSurface on the SDL_Surface containing the text, after it has been blitted to the screen.

Finding memory leaks in Linux and Windows.

After I had the game completed, I wanted to make a Windows version so more people could play it. The most straightforward way of doing this would be to install Cygwin on Windows, and then compiling with SDL on Windows. That’s the way I’ve created Windows exectuables in the past, but it is a hassle to have to switch operating systems to do a secondary build. Therefore, I thought I would try my hand at using a cross-compiler to create the Windows binary under Linux. I found a good tutorial on Ryan “icculus” Gordon’s website, which explains how to build an SDL cross-compiler on Linux. First, I installed mingw32 for Linux from the Ubuntu Software Center. Then I used the install script from the tutorial. It was helpful since it automatically installs almost everything you need, however it does mess up some of the directory structures. For instance, the “i586-mingw32msvc-sdl-config –cflags” command puts “SDL” in the -I (include) parameter. In my code files, I include “SDL/SDL.h”, so having “SDL” in the include parameter will generate numerous compiler errors because it will be looking for the headers in “include/SDL/SDL”. I could have fixed this by changing the includes in my code files to just “SDL.h”, but that would have broken the compile for the Linux build. Therefore, I just explicitly put the output of “i586-mingw32msvc-sdl-config –cflags” as the compiler parameter, removing the extra “SDL”. The other problem with the installer script is that it put all of the optional SDL library headers (like SDL_ttf.h and SDL_image.h) in the “include” directory, so I had to move all of those up to “include/SDL”. See the Makefile included with the source code if you want to see the final compile command for Windows.

I really enjoyed this project, since it brought back memories of the games that I played back in high school. It also made me thankful that programming technologies have evolved over the years.

Play ANSI_GFX_ADVNTR now or watch the gameplay video with my commentary below.


Anomalies

Category Icons

Another problem that I noticed during the playtest session was that there was not a clear correlation to the player between what they were doing in the level and the rank grades after the level was completed.  Therefore, I added three icons to the lower right portion of the screen, and numbers signifying the values for those categories which update in real time.  I thought that adding this would make the screen have “too much going on”, but I will leave it in for now.  I also put those icons next to the textual descriptions on the level complete screen, so that there is a direction connection between the icons on the game level screen and the categories on the level complete screen.

I also tried coloring the icons in real time based on the current rank value for each category.  However, this was confusing because pieces and time would start out yellow (S-rank) and luminosity would start out red (C-rank).  This is because the player raises their luminosity rank over time, and the player can only lower their  piece and time rank over time.  Plus, the colors would sometimes change and flicker too quickly between grade colors at times.  Therefore, I left all of the icons and numeric values white.

“The Level 2-6 Problem”

There is a visual connection problem that only occurs when placing a resistor next to two objects, where one of the objects in another resistor.  This is apparent on level 2-6, where you have to put a 1 resistor next to both a wire and a level 2 resistor to get the maximum luminosity of 2, as shown in the screenshot below.  Notice the connection between the 2 and 1 resistors, which really doesn’t exist when looking at the flow values, but it is incorrectly drawn.


Displaying the flow values shows that the resistor’s value is automatically deducted from the flow value.


I rewrote most of the code in the  method which returns the wire image used for a specified cell.  This code is used for both the wire and the resistors, since the resistor is overlayed on top of a wire image.  First I load four variables containing references to each of the four adjacent pieces (or null if one doesn’t exist).  Then I start assigning null to those variables if a connection to that adjacent cell should not be made.  Finally, I have an if/then statement which looks at those values and then returns an integer ID representing the wire image to use to make the appropriate connections.

I started seeing the one frame flicker problem again, when a new piece was placed  next to more than one adjacent pieces.  I found that the line of code that placed a new piece on the board was located after the code which updated all of the pieces.  Therefore, the first frame of a new piece was always incorrect.  I moved the line of code which adds the new piece above the piece array update check, and now the flicker problem is no more.

For each piece, if it is not filled or filling, then it should make all possible connections because there is no way to tell which direction the flow will be coming from.  If there is an adjacent cell, it should make a connection to that cell if the flow direction (stored as an instance variable of the GamePiece) is coming from that direction.  Conversely, a connection should be made to any adjacent cells which have flow coming from the current cell.  Otherwise, a connection should not be made to the adjacent cell, because it could possibly have a different flow value.  One continuous wire should not have two different flow values, which I explained in an earlier post.

Below is what the corrected display looks like now.  A lot of work to fix a small graphical anomaly which nobody would have probably ever noticed anyway.


Additionally, I updated the code so that the luminosity icon value only increments after the LED fills (not as it starts filling).