Blocks

Cleaning Up

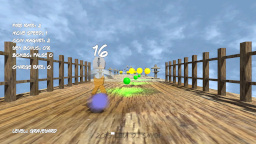
Before adding block tiles to the game engine, I pulled out all of the player variables from the GameScreen class and put those in its own Player class.  I also created a Projectiles class to hold the set of projectiles.

Blocks and Collision

For now, I created a simple 12×20 array to represent the blocks on the screen.  This just represents one screen, so later on multiple screens will need to be pieced together to form a seamless scrolling game world.  On each GameScreen update, I pass an array containing the current blocks on the screen to the player.  The player then uses that array in its update method to determine if it has collided with any of the blocks during a fall or a move.  My block collision method does a simple loop through all of the blocks on the current screen, and returns true if the player has collided with any of the blocks.  However, I also add the player’s X velocity and Y velocity to the collision rectangle’s position.  If I wait until after the player has moved into the block to do the check, then the player will become stuck in the block.  That’s why I have to check the collision based on the player’s next position.

If the player’s falling boolean is set to true and they collide with a block, then the falling boolean is set to false.  If the player’s X velocity is non-zero (they’re walking) and collide with a block, then I prevent the player from moving in the X direction.  I could set the X velocity to zero, but that would stop the run animation and the player would have to press the directional button again in the case the blocks move (such as an elevator).  If the player holds down in a direction, they should start moving again as soon as the obstacle is moved.

Walking on Air

One last problem is that when the player walks off of a block, they will continue to float until they jump.  Therefore, I had to add another check if the player is not falling and not jumping, then check to see if they collide with a block if falling downward.  If the player doesn’t collide with a block, then set the falling boolean to true so that the player starts falling.  This condition only arises if the player is not falling and not jumping (they are walking or standing).  Checking this way will be beneficial if disappearing blocks are added, then the player will start falling.  Handling elevators may be a little more tricky, since those are not aligned directly on the tile grid.

Blender Simulation of Liquid Filling a Cocktail Glass


I finally resolved a problem that has plagued me for years, which is simulating liquid filling in a cocktail glass. It seems like this could be solved with a simple scale in the upward direction in Unity, but it’s a lot more complex. My cocktail glass model has two meshes, one for the glass which remains static and another for the fluid which increases in size as the glass is filled. The fluid mesh is an upsidedown cone with a flattened top. Simply scaling the fluid mesh will result in the fluid mesh not correctly filling the glass.

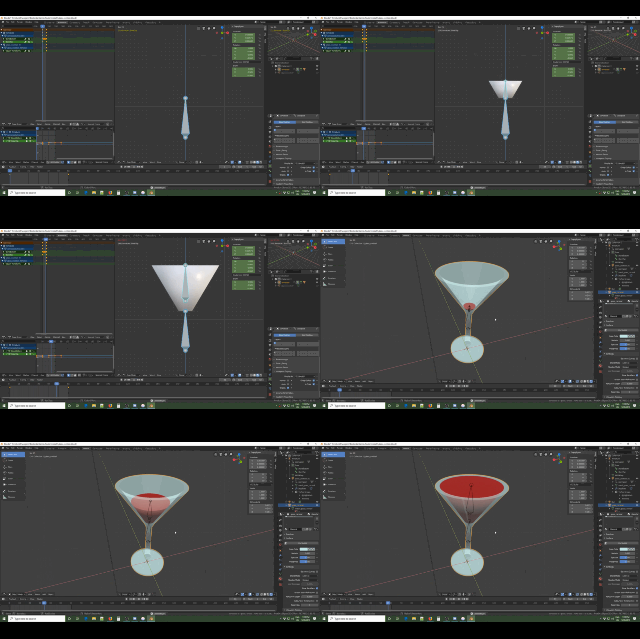
Simple scale of entire fluid mesh gives incorrect fill of cocktail glass

When I created the original fluid mesh in Blender , I believe I used the boolean difference modifier, but it’s been years since I created it so I could have possibly used some other method. For the animation, I used an armature in Blender with two bones. A bottom bone for controlling the ring of vertexes at the bottom of the fluid mesh and a top bone for controlling the ring of vertexes at the top of the mesh.

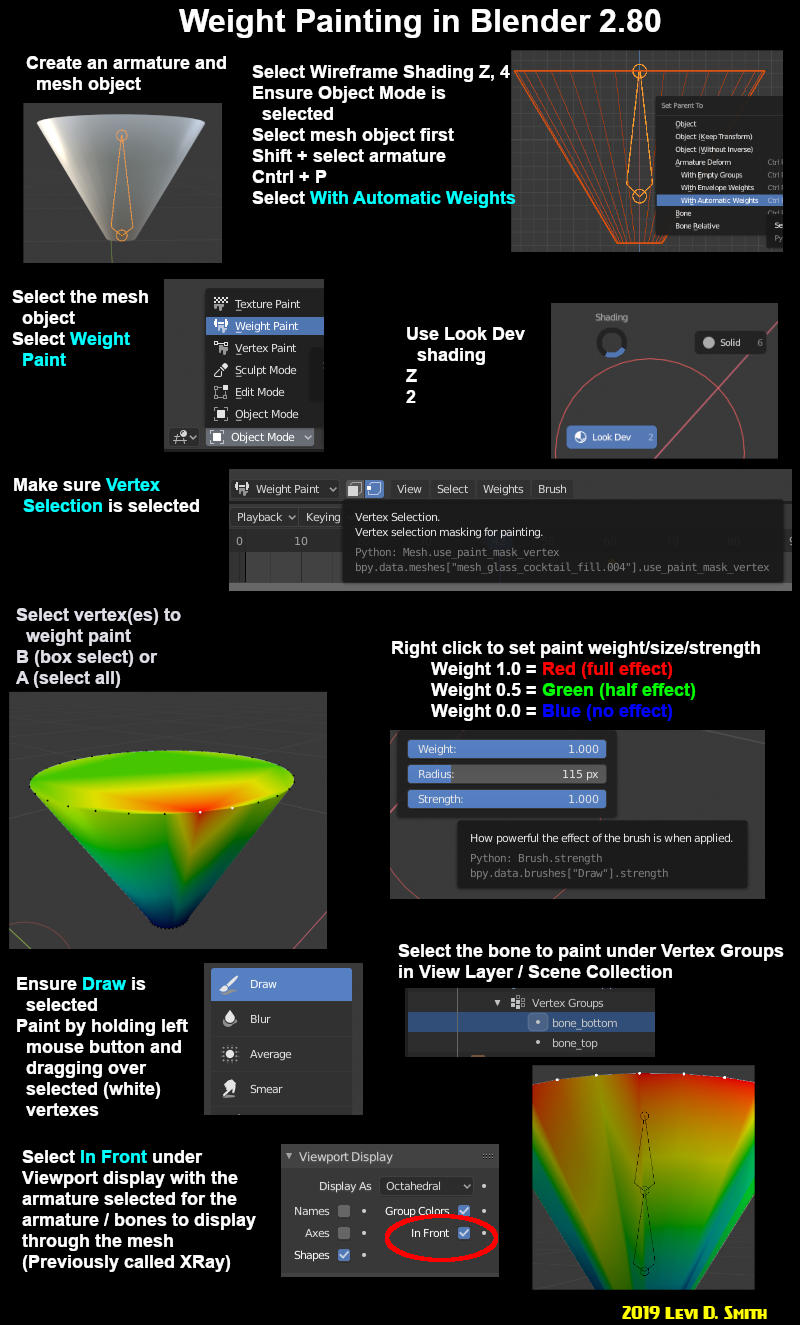
The new 2.80 version of Blender has significant changes for weight painting. I created the following infographic to show the process I use for weight painting a mesh. For my fuild mesh, I set full wieght of the top vertexes to the top bone, and the full weight of the bottom vertexes to the bottom bone.

Weight Painting in Blender 2.80

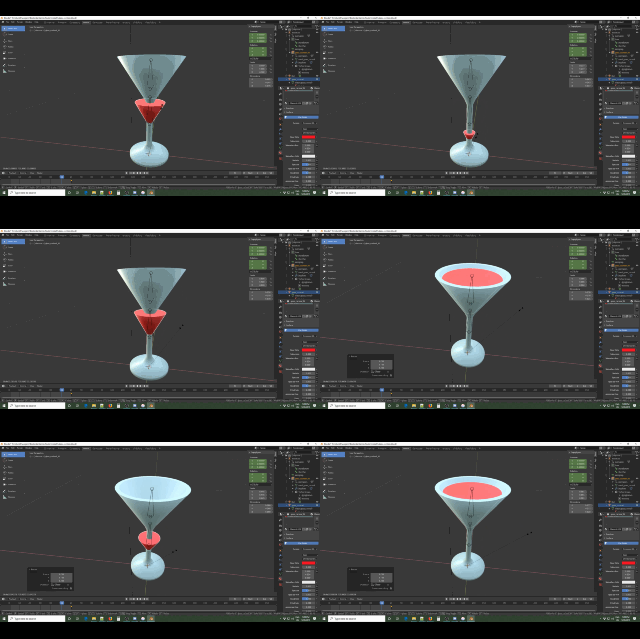
To solve the liquid filling problem, the bottom set of vertexes must remain unchanged, while the top vertexes move upward and scale outward. The fluid mesh is modeled with the glass filled. Therefore, in Blender the default pose is the last frame in the animation. I used 60 frames for this animation, so I set the keyframe for the 60th frame with the default pose. It is important to set the keying mode to location, rotation, and scale. In most of my games, I only set the key mode to location and rotation, since game objects are rarely ever scaled.

To create the filling effect, in Animation mode I set the frame in the timeline to the first frame. Then I select the top bone and scale it inward (on the X and Y axes) so that it matches the same diameter as the bottom of the glass (and same diameter as the ring of bottom vertexes). Then I translate the top bone downward, until it exactly overlaps with the bottom ring of vertexes. Then I add a keyframe for the first frame. Pressing play will show the simulated liquid starting from the bottom of the glass and filling to the rim of the glass.

Correct cocktail glass fill animation using two armature bones

I plan to use this new liquid fill animation technique to update Bartender Game in the near future.