3D Text

screen094

Today, I worked on getting the damage numbers to display correctly over each enemy’s head.  As I was working on this, it became apparent that my coordinate system was backwards.  I had noticed this before when I was trying to get the player to move, so I just flipped the sign of the X coordinate of the player.  This was happening because the example I had looked at placed the camera view at a negative Z coordinate.  After reading up more on the XNA 3D coordinate system at Toymaker by Keith Ditchburn, I learned that the positive Z coordinate comes “out” of the screen and the negative Z coordinate goes “into” the screen.  Therefore, my camera should have had a positive Z position value.  I changed this, but now I was seeing the backside of all of my models.  This was because the modification to the SkinnedModelProcessor I made rotated the model by 90 degrees on the X-axis and 180 degrees on the Z-axis.  Removing the Z-axis rotation makes the model face forward, but it is up-side-down.  I had this problem before, which I tried to fix by using a reflection transformation on the Y-plane.  This caused all of the normals to be flipped, which didn’t appear correctly.  After some more trial and error, I found that rotating my model in the processor by -90 degrees (which is the same as 270 degrees) will rotate the model in the correct position.

After fixing the model display, I updated the enemy and player objects to return a Vector3 in a method that returns the position in world coordinates.  This will eliminate the need to do the pixel to world conversion in my GameScreen3D class.  Unfortunately, this pushes it to the “model” classes, which isn’t great either and ideally I would like to convert everything to world coordinates.  However, updating all of the collision detection code will take some time, especially since the XNA Rectangle object doesn’t support floats.

Later, I found another good article by Shawn Hargreaves which explains how to draw text in the 3D world.  The examples were fairly easy to follow, and after some effort I was able to display text values on the screen.  With a little more effort, I was able to get text to follow an enemy on the screen.  His article also describes to to make a billboard, which will display the text facing forward regardless of camera orientation.  I may look into doing that later, along with the sprite optimization suggestions in the article.  However, since the game is happily running at 60 fps I will look into optimizing that later.

screen093

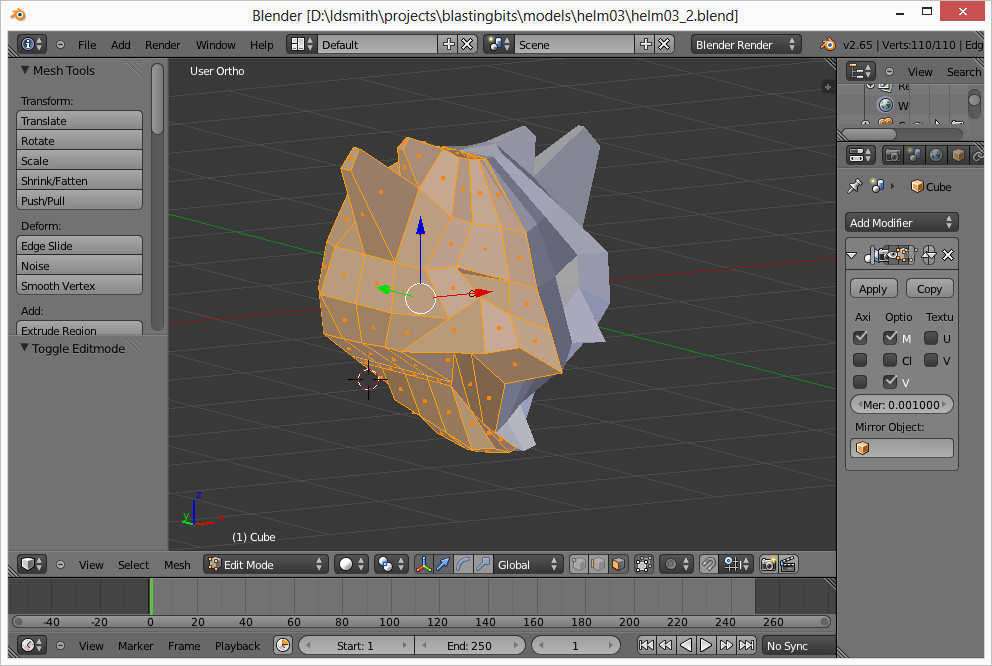
Finally, I worked on modeling the third armor set and second enemy.  I just have the models completed thus far, so I will need to go back and find and apply appropriate textures before adding them to my game.

Camera Movement

http://www.youtube.com/watch?v=2WwGt3QqENc

The camera in the 3D game world can now be moved and rotated.

Since I’ve had a few days off from work, I tried to make as much progress as I could with development of the Blasting Bits game.  I was able to get the new model processor working, and now the player model is animated in the game.  In Blender I can make multiple animations/clips, but unfortunately XNA will only allow one animation to be imported as noted in this article by Shawn Hargreaves.  So for now the player model continuously runs.  There doesn’t appear to be any elegant solutions for having multiple animations in an FBX file.

I added camera controls to the game, so when the player holds the right trigger the left thumbstick will zoom and rotate the game world.  Zoom is basically just the distance the camera is away from the game world.  Initially, I had the camera changes in set increments which appeared jarring when changed.  To fix this, I added three variables which are increment, speed, and target for both rotation and zoom.  When the player changes the camera, the increment value is added (or subtracted) from the target value.  Then for each update, the increment value is added to the current position until it reaches the target value.  This gives a much more smoother effect when rotating or zooming.

Custom Model Processor

After updating the Skinning Sample project to fix the rotation problem with Blender FBX files, I was able to compile this code into a library.  This library is found in the SkinningSample_4_0SkinnedModelbinx86Debug directory.  In my main BlastingBits game project, I added a reference to SkinnedModel.dll from that directory, which allows me to make references to the SkinningData, AnimationPlayer, and AnimationClip classes.

screen090

After running my game again, I got the ArgumentNullException error from the AnimationPlayer class from the code which checks to see if the skinningData is null.  This is most commonly due to the ContentProcessor of the model being imported not being set to the SkinnedModelProcessor.  Unfortunately, this was not an option for my fullbody5.fbx model which I had imported.  However, I figured out that this can be fixed by adding another reference under the BlastingBitsContent project, which points to the DLL for the SkinnedModelProcessor (SkinningSample_4_0SkinnedModelPipelinebinx86DebugSkinnedModelPipeline.dll).  After setting that value, I was successfully able to change the Content Processor of my fullbody5 Model to SkinnedModelProcessor.  Compiling and running the game again resulted in no errors.

screen091

In my main game class, I added an instance variable for the AnimationPlayer, which will probably later be changed to a Dictionary to hold all of the animations for all of the models in the game.  In the model load method, I create the AnimationPlayer and AnimationClip for my model.  Then the StartClip method is called to start the animation.  Additionally, the Update method is called on the AnimationPlayer instance variable in the main game update method.

screen092

After adding the updated code to draw the player model in my GameScreen3D class, the animated model displayed correctly.  However, when I tried rotating the model 45 degrees, it still displayed but there still appeared to be polygon clipping problems.  After an hour or two of testing different camera positions and angles in both my game code and the Skinning Sample code, I was able to track down that this problem only occurs when a call to SpriteBatch Begin and End is made.  After I found the code that caused the problem, I was able to do a web search and found that this problem has been reported before, and the solution is to set two RenderState boolean values on the graphics device.  When I tried to run that code, it threw an error.  However, I was able to find that error reported and a more elegant solution, which is to set the GraphicsDevice.DepthStencilState to DepthStencilState.Default before rendering the model.  Adding that one line of code before calling the model draw method completely solved the problem with the overlapping polygons in my animated model.