Overview
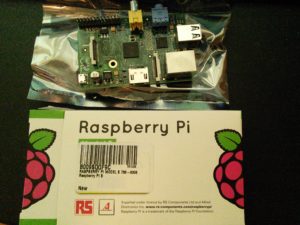
For some time, I’ve been hearing about the many things that can be created with the Raspberry Pi. A few weeks ago, I purchased the Model B from the Amazon store for about $39. After three days it arrived on my doorstep. I haven’t had the time to do anything with it, but today I decided to get it running. This is not a device that you can plugin and start using immediately. I will cover the process that I went through to get my Raspberry Pi device running. You can do many things with the Raspberry Pi, and I have chosen to create a simple arcade system as described by this article on Adafruit.
Hardware
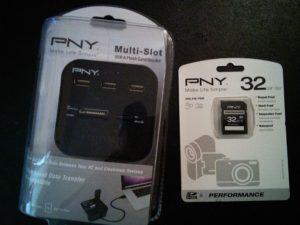
First, you will need an SD card and a method for writing an operating system image file to the card. A 32 GB SD card and SD card reader from Wal-Mart set me back about $55. These could probably be found cheaper online, but I was willing to pay a few extra dollars to walk out of the store with it in my hands today. Since I will be emulating games, I needed to ensure that my card had enough storage to hold the game image files.
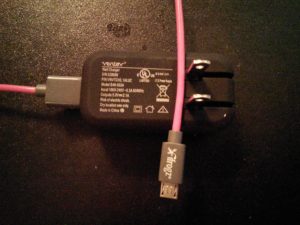
A micro-USB power supply is also required, which does not come with the Raspberry Pi. I will be using my phone charger, which is capable of 5.0 volts and 2.1 amps, which is sufficient for the Raspberry Pi.
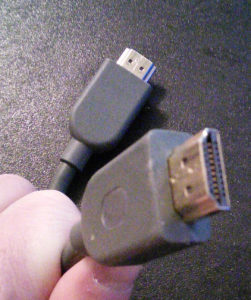
An HDMI cable is required as well, for connecting your Raspberri Pi to your display device. I am using the HDMI cable from my XBox 360.
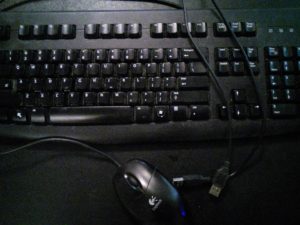
Finally, a USB keyboard and USB mouse will be needed for interacting with the Raspberri Pi.
After getting the necessary hardware, the operating system for the Raspberry Pi will need to be downloaded. The Raspberry Pi download site offers many options, and I chose to go with Raspbian. This distribution has been recommend to me by others, and it is also the recommended OS from the Adafruit article. I downloaded the 2014-01-07 version of the Rasbian “Debian Wheezy” software, which was 780 MB in size.
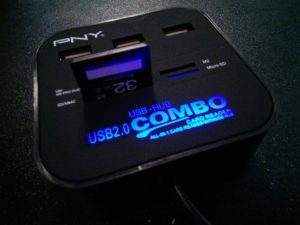
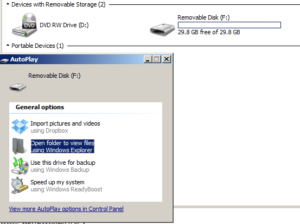
After connecting my SD card reader to my desktop PC using the USB cable, Windows automatically installed the appropriate drivers for the SD card reader. When I inserted the SD card into the reader, it recognized the card and opened a dialog window to view the contents of the SD card.
Software
In order to install the Raspbian operating system on the SD card, I downloaded the Fedora ARM Installer, which is a 10 MB zip file. I created a “RaspberryPi” folder on my desktop system, and extracted the contents of the Fedora ARM installer to that folder.
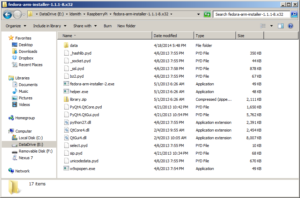
To run this application, you MUST right click the fedora-arm-installer-2.exe file and select “Run as administrator”. The application will run without administrator privileges, but it will not be able to detect your SD card device. If prompts for running DiskPart are displayed, then it is not running as administrator.

After the program starts, the user interface will display. Answering yes will allow it to make the necessary changes to install the operating system image on the SD card. Next, the Raspbian zip package was extracted into my RaspberryPi folder. After it was extracted, there was one file named 2014-01-07-wheezy-raspbian.img in the folder. I used that file as the “Source” in the Fedora ARM Image Installer. Next, I selected the SD card drive as the Destination. The file size in parenthesis should roughly match the size of the SD card. In my case, my SD card is 32 GB and the device display in the Fedora ARM installer shows 30 G. The device description in my case displayed “Harddisk1”, which is not important. It is important that the drive letter (F: in my case) matches the drive letter of the SD card device. If it doesn’t match, then STOP and select the correct device or you could risk formatting your hard disk and losing all of your data. When I ran the Fedora ARM installer it didn’t give me the option of selecting my local desktop drives (such as C:) as the Destination, so it may have some precautions built in to prevent it from reimaging your local drives, but you should still double check to verify that you are writing to the correct destination.
After I verified that everything was correct, I pressed the Install button to write the image to the SD card. When the warning message displayed, I confirmed that it was the correct device and selected “Yes” to write the Raspbian image to the SD card.

Writing the image to the SD card took a few minutes.
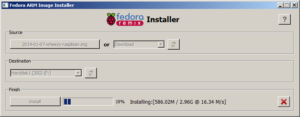
Once the “Install Complete” message displays, the imaging is complete and the SD card can be removed from the card reader.
Booting up the Raspberry Pi
Insert the SD card into the slot in the back of the Raspberry Pi.
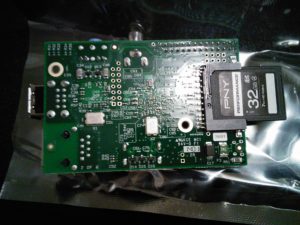
Connect the keyboard, mouse, and HDMI to the front of the Raspberry Pi. Finally connect and plugin the micro USB cable to power on the Raspberry Pi.
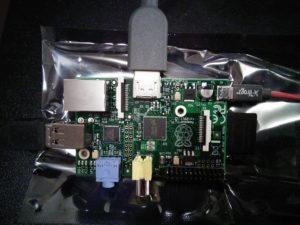
Once powered, the screen should display the Raspberry Pi boot up sequence.
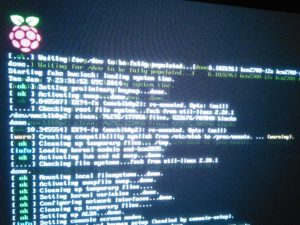
After the Raspberry Pi has booted, the raspi-config menu will display. First, I selected “Expand Filesystem”.
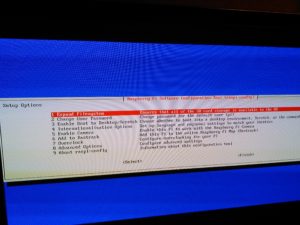
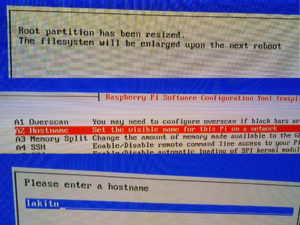
A message about the root partition being resized and enlarged on the next reboot displayed. To give the Raspberry Pi device a unique name on the network, I selected 8 Advanced Options, then selected A2 Hostname. I was then able to enter a new name for the device.
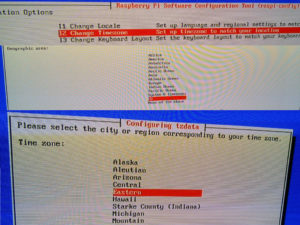
Next, I selected 4 Internationalisation Option, and then selected I2 Change Timezone. It takes it a while to move to the next screen, so don’t press anything until the Geographic area screen is displayed. I selected US, and then selected Eastern on the next screen. There were some confirmation messages displayed at the bottom of the screen that the time zone had been changed, and then it transitioned back on the raspi-config main menu.
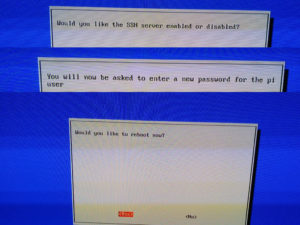
Then I selected A4 SSH and enabled the ssh server. This allows administration of the Raspberry Pi over the network through ssh. Finally, from the main menu I selected 2 to change the password. It will display a prompt at the bottom of the screen, and the characters will not echo as the password is typed. It will prompt you to confirm the password that was just entered. Now from the main menu, the right key was pressed twice to select Finish. It will prompt to reboot, which I confirmed.
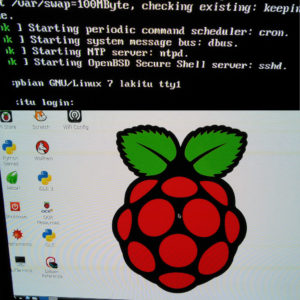
After restarting, the Raspberry Pi will display a command prompt to login. If the login prompt is cutoff on the display, then run sudo raspi-config and change the option for overscan to enabled. Once logged in, I ran the startx command to bring up the graphical desktop.
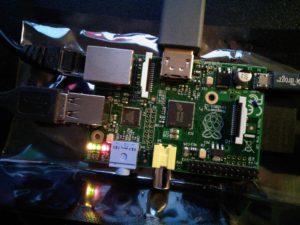
After the desktop was started, I connected a wired ethernet cable from my router to the Raspberry Pi to enable connectivity to the Internet. Once the networking cable is connected, then additional green and yellow lights will illuminate on the Raspberry Pi. I noticed that if the networking lights on the Raspberry Pi are not illuminated, then disconnecting and reconnecting the networking cable seems to solve the problem. This sometimes happens after the Raspberry Pi is powered off. I did have a wireless networking USB adapter that I could have used instead of wired networking, but the Raspberry Pi only has two USB slots, which are currently used by the mouse and keyboard.
Downloading the arcade software
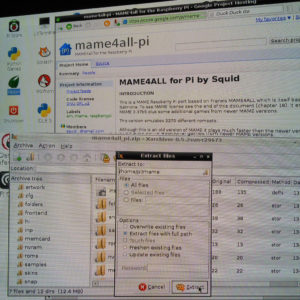
Now that I had a working desktop, I started the Midori web browser on the Raspbian desktop, and I downloaded MAME4all from the project page on the Google code webiste. Then I downloaded the mame4all_pi.zip file using the Open option, and then I extracted the contents of the zip file to a folder called mame in my home directory.
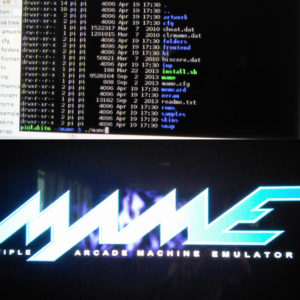
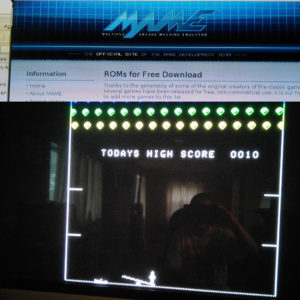
The mame executable should already be built, so after changing to the mame directory using LXTerminal, I just typed “./mame” and it successfully started. Unfortunately, after the title screen displays, the main menu did not detect any ROMs. I went to a site called mamedev.org/roms which had a collection of free and legal ROMS which can be used for testing.
I just picked a game called Circus, confirmed that I am using it for non-commercial use, chose the Open option. For some reason, whenever I tried Save As it would just create a file with 0 byte size. After it opens in the Xarchiver, I extracted the contents to the ~/mame/roms folder. All of the files must be extracted to the roms folder. After the files were extracted, I ran the game by typing ./mame circus from the mame directory. This successfully started the circus game. For some reason, when I just ran ./mame the main menu still couldn’t find the game.
The controls for mame games can be found on the mame4all-pi project page. Pressing 5 on the keyboard adds credits. After credits are added, pressing the 1 key will start a one player game. The objective of this game is to use the left and right keys to move the see-saw to bounce the menu upward to collect the gems. If one of the men misses the see-saw, then the player loses a life. Mame has many other useful options from the command line, which can be displayed by running ./mame –help
Notes
Be sure to go into raspi-config and select 4) Internationalization options, select I3 Change Keyboard Layout, and set the keyboard to “Generic 101-key PC” and keyboard layout to “English (US)” format. Otherwise, you will have a hard time typing symbols like pipe ( | ) and many keys like the “at” sign and double quotes will be out of place.
To get my Raspberry Pi to start mame on boot, I had to create an /etc/init.d/arcade script which runs my arcade.sh script. I used this page as a guide.
My ~pi/arcade.sh script:
sudo mame/retrogame/Adafruit-Retrogame-master/retrogame &
mame/mame <rom image>
Remember to “chmod ugo+x” your script files.
Edit using “sudo vi /etc/init.d/arcade” otherwise you will not be able to save the file.

