Honey Bear

Play Online at Scratch website (requires Flash plugin enabled) – https://scratch.mit.edu/projects/172362041/

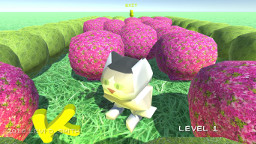
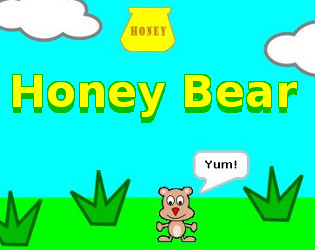
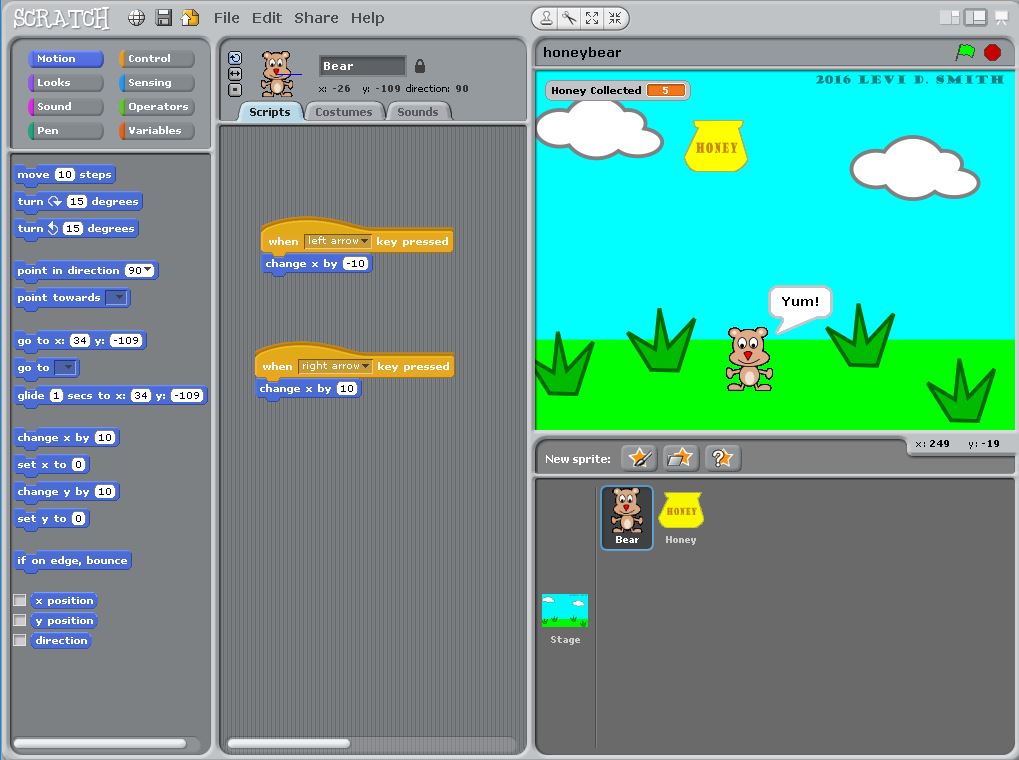
Honey Bear was a game that I developed in scratch, which runs on my Raspberri Pi arcade, using Scratch as the development environment.  You can move the bear left and right using the joystick.  The objective is to collect as many falling pots of honey as possible.


Released

Home Stretch

Small Glitch

Fixed an issue that actually only occurs on one frame of the fill animation.  This happens when a wire goes to the “filled” state, but the neighbor wires have not yet begun filling.  Since the wire is filled, it doesn’t make any connections to neighbors that don’t have the same flow value.  Since the neighbor doesn’t have a flow value initialized yet (assuming it is defaulted to zero), it’s flow value doesn’t not match the flow value of the wire that just completed filling, therefore it will not be connected.  However, on the next frame the empty wire will begin filling, using  the flow value of the filled wire which will make it connected again.  This flicker was quick, but it was noticeable.  Therefore, I added special checks for this case, and made the wires connected in this one frame case.

The Night the Music Died

Used the Pause method on the MediaPlayer to pause the music when the pause screen is active.  Unfortunately, there is no MediaPlayer property to determine if the music is paused, so I had to create a new variable to track if the music was paused.  I simply want to resume if the GameLevelScreen is coming from the pause state, but I want it to start playing anew if it is coming from the title screen or level select.  Also had to set this pause variable to false if the user quit from the pause menu to the main menu, otherwise it would still think that the music just needs to be resumed.  When that happened, it would try to Resume the title screen music when the level started.  The title screen music would just continue to play during the level, and the level music would never start.

Centering Text

Overloaded the drawRaisedString method, so that it now takes six arguments with the last being a boolean signifying if the text should be horizontally centered at the point passed as a parameter.  The drawing code is now in the six parameter method, and the five parameter method of the same name just calls the six parameter method with the boolean set to false.  This will keep me from having to change every line of code in the game that uses the drawRaisedString method.  Plus, I just add “true” as an extra parameter for the text that does need to be centered.

Background Colors

Fixed the background colors for level 4 (yellow) and 5 (green) so those aren’t so bright.  Also created a standard method in the LevelDefinition class that returns the background color, since that color was previously being determined in two different locations.  Updated those locations to use this new standard method.

Added columns of stars in the background which scroll if the player achieves the star rank (S Rank in all three categories at once).  Stars in the even number columns scroll in the opposite direction of the stars in the odd number columns.  I used Inkscape to make the stars since there was no easy way to make a star shape in Gimp.  Then, I just took a screenshot (PrintScreen button) and pasted into Gimp, because copy-and-paste from InkScape to Gimp doesn’t work.  I then used the fuzzy select tool to select the star, set the selected star region to white, inverted the select and set the remaining to transparent (after adding transparency to the layer).


One thing that I do like about C Sharp is that after some research, I found that structures (such as Vector2) can be passed by either value or reference.  At first I found it passed by value, when I tried to pass my star position to the getStarPosition method, but it left the position at the original value after the method completed.  Then I found that just using the ref keyword in the method parameter list and in the method call will make it pass the Vector2 by reference, which allows the method to modify the original Vector2 passed to the method.  This was necessary for me to make a trailing star effect, for the blinking stars that circle the results.  After trying a few different things, I thought the best look was two groups of three stars that circled the result screen.  Also, the yellow alternates between the three stars in each group.

More Effects

I also added a glow effect, so that the wire transitioned from yellow to white (four different shades) every 15 frames.  I didn’t like how it looked, so I just set it back to solid yellow.

Using the sprite scale parameter, I was able to make a light layover expand inside of the LED circle.  This gives the appearance that the LED is filling up.  The default color for an LED was set to light gray (previously white) to give a better contrast between the expanding yellow inner circle sprite and the rest of the LED sprite.
Helmet Model

helm_render2

Tonight I continued more modeling in Blender.  I would like to go ahead and complete all pieces of armor.  Once all of the armor pieces are complete, there may not be much to do for the player model.  I created a helmet from starting with a cube, using a background image of a helmet I found on the web.  Using multiple loop cuts (Ctrl-R), I was able to make the cube outline the background image.  I also used the loop cuts to make an outline of the center eye piece and mouth opening.  Once each of those were outlined, I extruded inwards to give a carved out appearance.  Since I didn’t have a guide for the sides, top, or bottom, I just added to vertical loop cuts and expanded slightly outward.  The side and back usually don’t have much detail, and the player probably will never see the top or bottom of the helmet.

After reading a few tutorials, I was able to remember how to do UV mapping in Blender.  First, it’s best to have two views open, one for the 3D view and one for the UV/Image Editor.  In the 3D view, I had to set viewport shading to Texture to see the texture mapping in real time.  I selected my helmet object and went into Edit mode.  Now set the selection mode to select Faces, and I selected the faces for the first texture.  I did this by selecting all faces (A key) and then unselecting the faces in the eye pieces and mouth opening (Shift Right Click).  Then I selected Mesh, UV Unwrap, UV Unwrap.  In the UVMap viewport, I selected the plus button to create a new image of size 1024×1024.  When I did this, the unwrapped image appears.

Screenshot from 2012-12-15 00:54:18

Using Gimp I created a seamless image using one of the images from CGTextures.com.  I selected that image and copied, and used that Clipboard pattern to fill a new image of size 1024×1024.  I saved this new image as a PNG, and then selected that image in the UV Map viewport using Image, Open Image.  I translated and rotated the 2D points in the UV map slightly to give the texture map a better appearance.  The texture map on the 3D model updates in real time as the 2D points are being modified.  Next, I did the same process in Gimp to create a 1024×1024 texture for the eyes and mouth.  I unselected all of the faces in the 3D view (A key) and only selected the faces in the eyes and mouth (Shift Right Click).  The free select tool (Cntrl Left Mouse Button) makes selecting multiple faces much faster.  With the new faces selected, I created a new image in the UV Map view by pressing the plus button using size 1024×1024.  Again, I selected Mesh, UV Unwrap, Unwrap to place the selected faces on the 2D UV Map plane.  By selecting Image, Open Image I added my second texture to the UV Map view, which automatically updates the texture on the 3D model.

Screenshot from 2012-12-15 01:04:02

The last tricky part is that even though the textures display in the 3D viewport, the textures will not display when rendered (F12), which is the only way to generate an image file.  Rendering the image will still result in a non-textured image.  The trick is to select the object in Object mode, select the Material tab to display the default material for this object, then scroll down to the Options section and check both Face Textures and Face Textures Alpha.  I don’t have a clue why these are not selected by default if those are required to make the UV map during a render.  After playing with the lighting and cameras, I was able to get a decent render of the helmet that I modeled and textured.

That’s enough for one night, so I will probably wait until tomorrow to do the rotation animation into sprites.  At some point, I would like to try to export the model into Autodesk .fbx format and use the model directly in my game code.  However, this will probably require much effort to convert my 2D sprite based game into a 3D space.  However, I think it can be done, since my game display code is for the most part decoupled from the game logic.  In theory, I should be able to make a new instance of my GameScreen class that does 3D rendering, and be able to switch between 2D sprite mode and 3D rendering mode by just changing the pointer to the GameScreen class instance.