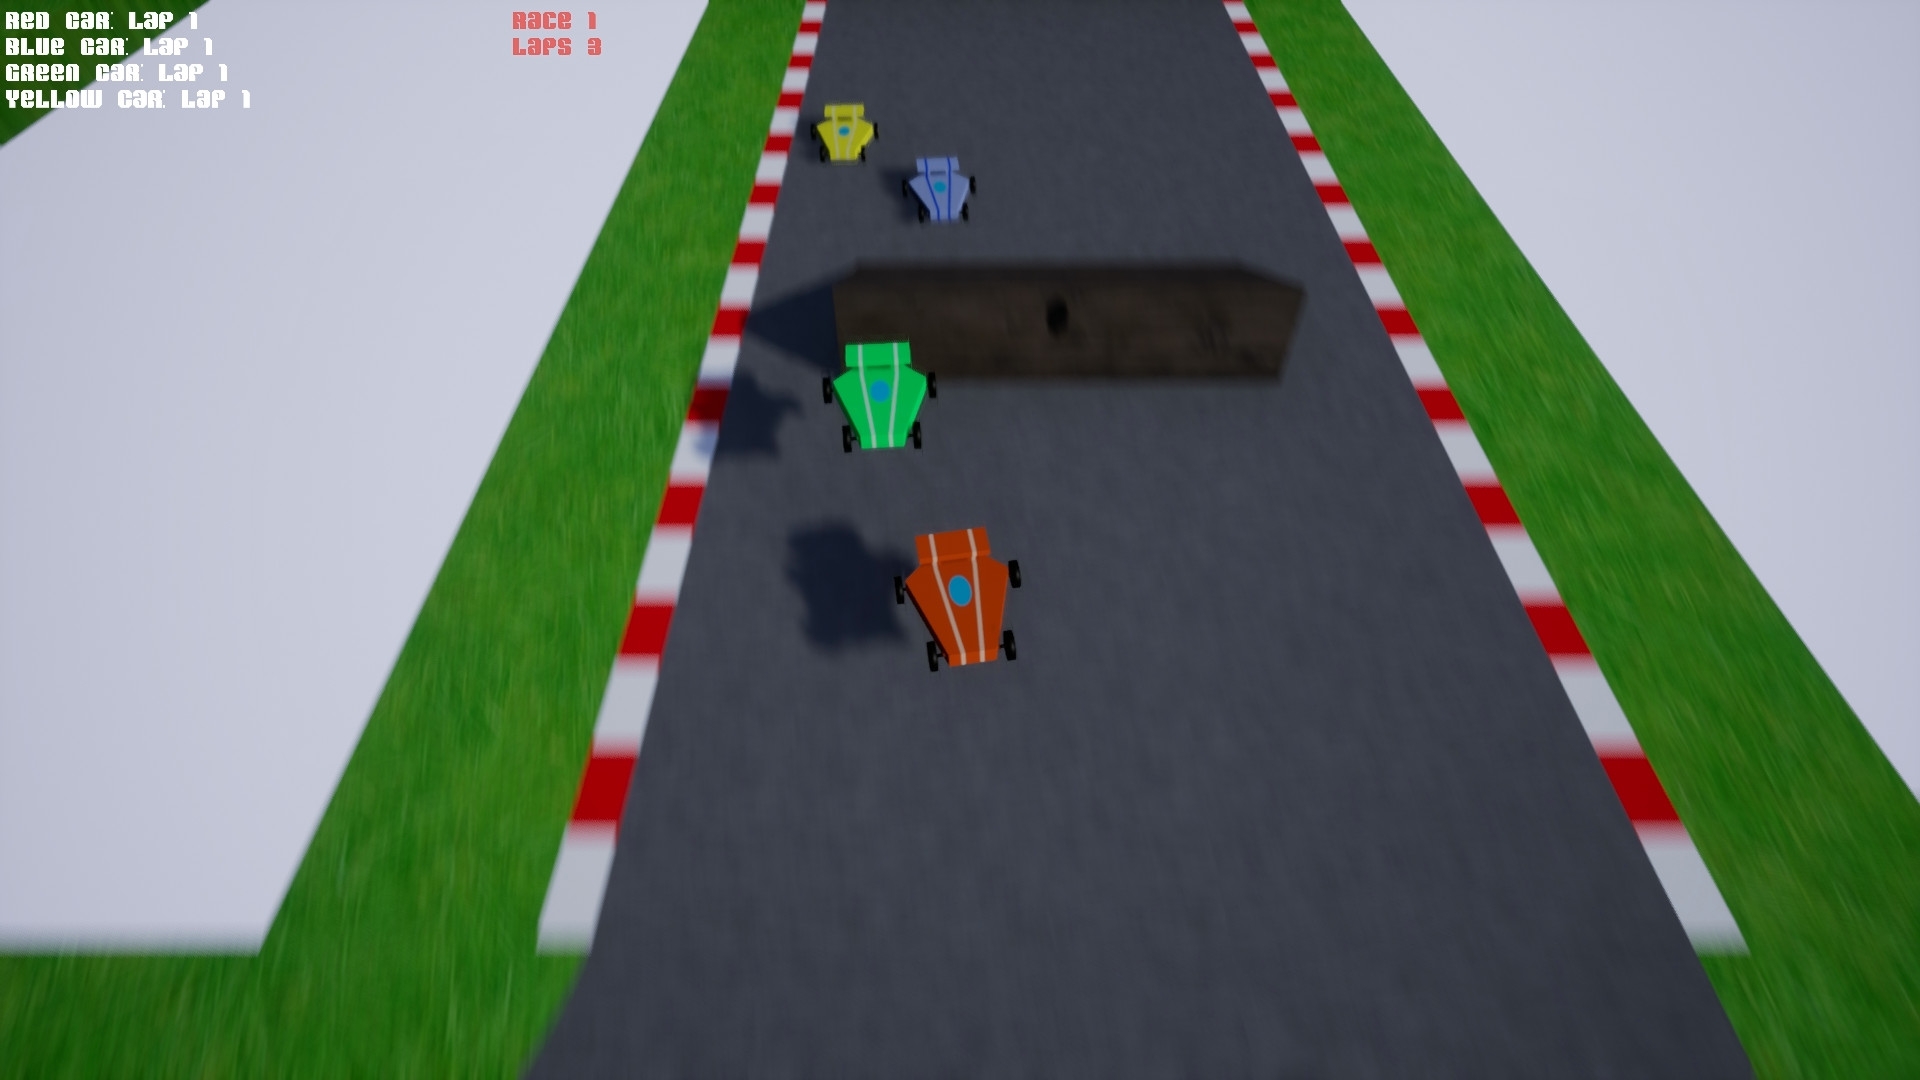
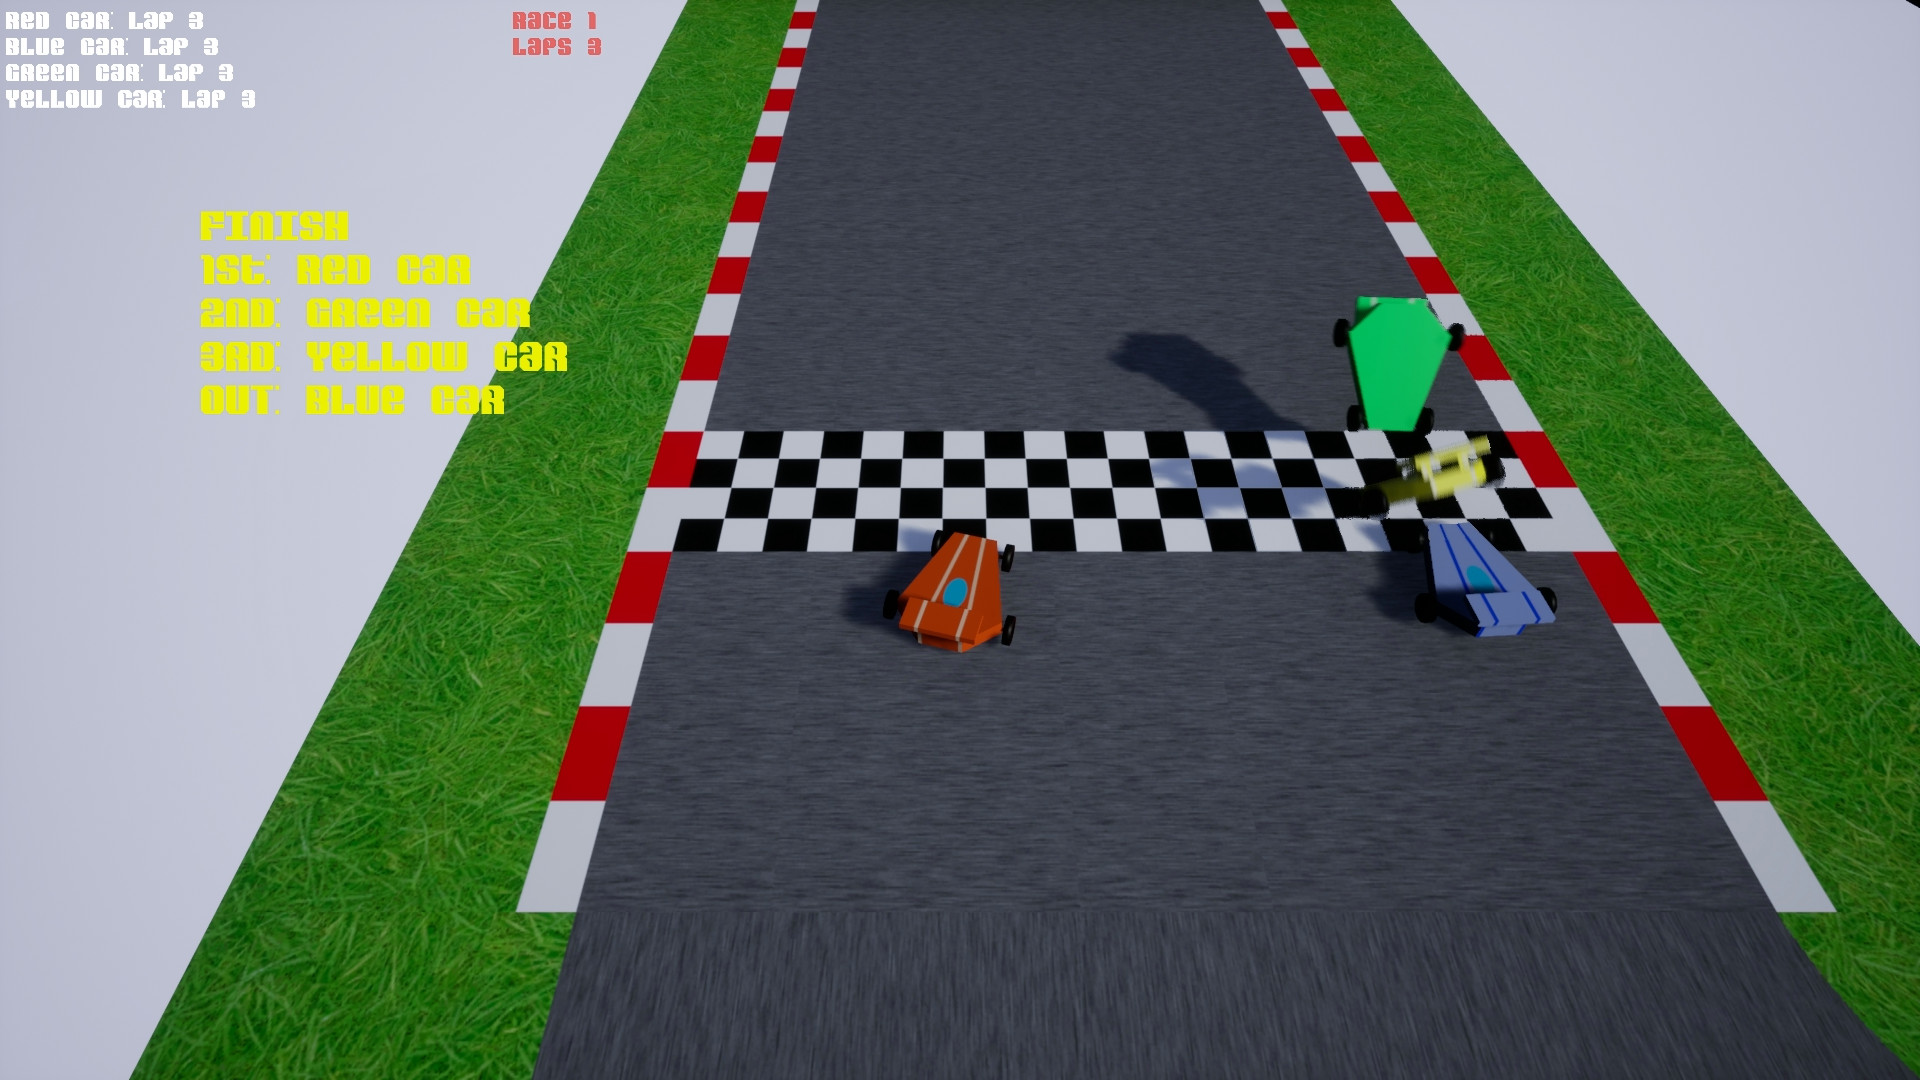
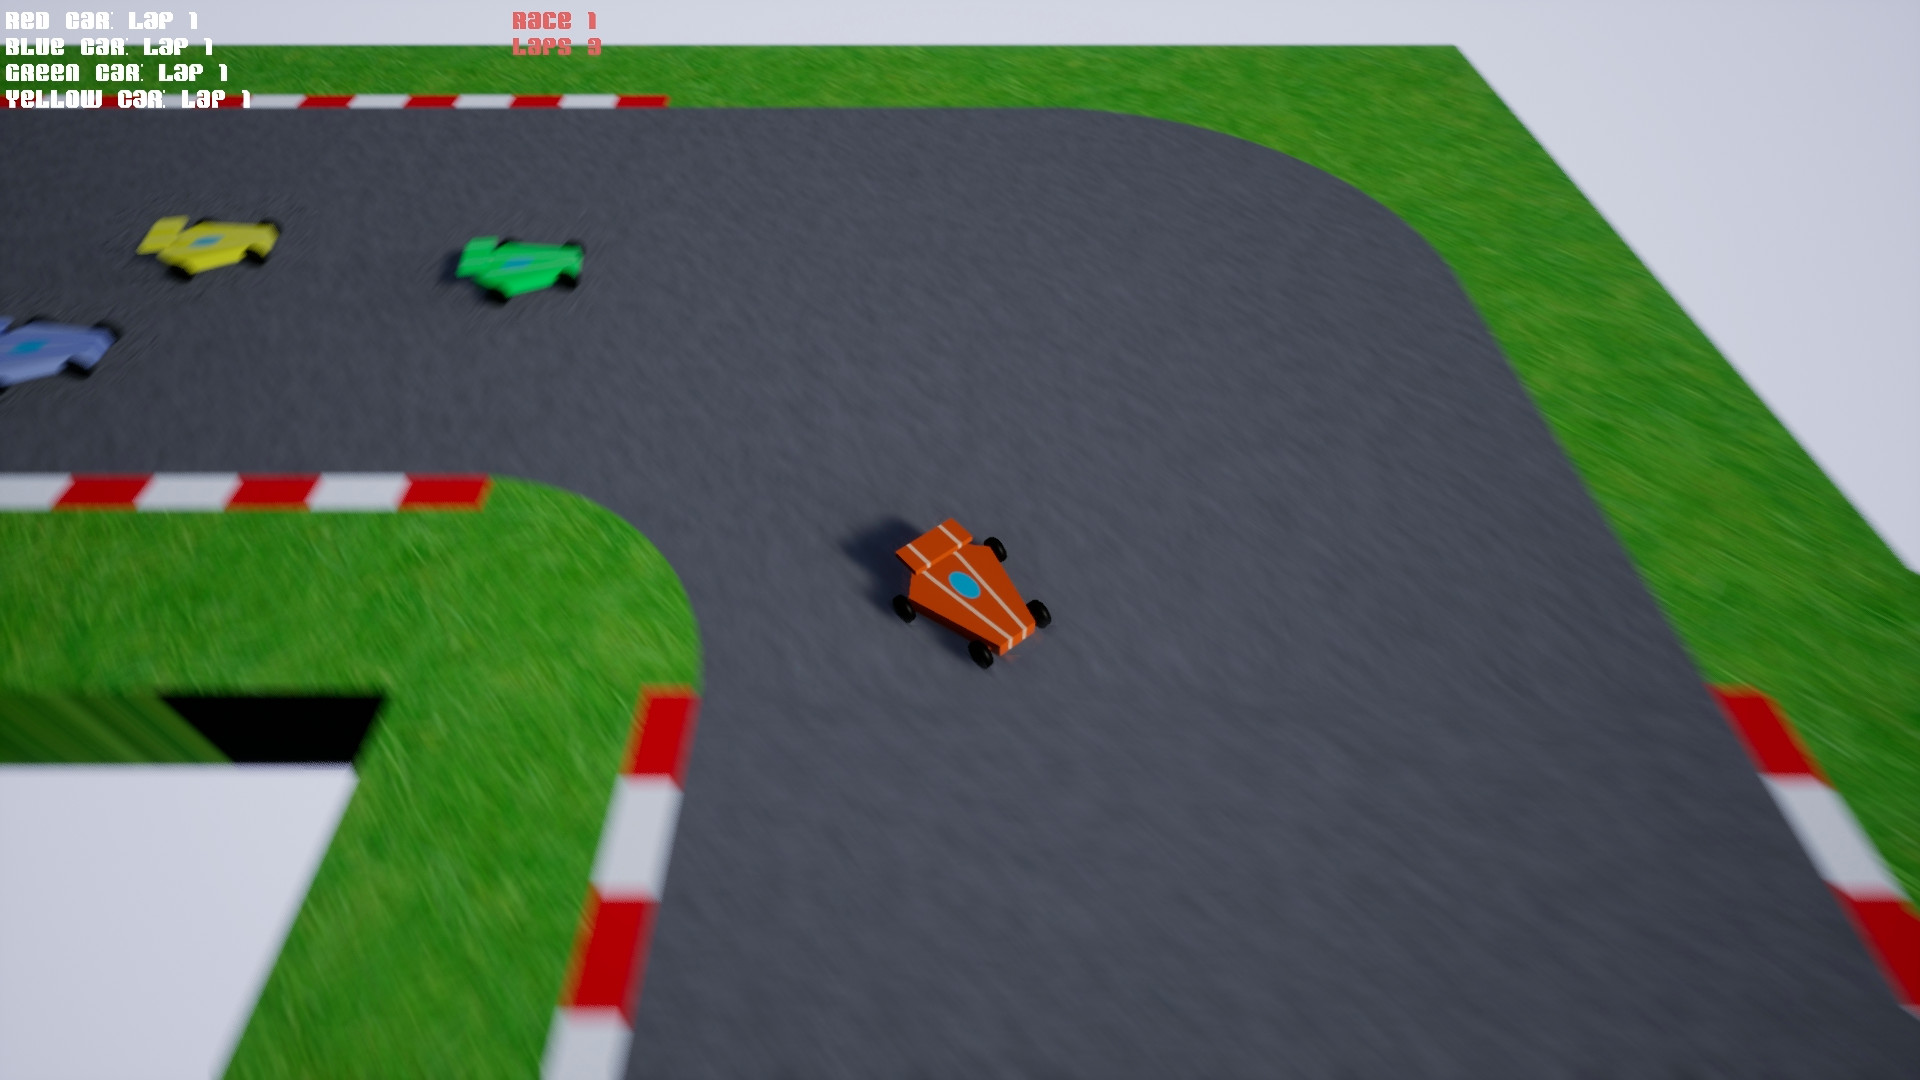
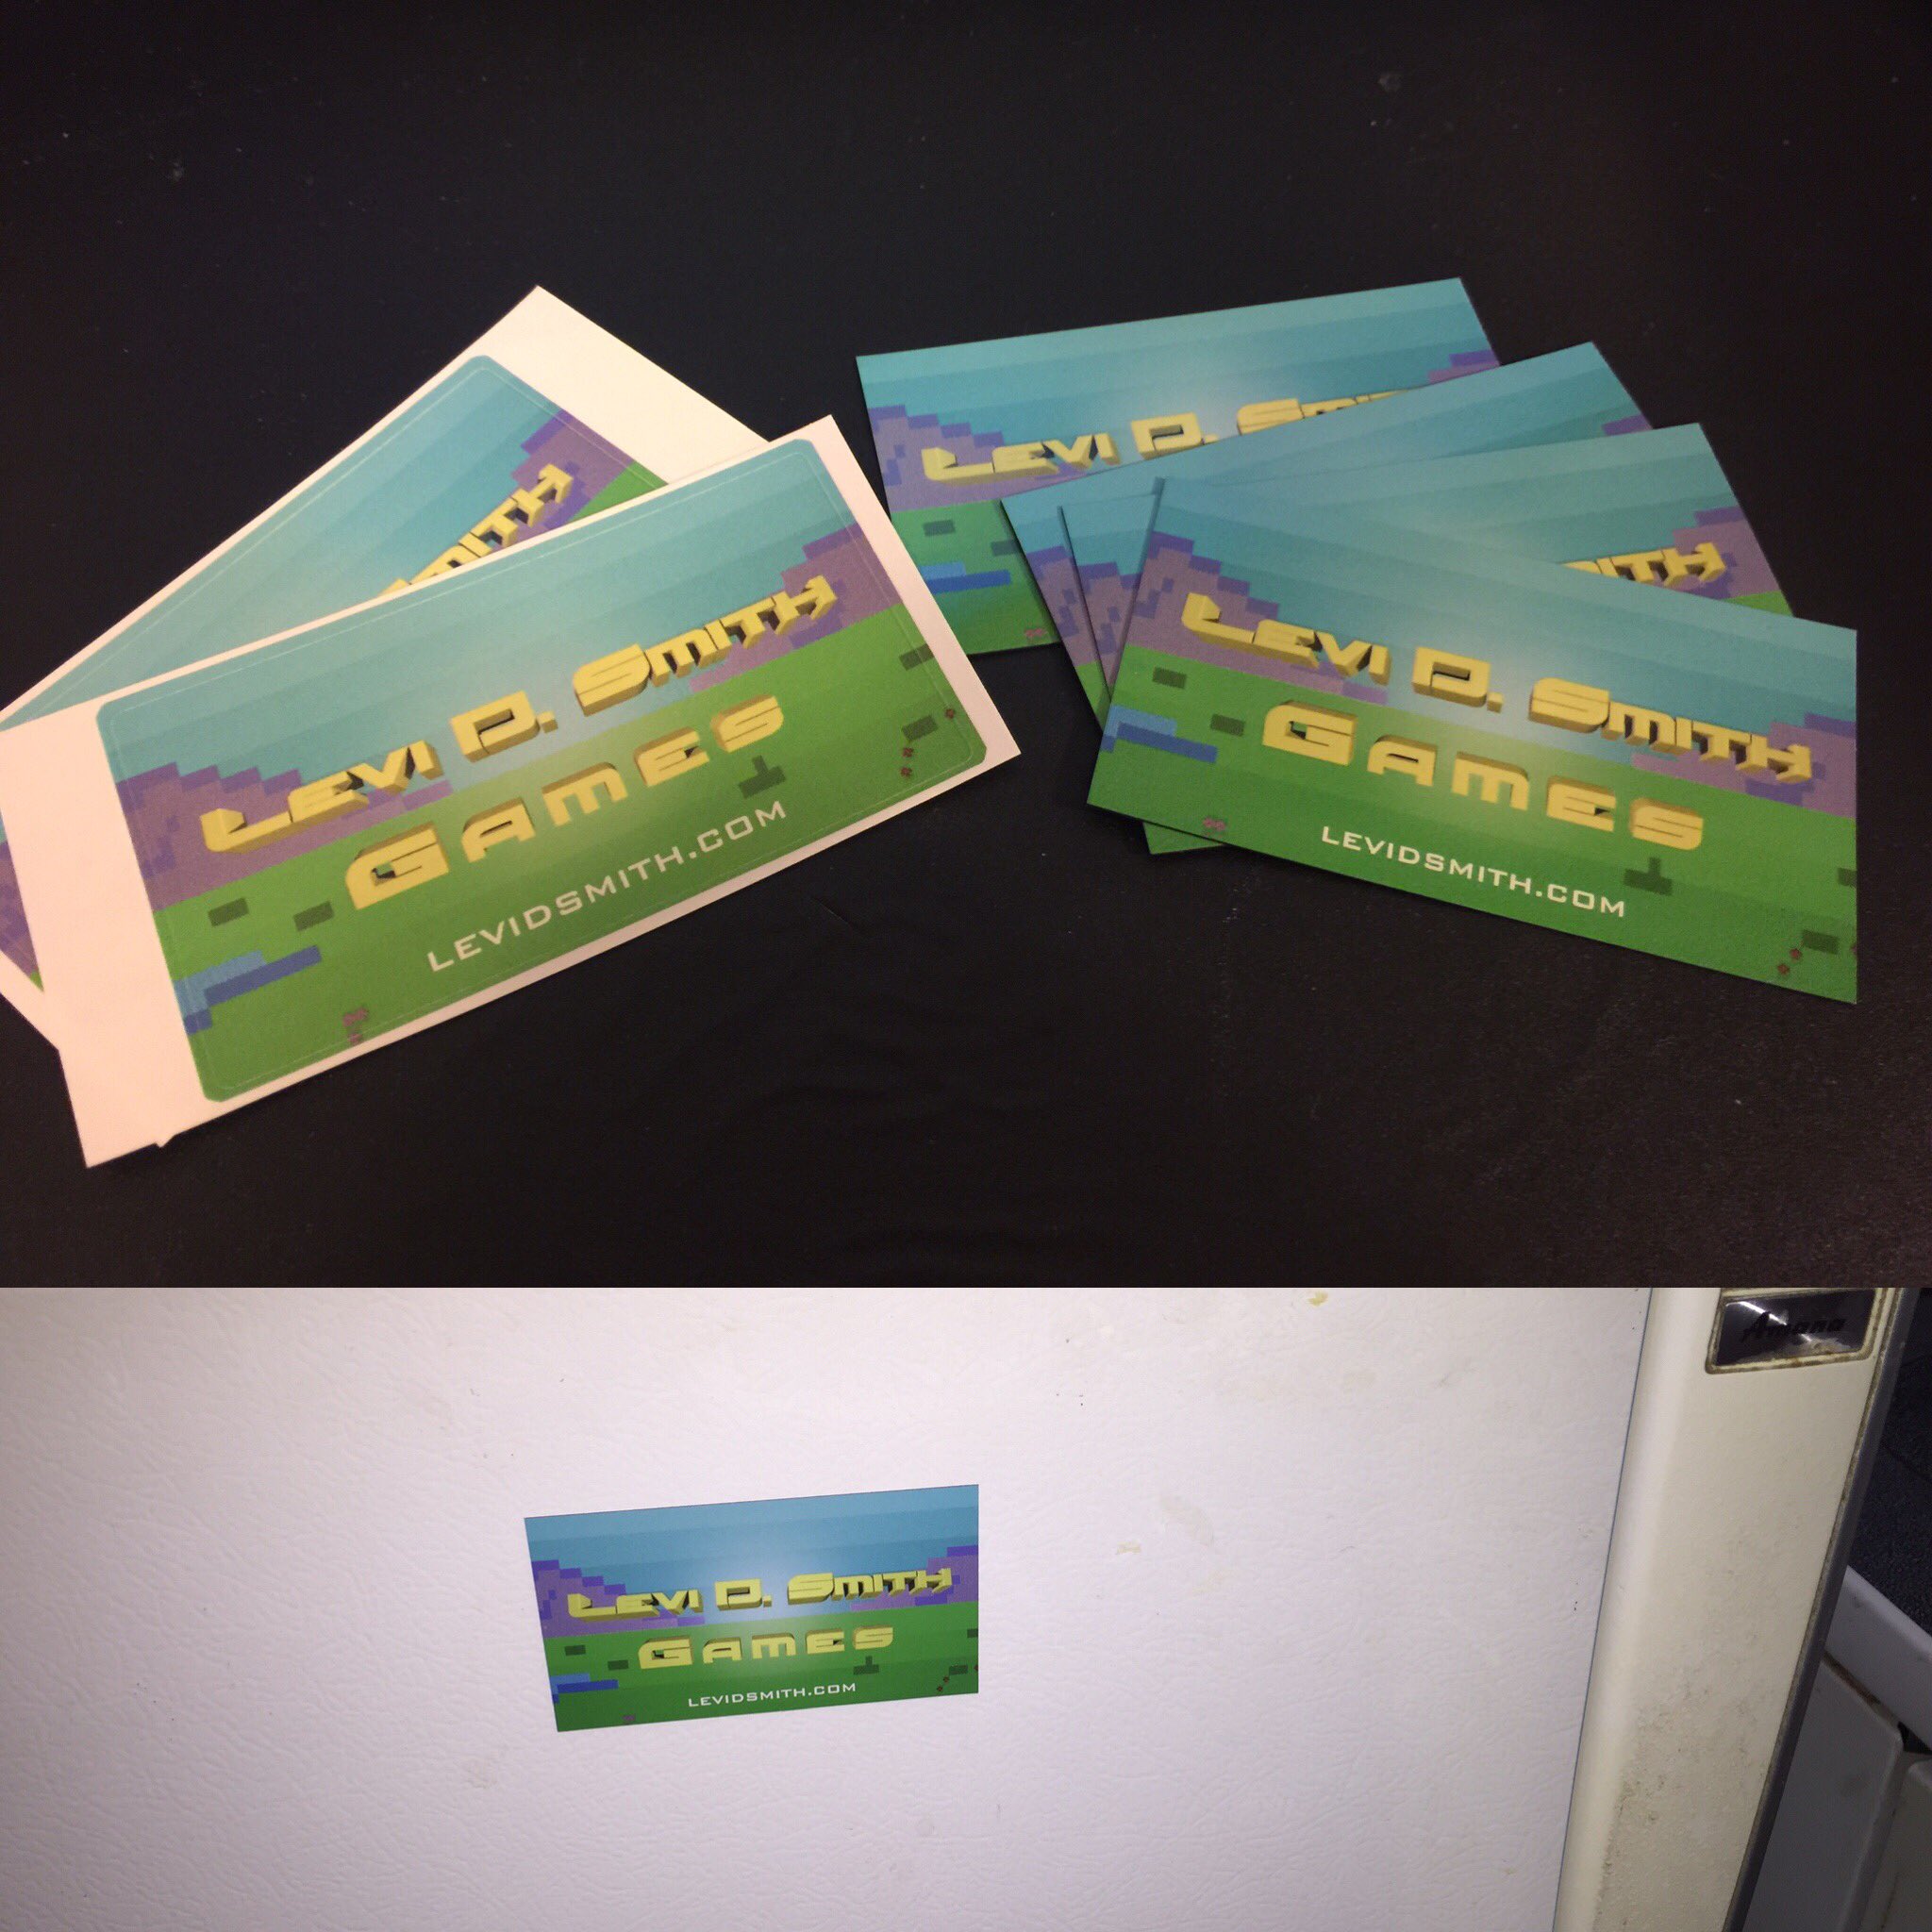
The Emory Place Block Party is this Saturday (August 20, 2016), and I will be there at the Technology Cooperative showing games that I have created. Other members of Knoxvile Game Design will be there as well showing off their games. Stop by and say “hello”, and pick up a free sticker and refrigerator magnet as well. The sticker is great for laptops to show your support of Levi D. Smith Games!

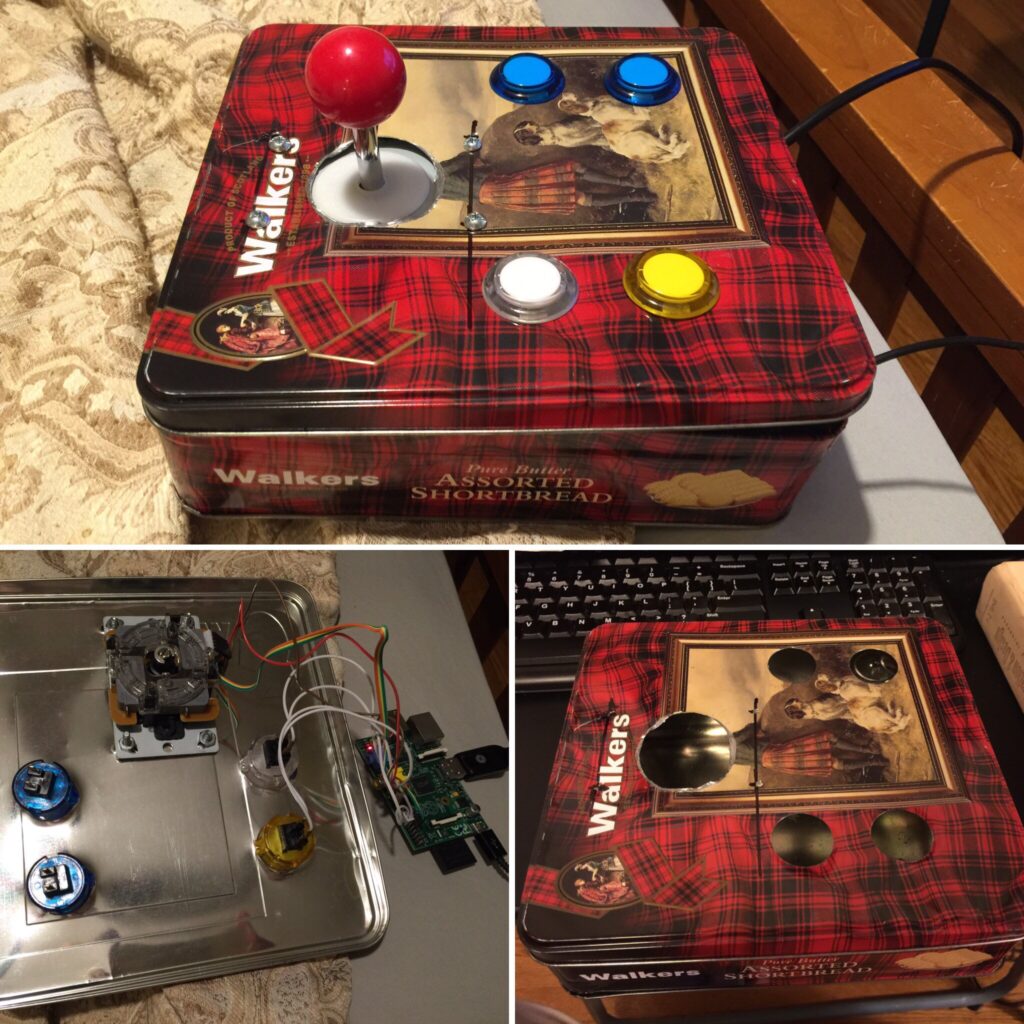
I will be showing off the new case that I created for my Raspberry Pi arcade system. Two new blue buttons have been added, which I have set to control the 1 and 5 keys. In Mame, 1 is used for the 1P button and 5 is used for Insert Coin activation, so now Mame games can be played completely without using the keyboard. The button configurations are set in the retrogame.c file, which must be recompiled each time it is reconfigured. I have a secondary button configuration for controlling Pygame and Scratch games. The buttons are mapped to the 1 through 4 keys.
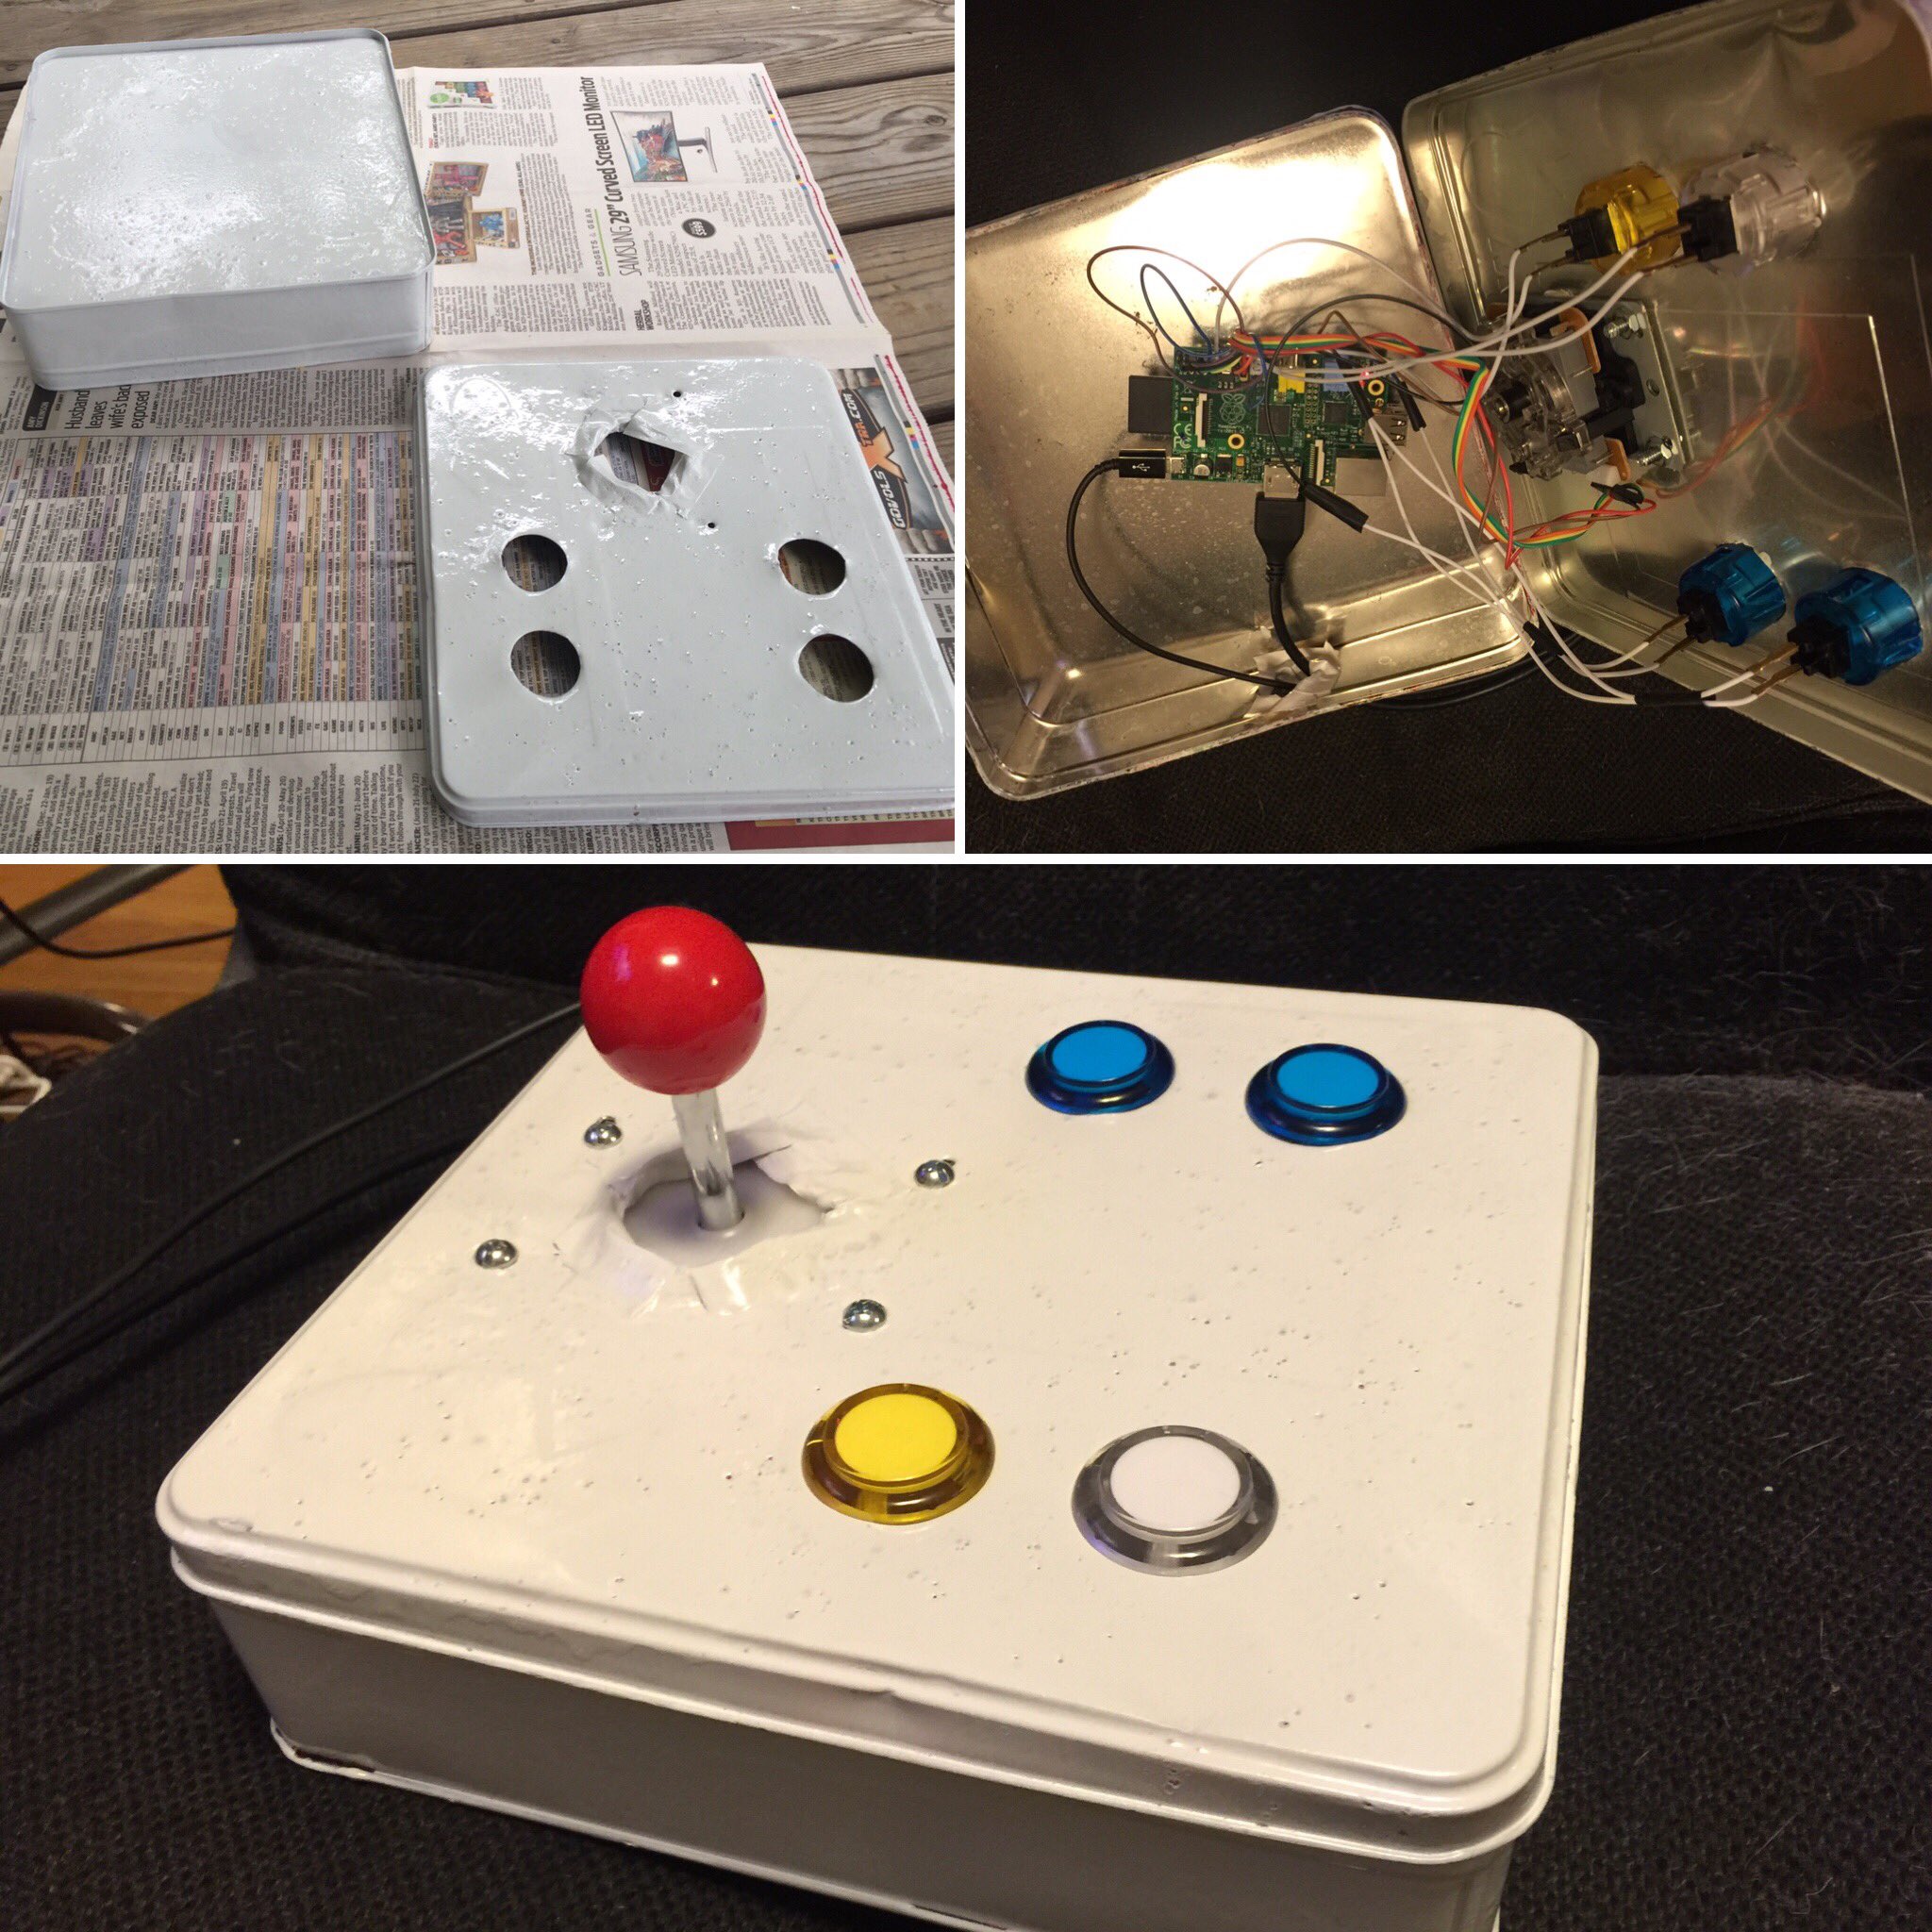
Getting the additional buttons working was a little tricky, because there is a limited number of ground pins on the Raspberry Pi. Each arcade button must be connected to an active pin (which is the button identifier) and a ground pin. I was able to strip a write that I used for ground, and connected it to two of the connections to the new blue buttons, and then wrapped them together with electrical tape.
I am currently in the process of painting the case, so be sure to come to see the new paint job. This new case should be much more sturdier than my old lunch meat case. The only mistake I made was that I made the joystick hole bigger than it needed to be. I should have used the 1″ (inch) hole saw bit that I used for the buttons, since the joystick hole only needs to be as big as the shaft, since the ball on the top of the joystick can be detached. I did put another 1″ hole in the back of the case, which will be used for running the USB power cable and HDMI cable. I am also planning to mount the Raspberry Pi to the bottom of the case, but all of the screws that I currently have are not small enough for the mounting holes on the Raspberry Pi board. I also need to find a way to cover the edges of the holes which can be sharp. Currently, I have it covered with white duct tape.
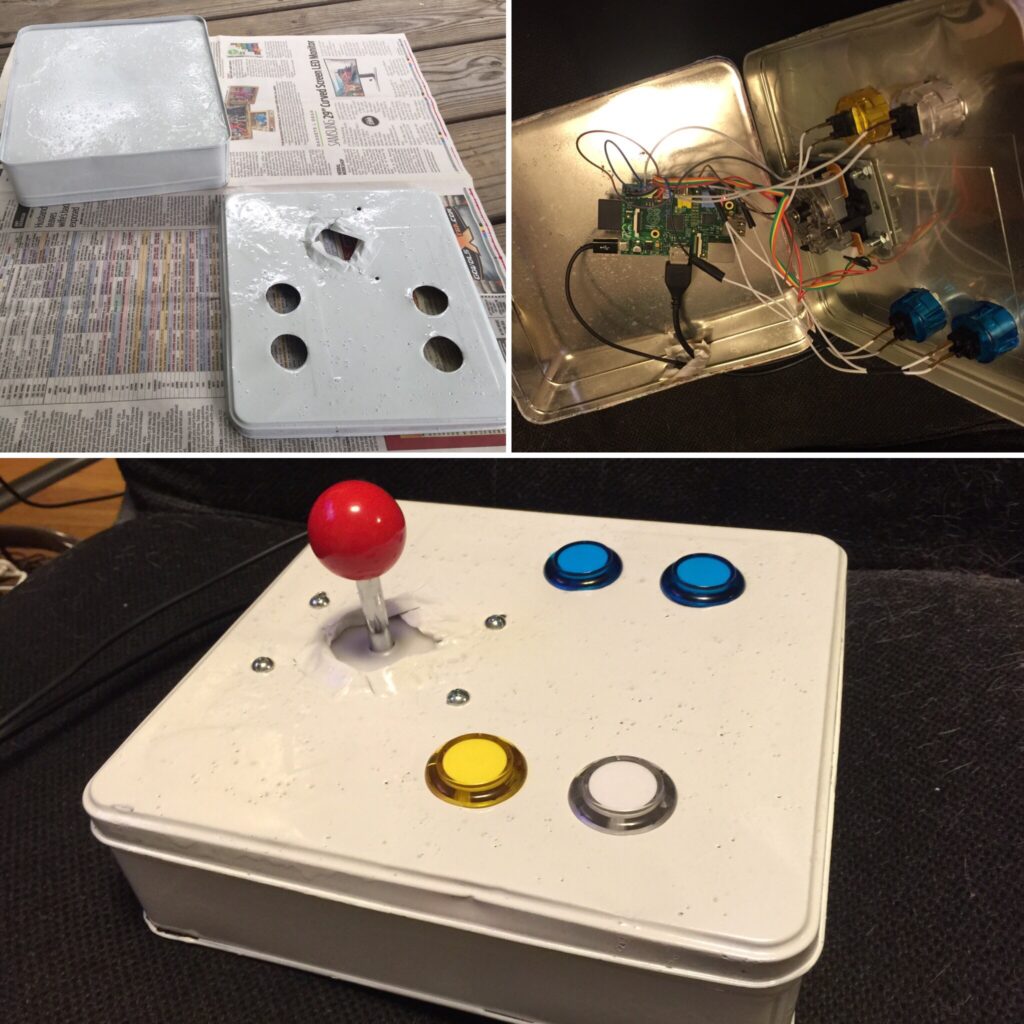
After I got everything working, I took everything apart again so that I could paint the case. I used a can of Rust-Olem white paint and primer. Unfortunately, it started sprinkling rain a few minutes after I started painting, which I believe led to the small air bubbles. It’s actually sort of a neat pattern. I applied a second coat of paint about an hour later, then waited 24 hours for the paint to dry. The hardest part was removing the buttons from the lid, which were much easier to put in than take out.
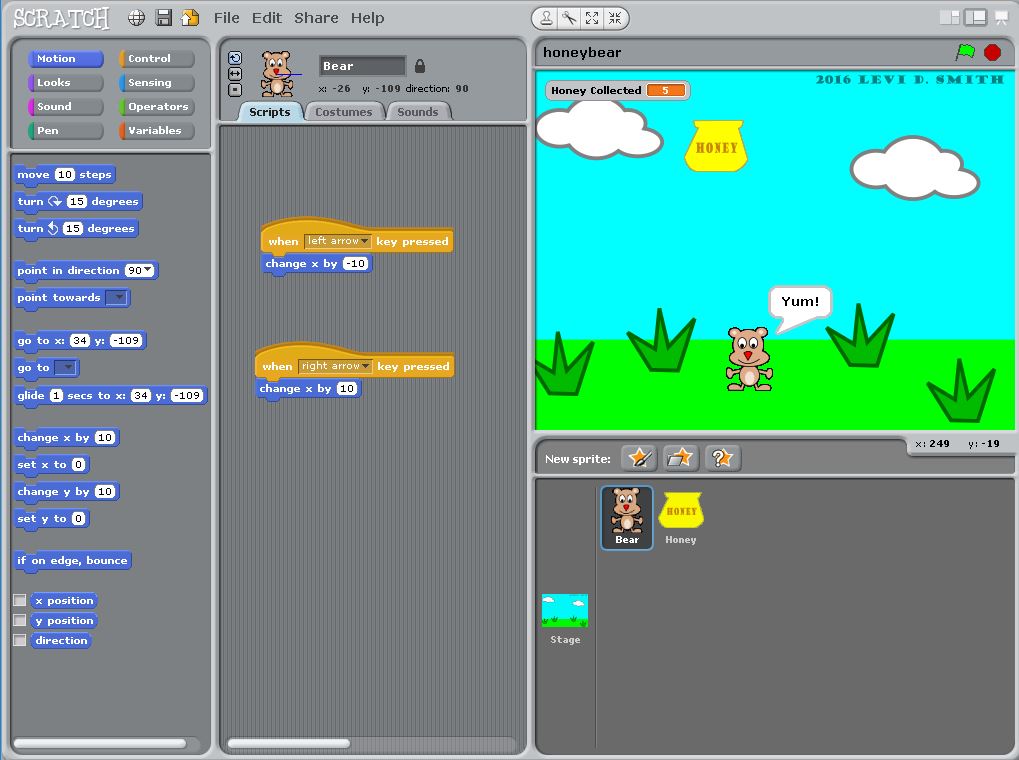 After I got everything back in the case and wired again, I tested the software again. I wrote a simple Scratch game about a bear catching honey that falls from the sky. I uploaded the game to the Raspberry Pi using FTP from my desktop PC. I quickly realized that the Raspberry Pi is running Scratch 1.4, so Scratch 2 games would not run on it. After I installed Scratch 1.4 on my desktop, I was able to upload and run the game on the Raspberry Pi. I also discovered through the Scratch errors, that it is built on SmallTalk Squeak, which is a development environment that I used for one of my first computer science classes at Georgia Tech. I would never forget that font and window layout!
I also updated the simple “arcade.sh” bash script that I wrote, which loads the game when the Raspberry Pi is booted. I made a menu so that the user can press the white button to run a Mame game or the yellow button to run the Honey Bear Scratch game. Pressing the left blue key confirms the player’s selection. I had to update the Mame key mappings, so I could use just one instance of the retrogame program for both Mame and Scratch. The four buttons are mapped to 1, 2, Enter, and Tab. Enter is required to run “green flag” that starts the scratch program. I used 1 and 2 for the yellow and white buttons, since keys like Control and Alt are not available in Scratch.