Weapon Damage

http://www.youtube.com/watch?v=U6Wwk8NJk14

Added a new Weapon instance variable to the Player that is the equipped weapon, which is just a pointer to a weapon in the player’s acquired weapon list.  The equipped weapon is initially set to null, which means the player does not have a weapon equipped.

When the equipment screen is displayed, a new ResistorKit menu is created which takes the Player’s acquired weapon names as parameters.  This is a little wasteful, since memory used for the menu object has to be allocated each time the screen is displayed, so there is some room for optimization later.  I’ve also added the damage values as a part of the menu item, so it’s easy to tell how much damage the weapon does for testing.  One enhancement I could make is to automatically sort the weapons by damage value.

Equipment screen now allows weapon selection.

I commented out all of my socket code for now, and now the confirm button just sets the player’s equipped weapon to the object in the acquired weapons list at the index of the index of the currently selected menu item.  I think it’s safe to say that the menu items and the acquired weapons list will always be in sync, because it is not possible to add or remove weapons from the list on the equipment screen.  Ideally, I should make the menu accept a pointer to the acquired weapons list as a parameter, and then have a toString type message display the weapon name and damage.  However, I would then lose some of the portability of the ResistorKit libraries, because not all games will have Weapon objects especially not defined the same way as mine.

At the bottom of the screen I now display the equipped weapon in yellow.  I’ll probably end up making the equipment display and equipment select screens separate, but for simplicity I will leave both on the same screen for now.  I still display the list of armor now with defense value, but defense has not been implemented yet.

Static weapon added since the player starts with no weapon equipped.

Now that the player has a way to equip a weapon, I have to apply that value to the projectile.  Thankfully, I already added a damage instance variable to the projectile class.  Therefore, I just have to assign the weapon’s damage to the projectile when it is fired.  One problem is that the player does not start with any weapons, which means the player is unable to shoot.  However, there is a chicken and egg problem here, because enemies don’t drop weapons until they are shot and defeated.  Therefore, I programmatically added a weapon drop to the first room so that the player can equip it to defeat enemies.  This was easily accomplished by calling the dropItem method when the first room is instantiated, passing the first weapon ID and the x,y coordinates as parameters.  In the future I would like to have static items placed by the level editor, which would require the player to open or shoot a treasure chest.  Additionally, I also had to add a check on the equipment screen to ensure that the selected weapon is in the bounds of the acquired weapon list, because index 0 in a zero sized list out of bounds and causes a crash.

One more slight glitch to fix.  If the player is running and then the Start button is pressed to go to the equipment screen, then they will continue to run after returning to the game even if the directional controls are not pressed.

Weapons and Armor

Added new Weapon and Armor classes.  The Weapon class contains an attack value, recoil rate, shot distance, and a List of Sockets.  The Armor class contains a defense value and a List of Sockets.  I have subclassed Armor has for each body location, which are head, hands, body, and feet.  These subclasses currently don’t have any unique properties which may be bad coding style, but I think it is better than having a “type” value in the Armor class.  Plus, it opens the possibility for adding unique characteristics for each armor type.  I also made sure that the instance variables in the Armor class are set to protected so that those are accessible to the subclasses.  The EquippedSockets class has constants for the body parts, but I’m planning to remove the EquippedSockets class once the new Armor system is implemented.  Both the Weapon and Armor classes have an ID variable, which will make it easier for reading and writing save game files.  A cost variable is also included in both Weapon and Armor, which determines how much it costs to buy or sell the item.  The Player class now has a List of Weapons and a List of Armor that the player has acquired.

I also created an EquipmentCatalog class which contains instances of every Weapon and Armor in the game.  When a new weapon or armor is acquired, I’ll probably just clone one of the objects in the Catalog and assign it to the player.  I could have the player’s acquired Weapon and Armor Lists point to references in the Catalog, but that won’t allow the equipment to have unique properties like a Socket list.  I may also want to add a durability value that would be unique to an item instance, which decreases the cost value of the weapon.  Also included in the EquipmentCatalog class is a method to return random Weapons and Armor.  In the future, I’ll probably add parameters so that a random item can be generated within a specified level range for enemy drops.

Currently, I’m using the SI metric prefixes for the names of the weapons and armor.  I’m not that creative, and these names may actually teach the player something educational.  To keep things simple, I’m going to display item properties graphically as bars (or something similar) instead of raw integers.  Therefore, the first weapon will have one bar for attack, recoil rate, and distance.  The next weapon will have two bars for attack.  I may mix up some of the weapon statistics so that each excels in one of the three statistics.  There may also be a bonus for equipping all weapons and armor in the same level series.

While the weapon’s first name will determine the level and attack value, the weapon’s second name will describe the other attributes.  For instance, “Blaster” will be a balanced weapon, “Zapper” will have a higher recoil rate but lower distance, and “Ray” will have low recoil rate and high shot distance.

I also extracted out the socket information into its own class.  Previously, all of the socket information was contained in the EquippedSockets class, but that only allowed one socket to be equipped to each body part.  For the Weapon and Armor classes, I added a variable that tracks the maximum number of sockets that can be equipped on that equipment, and the actual Socket instances are kept in a List for each piece of equipment.  The new Socket class only contains the socket ID, name, and type (body location).

The Collectible class has also be subclassed with CollectibleWeapon and CollectibleArmor classes.  These classes serve the same purpose as Collectible, which is a collectible item on the game screen.  However, the subclass contains one additional instance variable which is a Weapon or Armor object.  When the player collides with the collectible, that item will be added to the player’s weapon or armor List.

Modified the enemy death code, so that a new Collectible is instantiated at the location of the enemy.  The enemy calls the dropItem method on the room object, which takes the drop location as parameters.  The dropItem method uses the random methods in the catalog to get a reference to a random item, which is assigned to the collectible.  Then it adds that collectible to the room’s collectible list.  In the future, I would like to have the defeated enemy determine which item is dropped.  One decision I had to make is the location of the EquipmentCatalog.  The room does not have any references to anything outside of itself, however it needs a reference to the EquipmentCatalog to assign to the Collectible that the enemy drops.  I am now creating a new instance of EquipmentCatalog in the dropItem method, but that will very wasteful of memory since it will need to be cleaned up every time an item is dropped.  I will have to think about this some more.  The EquipmentCatalog may need to be a static class, but I currently have all of the Weapons and Armor defined in dynamic Lists in the Catalog constructor, which may not be allowed in a static class.  I haven’t created graphics for weapon and armor drops yet, so I’m using the standard money drop shaded green for weapons and blue for armor.  The name of the item appears above the collectible on the game screen.  On the equipment screen, the list of all acquired weapons and armor are displayed.  However, I have not implemented the ability to equip those items yet.

Aside from the equipment changes, I added a boolean in the room class that determines if the lights are on in the room.  Only rooms with this value are drawn dark with the radiant value.  There is a slight glitch here, because once the player crosses the screen boundary the whole screen turns dark (including the portion of the previous room that was lit).  I will need to resolve this later to give it a gradual transition from light to dark.

Built Computers

 2015 Update

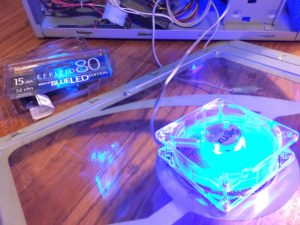
Installed two new cases fans because the other ones were getting so loud that it was bothering my hearing.  These two new fans are much quieter and take up less space in my computer case.  The loudness rating on the box is 15 dBA.  Thankfully, I measured the size of the fans before I ordered them.  Most fans these days are 120mm, but my requires 80mm fans which is measured across the square frame of the fan.  The previous fans had an unneeded wires and a metal plate for switching the light off and on.  The lights on the new fans are very bright and has just one wire for plugging into the power supply.

SilenX EFX-08-15B Effizio Silent Blue LDS Case Fan – 80mm, Fluid Dynamic Bearing, 15dBA, 1700 RPM $7.99 x 2

case fan
New case fan


2012 Rebuild

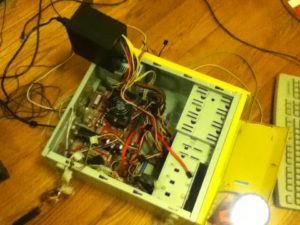
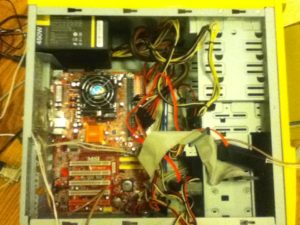
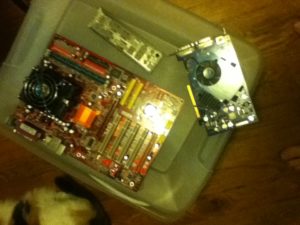
Below are the components that I used to rebuild the system that I originally put together in 2005.  I had originally just intended to replace the broken IDE DVD drive, but all of the current DVD drives for sale are SATA.  My motherboard did have SATA connectors, but my power supply did not have SATA power cables.  I changed the power supply to a new one with SATA power cables, and I went ahead and installed a new SATA hard drive since the IDE hard drive was nearly out of space.  My motherboard and BIOS could not detect the new DVD and hard drives, I’m assuming because it uses a old SATA specification.  This led me to install a new motherboard and CPU, so that I could use the new drives.  Since the old graphics card was AGP8X, I went ahead and installed a new graphics card since the motherboard only has PCI Express.  The memory was upgraded as well, since the new motherboard uses DDR3.  After wiring the power and reset switches, the rebuilt system booted up successfully.


Logisys LED Sunlight Stick – Blue

HP 24X Multiformat DVD/CD Writer (dvd1260i) 34.99

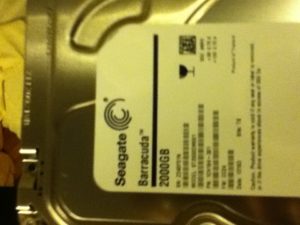
Seagate Barracuda Desktop Internal Drive 2TB 64MB cache 7200 RPM (STBD2000101) 114.99

Antec 450W power suppy (VP450) 49.99

MSI 760GM-P23 (FX) AMD Socket AM3+ Motherboard +

AMD Phenom II X6 1045T 2.70GHz AM3 Processor +

Kingston HyperX Red 8GB Memory Module 169.99

PNY GeForce GTX 550 Ti Video Card 1024 MB, GDDR5, PCI-Express 2.0 (x16)  119.99

PNY 4GB DDR3 24.99

Total Rebuild cost (before taxes): 514.94


IMG_0085
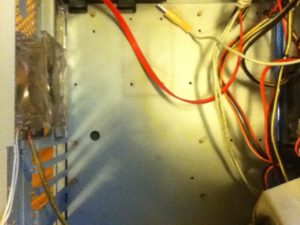
Connected to new power supply
IMG_0086
New SATA hard drive
New power supply mounted
Old motherboard and graphics card removed


IMG_0100
Motherboard removed from case


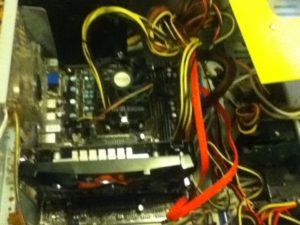
New motherboard and graphics card in case
IMG_0095
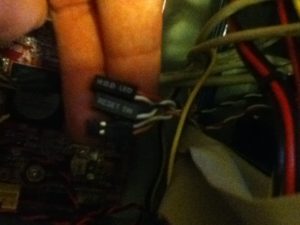
Connecting wires for front panel


System powered on
System powered on
IMG_0105
System powered on


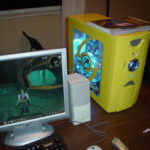
2005 System

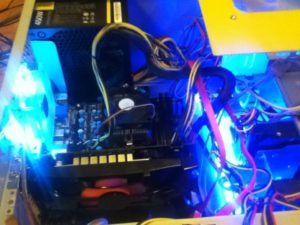
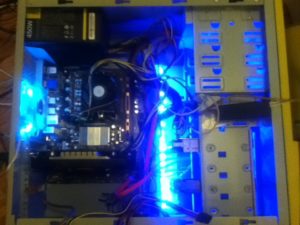
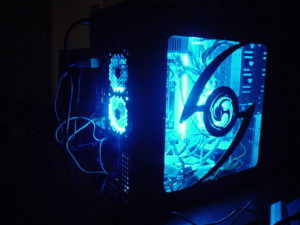
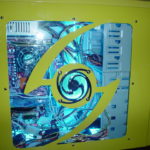
Below are the specifications and images of the computer I built in 2005.  This system has a bright yellow case with glowing blue case lights.


Original Specifications

  • CPU: AMD Athlon 64 3000+
  • Power: 420 Watts
  • Motherboard: MSI K8TNEO-FSR
  • RAM: 512 MB DDR
  • Network: Onboard 10/100/1000

My Mods

  • Two blue cathode rod case lights
  • Two case fans with blue circular cathode lights
  • Two blue lighted IDE cables
  • Installed nVidia GeForce 6600GT 128MB AGP8X Graphics Card
  • Installed WD 160MB (7200 RPM, 8MB Cache) Hard Drive
  • Installed NWM Dual Format Double Layer DVD Recorder Drive
    (16X DVD+R, 12X DVD-R, 4X DVD+/-RW, 48X CR-R)

Images


More Details


2003 System

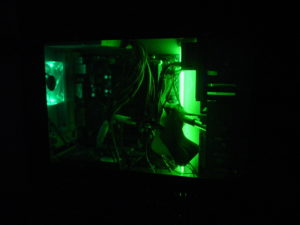
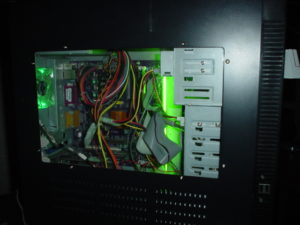
Below are images of the computer I built in 2003.  This system has a black case with glow green case lights.