
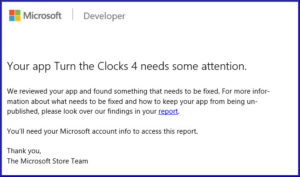
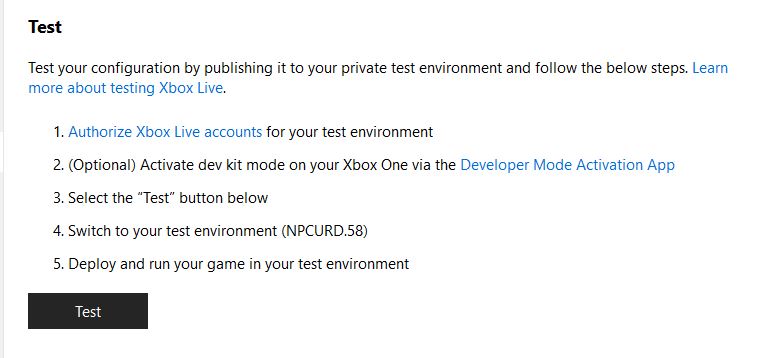
One of the frustrating things about putting a game on the XBox Creator’s platform is when you get the dreaded “Your App Needs Some Attention” email a few days after submitting the game. This is usually due to the requirement that you must display the player’s gamertag on the title screen.
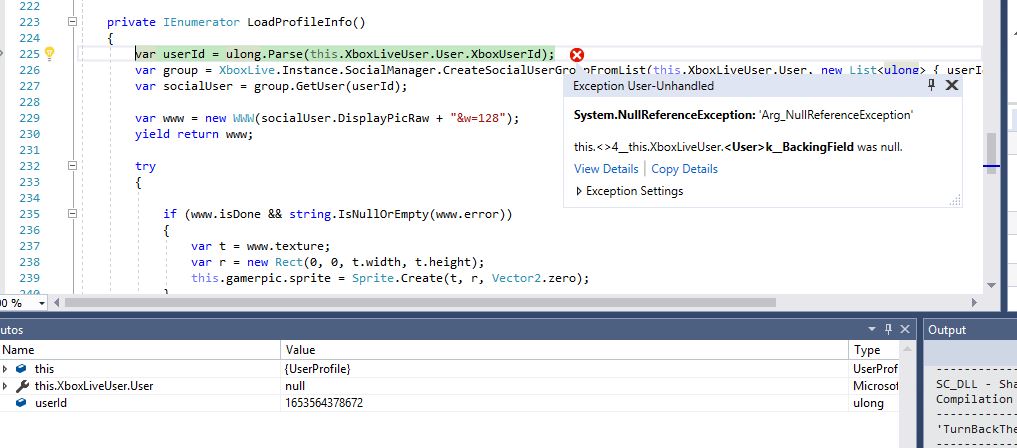
There is a UserProfile prefab in the XBox Unity kit that is supposed to do this for you. Unfortunately, there are some issues with it that keeps it from working correctly. For my first XBox Creator’s game called Kitty’s Adventure, I resolved the issue of it not displaying the gamertag by putting the XBox Services loading and sign-in code on it’s own Scene in Unity, and I don’t proceed to the title screen until the UserProfile object exists and the IsSignedIn property is set to true.
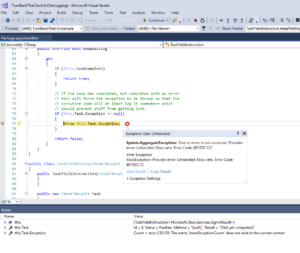
In my Turn Back the Clocks 4 game, I realized that I had an old GameObject in the XBox Services loading scene (was probably a placeholder I forgot about), which just loads the title screen in the Start method. Therefore, the XBoxServices were not given enough time to load. I know that was definitely a problem, and I’m hoping fixing that is enough to get the submission to pass. The certification process is a little confusing as well. There’s the Certification Tool that runs after you create an appxupload package in Visual Studio. It’s possible to pass everything in the Certification Tool, and still get a failure after you submit the package to the Microsoft Dev Center website, which I think requires to real person at Microsoft to start your game and verify the gamertag. However, it doesn’t seem to be as bad as the Evil Checklist and peer review process that was used for XBox Live Indie Games, which required six or so other developers to play your game, which could take a week or longer. I’m so glad that we no longer have to worry about the “title safe area”, playing from any controller index, or memory card pull tests.
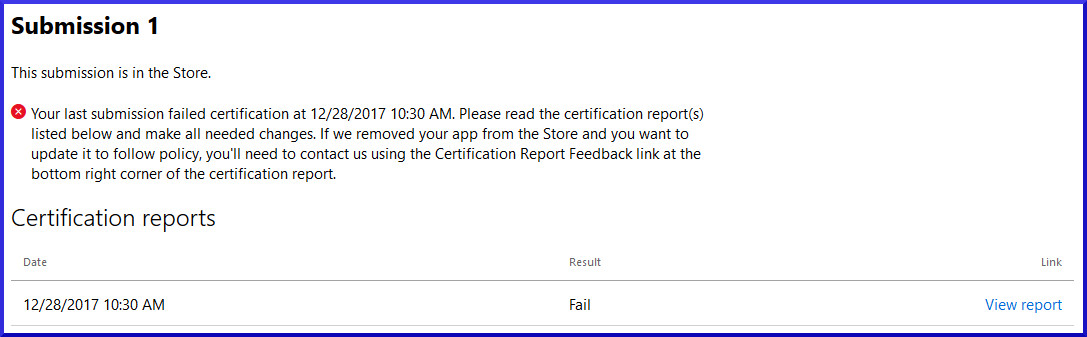
It’s a bit confusing, because it says that you game “is in the Store”, but they give you three weeks to fix the problem before the game is unpublished. What “in the Store” means is up to interpretation, because it now says that your game may not appear in the Creators Collection until it is resolved. I think that is a new condition that they added since I published my first Creators game. Also, for my first game, I had one “product” (entry in the Windows Developer console) for the Windows build and a separate one for the XBox One build, but for this game I submitted both the Windows 10 PC and XBox One as one product package. Just having one product is easier to submit, but I think keeping the platform submissions separate makes things more manageable and easier to tell which platform the problem is related. It requires that you manage two separate entries in the Windows Developer dashboard, but it does let you easily see analytics (such as downloads) for each platform.
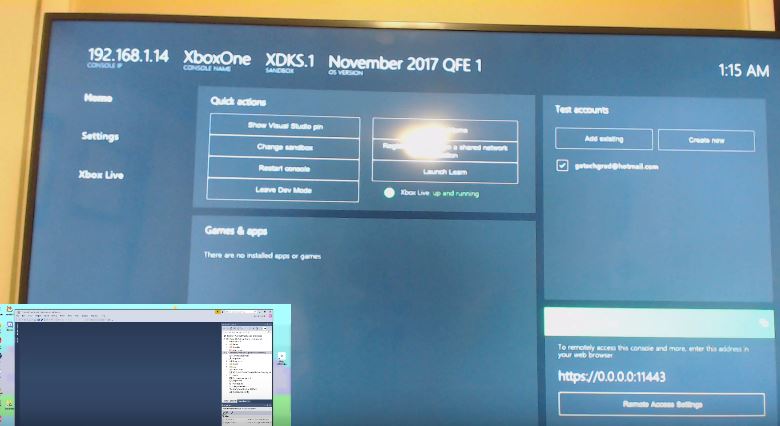
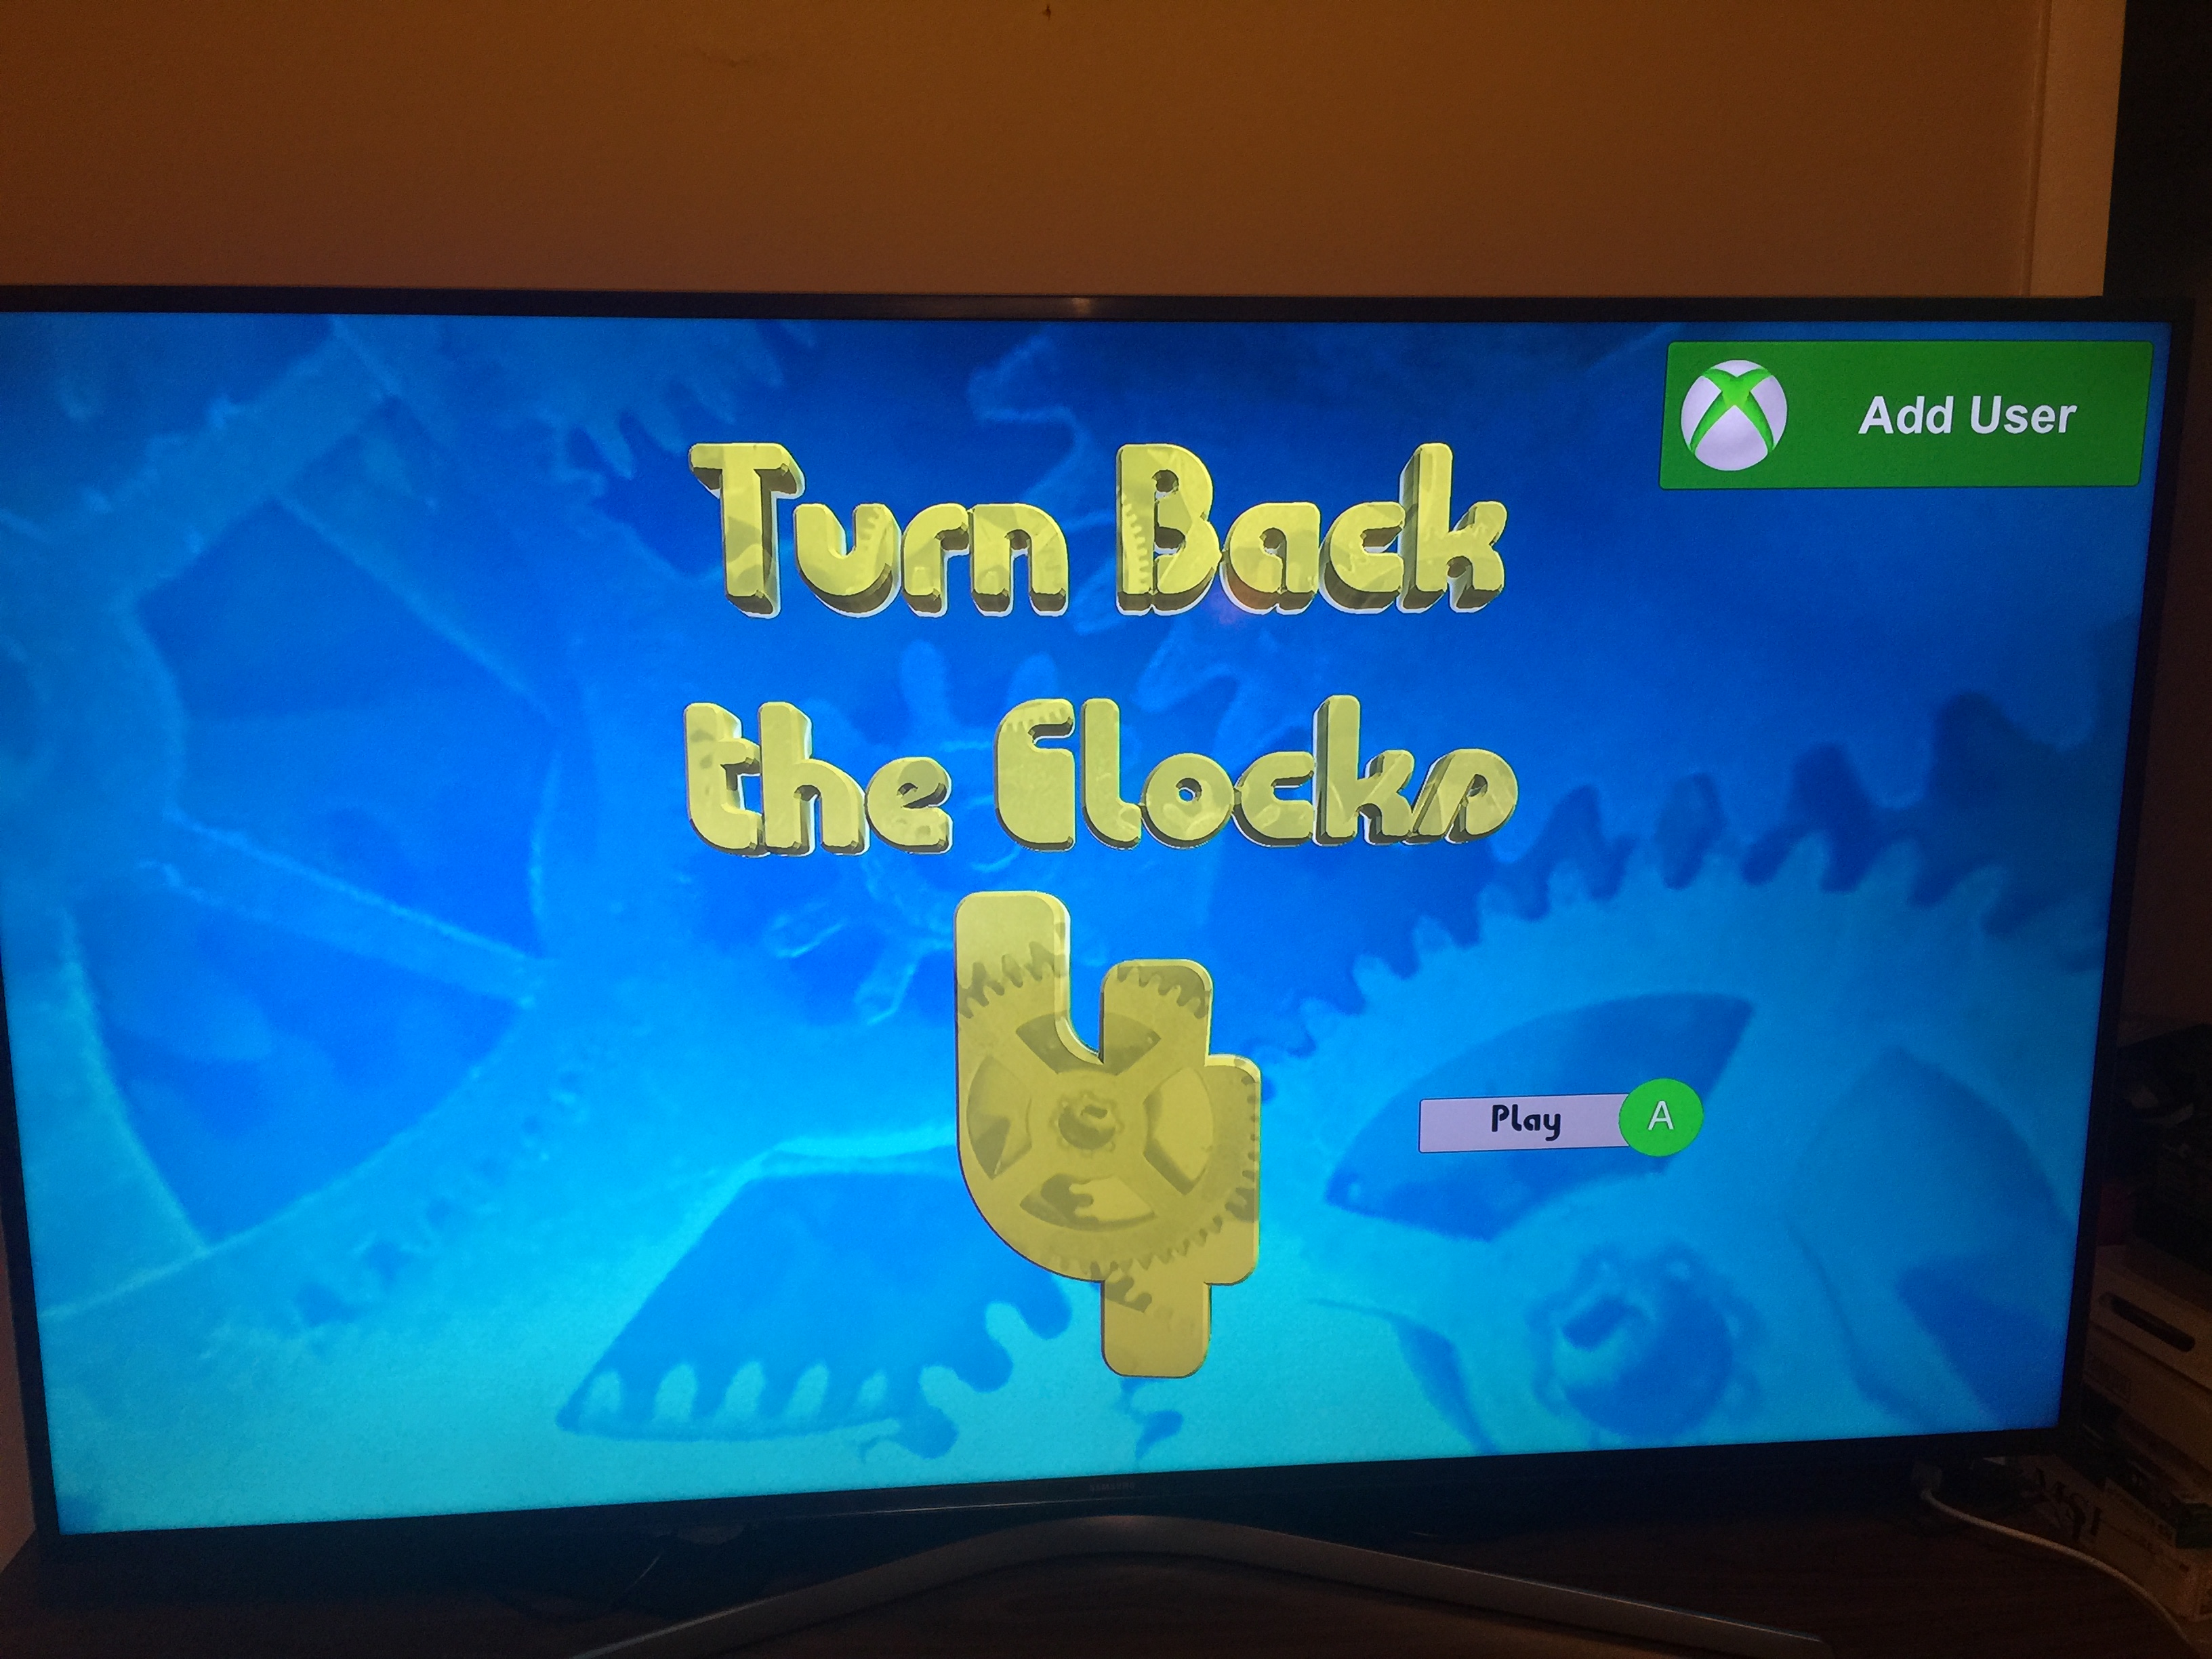
One of the problems that I had with my first XBox Creator’s game was the “XBox Veto” error when running the game with XBox Services integrated on the XBox One console in Dev mode. While I was researching for this game, I discovered that the veto error was due to the sandbox name of the XBox One not matching the name of the sandbox ID that is in the XBox configuration panel in Unity. Once I changed that, I no longer got the XBox Veto error. However, I did get an error about the social object needing a local account, but I only saw that error once and it never happened again. Then I was able to deploy my debug configuration to the XBox One, and now it successfully displays the gamertag and gamerscore of the test account on the title screen. Unfortunately, it doesn’t seem to work when deploying the master config to the XBox One (it just displays the default “<gamertag><gamerscore>”, so I’m not sure if that is the expected result (it only works for the debug config) and it works correctly when it goes live. I spent hours working on this (I didn’t intended to spend my entire vacation working on it) so I went ahead and made another submission to the Windows Developer site, hoping that it passes this time.
Looking back, I really wish I had sent more time on the game before putting it on the XBox One platform instead of rushing it out for the Dream Build Play deadline. I still think it’s a really fun game, but it seems like a lot is lacking without leaderboards and some things like the model for the bonus wheels need improvement.
You can find my Dream Build Play entry for Turn Back the Clocks 4 at: https://developer.microsoft.com/en-us/Windows/dream-build-play/game/586


