Junk Food Blaster is a game that I created for the GM48 23rd game jam.
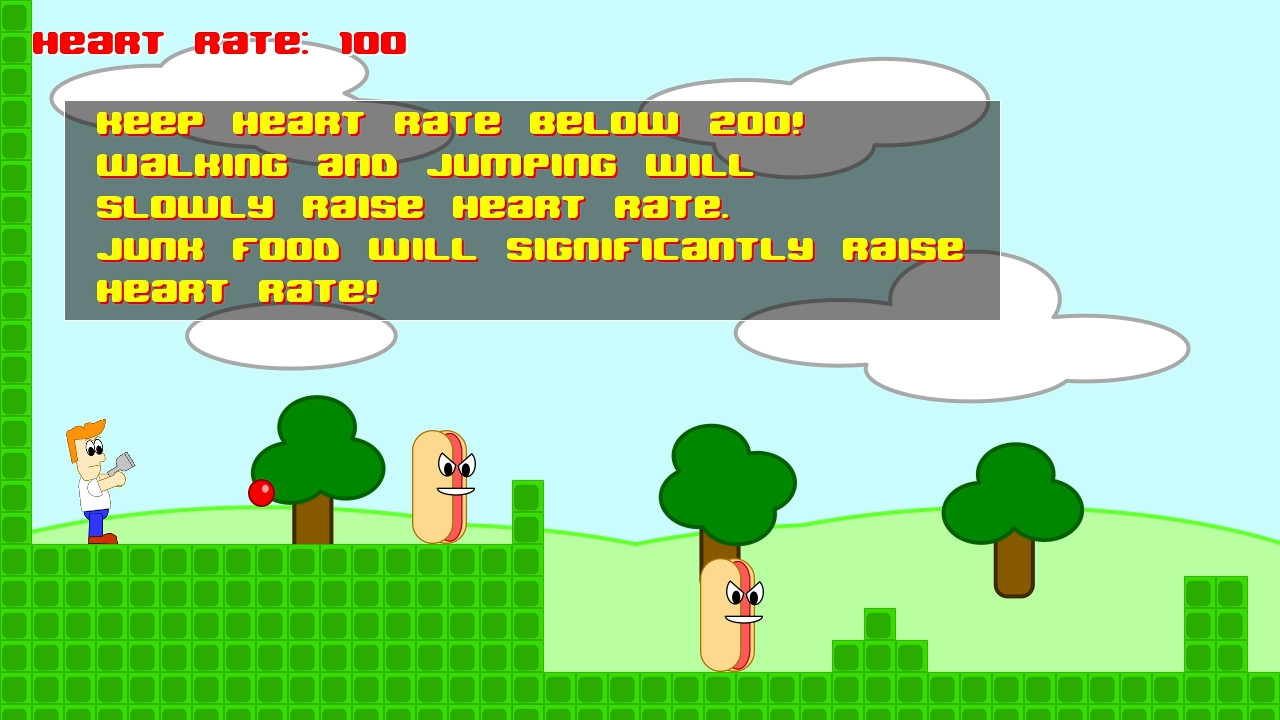
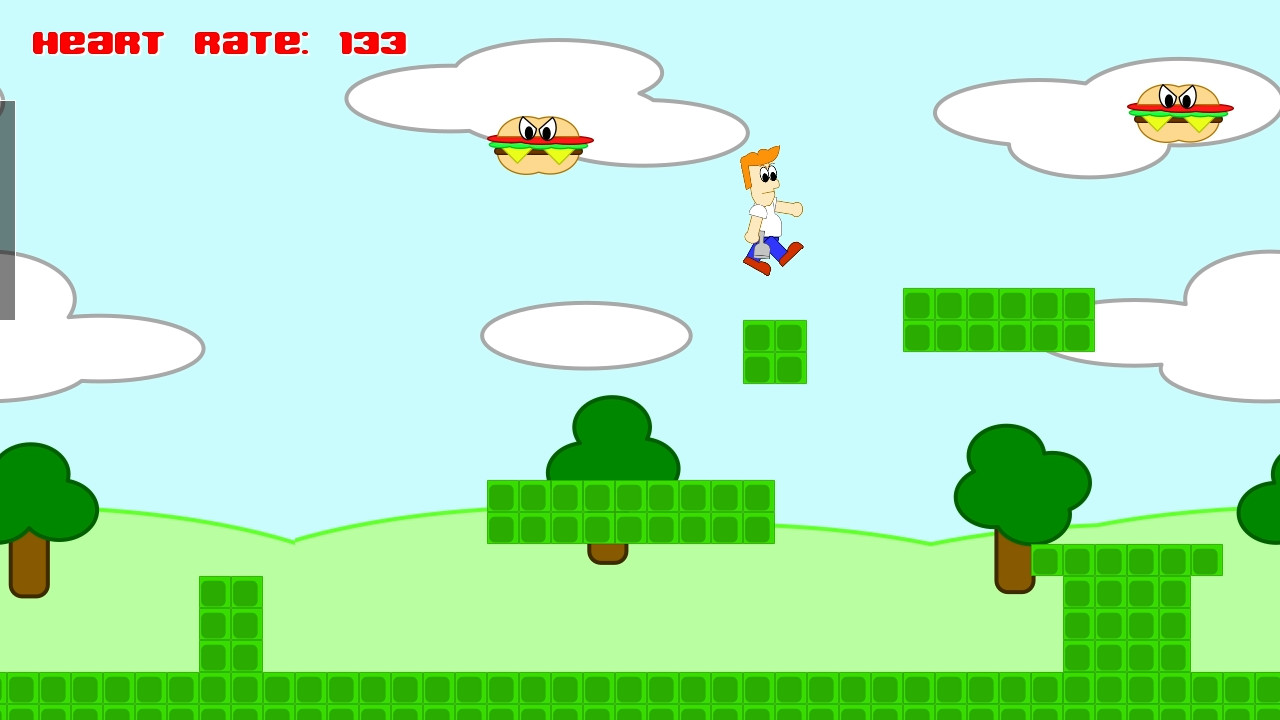
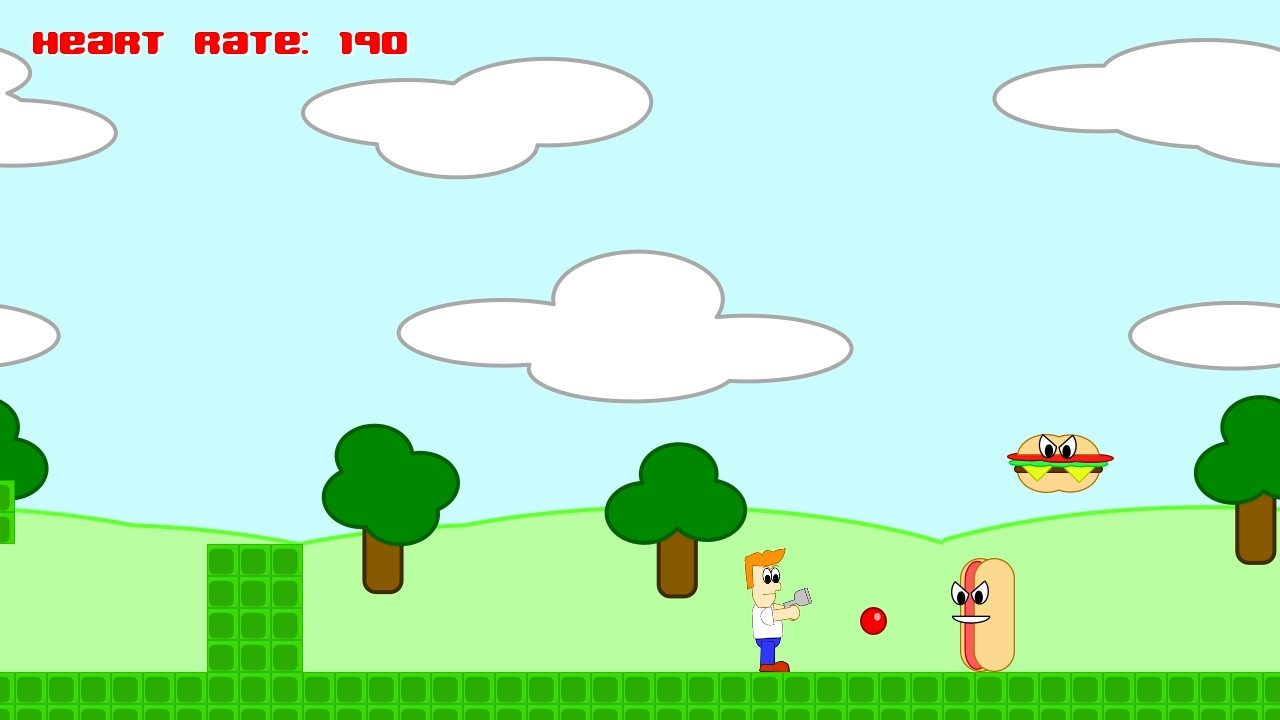
Blast the junk food and keep your heart rate below 200! Walking and jumping will slowly raise your heart rate. Junk food will significantly raise heart rate!
Standing still will drop your heart rate back to normal.
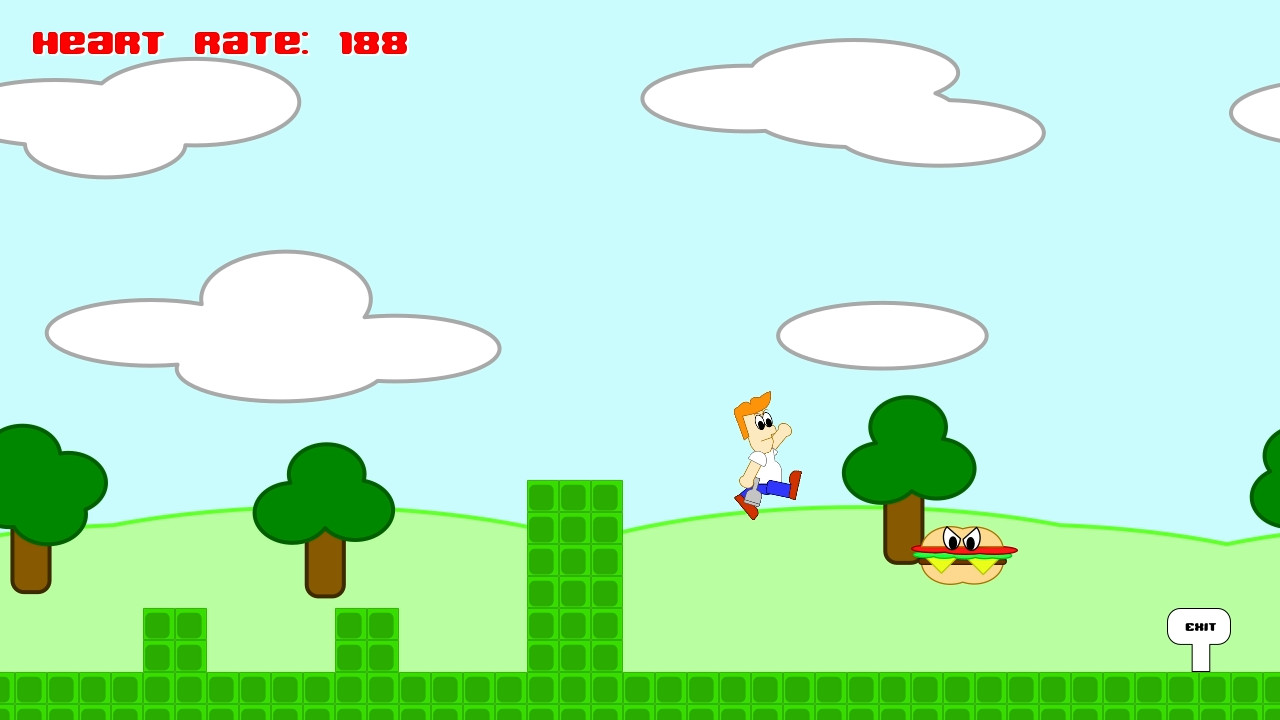
Hot dogs move in a straight direction. Hamburgers float in the air.
Time Lapse Video
Post Mortem
Junk Food Blaster is the first game that I’ve created using GameMaker Studio 2. I bought this version of GameMaker from Steam during the summer sale. I was disappointed to discover that I am not able to make HTML5 web builds, however I can make builds for Windows, MacOS, and Ubuntu (Linux).
The theme for this GameMaker game jam was “Sacrifice”. After I had heart problems four years ago which required as stent placement, one of the things I’ve had to sacrifice is fast food. I know some of us in the Knoxville Game Design group joked about me making a heart attack game before, so this seemed like a good opportunity to make that game.
I used to eat fast food regularly, but I’ve scaled it back dramatically to avoid having heart problems again. Going to the emergency room in the middle of the night with chest pains is not an enjoyable experience. I was planning on having many of the types of foods that I have given up (or scaled back). Time ran short for me on this game jam, so I only included hotdogs and hamburgers. I was also planning on having pizza as an enemy in the game which would throw pepperonis at you.
As with other game jams, all of the assets have to be created in 48 hours, ending at 8pm Eastern Time on Sunday. This includes art, sound effects, and music.
As with my Miner Madness game, I decided to use vector based SVG art created in Inkscape, which I animate in Spriter. However, this time I learned how to use bones in Spriter to animate various parts. This was necessary to keep the right arm and the gun together.
Some parts of GameMaker 2 proved to be very frustrating to me. I liked the ability to switch between DnD (drag and drop) mode and GML code. However, sometimes the action toolbox would not display in DnD mode. Plus, the camera and viewport system has been completely redone, so most of the information on the Internet on moving a camera in viewport is out of date.
I didn’t like the method for navigating in GameMaker 2 either. Too many instances of windows in windows in windows. Moving around in the workspace felt like a chore. There are no scrollbars, so you have to press the middle mouse button down to move around. The zoom-in feature on the code windows was annoying, because it made some really distracting anti-aliasing effects which are fine for graphics, but makes text difficult to read in an editor. I did finally find the magnifying glass with equal sign which makes everything in its original size.
The panning around in the workspace when selecting different objects also got annoying after awhile. I would rather just have one window with tabs like every other IDE.
One the complaints I have about Spriter Pro is not being able to set the dimensions of the generated sprite sheet for an animation in pixels. You have to specify the size in percentages, which means you have to figure out the size in Gimp first and use a calculator to get the percentage. I also had issues with the animation playing too fast in the Spriter Pro editor, and it has an annoying step of pressing the set length button after setting the maximum number of frames. It’s like my gripe with Inkscape with having to press Export to generate a png image after pressing Export As and pressing the Save button. You would think that Save means that it is going to write the png file, but it doesn’t.
I had problems with the jump animation, because there is no straight forward way to make an animation not loop. I had to keep track of the last frame, and then set the animation speed to zero until the player touches the ground. The gun shooting animation had a similar issue, but I just made sure that the animation frames (15) were the same number as the shooting delay. Since the game runs at 30 frames a second, it takes half of a second for the shooting delay.
Another issue that I had was the game looping back to the level screen after the game over screen, when it was supposed to go to the title screen. After some thinking, I realized it was because it was registering the space key down on the frame after it was pressed to leave the game over screen. To fix this, I put a 60 frame (2 second delay) on the title screen. One important thing that I added was an offset to the title text based on the delay value, which makes the text rise upward. When the title text stops, then the user can press space to load the game. Otherwise, it will make it feel laggy because the user has no visual cue of why they weren’t able to continue by pressing space before.
I would like to add more types of food to the game as enemies. As I mentioned earlier, pizza which would shoot projectiles. I’m thinking about adding fries as well. My cardiologist says that keeping my sodium intake low is one of the most important things to keeping my blood pressure low and avoiding another heart attack. Salty foods like fries contain a lot of sodium.
When I made the hamburger enemy, I joined two circles together and took the difference with a rectangle to make the bun. Then I duplicated that piece and flipped it vertically to make the bottom piece of bun. I cut a rotated square in half to make a piece of cheese. Originally, I just had one piece of cheese, but then I added a second and it looked like fangs! I definitely didn’t plan it that way, but it looked so good I had to keep the two pieces of cheese.
I would like to add powerups to make the gun shoot farther and maybe add other abilities. The game needs additional levels as well, since this is probably one of my shortest games. The problem I have with gamemaker is that the collision detection is done by specifying the name of the object, which means I would have to update the code to add a new type of wall objects. There is probably a better way to do this that I don’t know about yet. I know there is a tile layer, which I should probably be using instead of instantiating individual wall squares.
I used BFXR for generating the sound effects. The enemy death sound effect reminds me of Bill Cosby’s marker sound on Picture Pages.
I felt like I could have done better with the music. I made a slower more relaxing theme this time. It has one background pattern then a slow moving theme. I cut the theme a slowed the tempo for the title music. I did have some background ambience tones, but those came out way too loud after I exported the mp3 from my MacBook Pro to my PC desktop, so I ended up removing that track.
I knew I wanted to have a representation of the hearts health as the player’s life value. I thought about using blood pressure, but heart rate seemed more appropriate. On my last GM48 game jam, one of the categories that I was graded lowly in was originality. So for this game I made it so that running and jumping added to your heart rate. If your heart rate reaches 200, then it’s cardiac arrest and game over. I originally wanted to have a graphical heart rate monitor that would speed up and possibly change color as you approach the maximum heart rate value. If you stand still, your heart rate gradually lowers back to a minimum of 100. Colliding with a hot dog or hamburger will significantly increase your heart rate, by 20 and 40 respectively. Walking increases your heart rate by 0.2 for every frame. By default, your heart rate lowers by 0.1 per frame, so I had to make walking more than default to see an increase. Jumping raises heart rate by 5. Looking back, I would probably make it so that the player can’t die from walking or jumping, so that the player would actually have to collide with the enemy for the game to be over. Otherwise it just feels strange by dying from walking or jumping. An audio cue or speed up in game music would also let the player know they are reaching a dangerous level, although I didn’t see any way to increase the tempo or speed of the music in GameMaker like is possible in Unity.
One problem is that sometime the player can rapidly jump in the wall when holding down the jump button. I think this is because the collision boxes on each sprite animation (standing, jumping, walking, shooting) are different sizes and there is no easy way to make them the same. It would be nice to have just one collision box for an object, and just change the animation. I did see an option to use a different collision box for a sprite, so I will need to learn more about that option.
The background was also made in Inkscape. One of the difficulties was making it wrap around. I figured out how to make the background tile across the entire viewport. I used the number of horizontal blocks in Super Mario Bros level 1-1 as the size of my level. I had to adjust the horizontal size of my viewport to take account of the larger size of my times.
I figured out how to get the camera to follow the player by enabling the viewport and setting the appropriate camera size and setting the player object as the thing to follow. The difficult part was getting the status text with the heart rate value to anchor at one spot on the screen, since it wanted to scroll with everything else. After much trial and error, I finally found the correct values to use camera_get_view_x(camera_get_active()). If you want the text to follow the player, you can just use the player object’s x value.
Controls
- A,D or arrow keys – move
- Space – jump
- Left mouse button, F, or Ctrl – shoot
Tools used
- Engine – GameMaker Studio 2 Desktop
- Graphics – Inkscape 0.91
- Graphics – Spriter Pro 11
- Graphics – Gimp 2.8.18
- Sound Effects – Bfxr 1.4.1
- Music – GarageBand 10.1.1
![]()
Released