
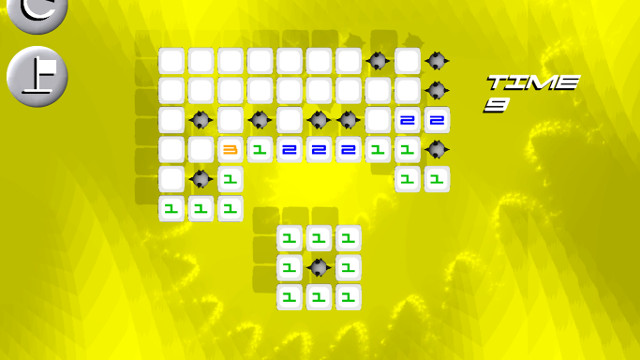
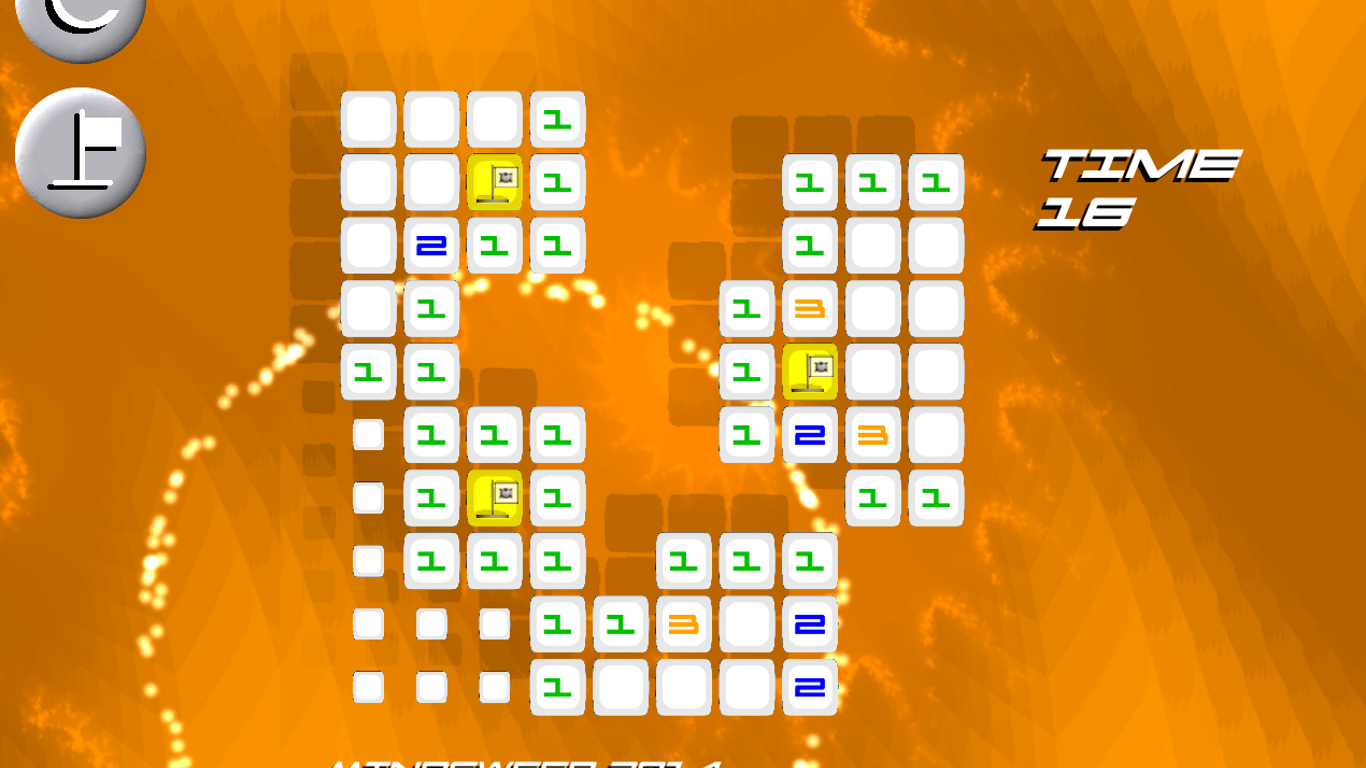
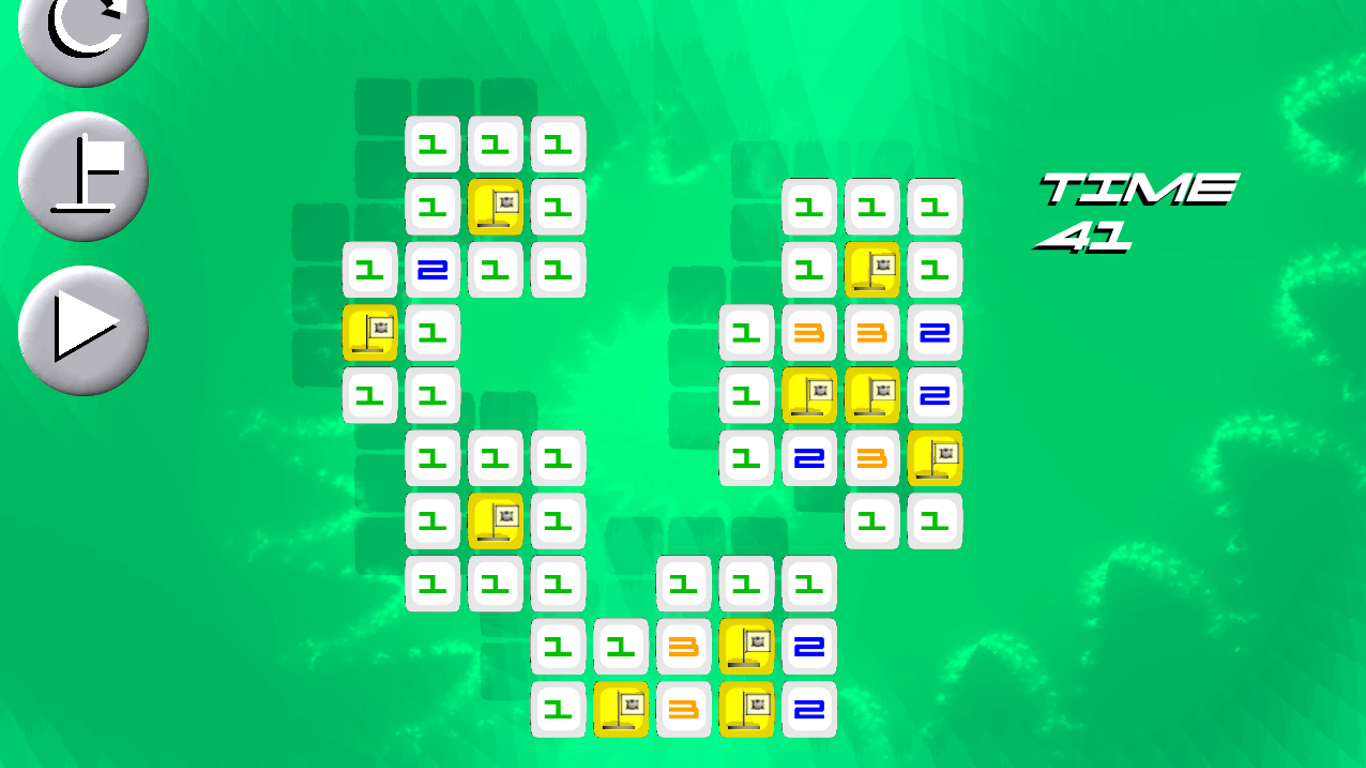
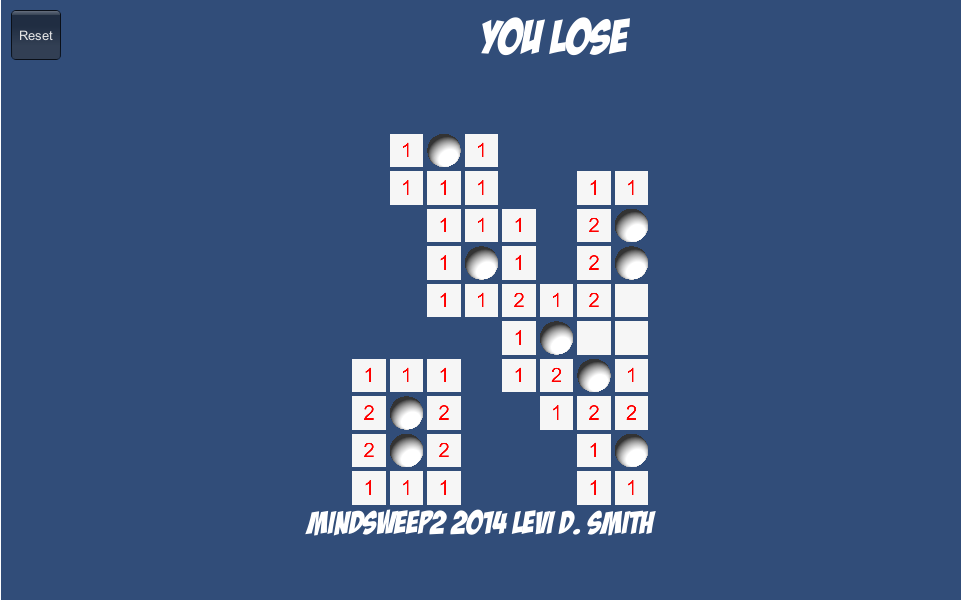
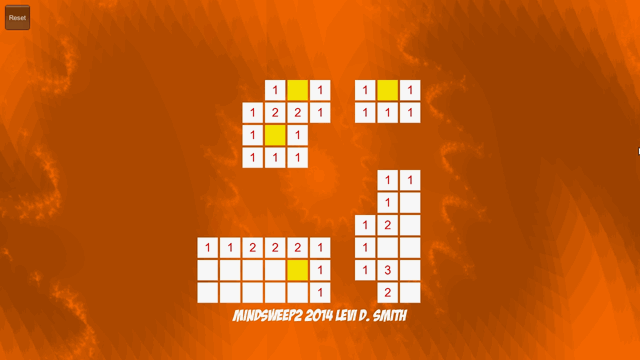
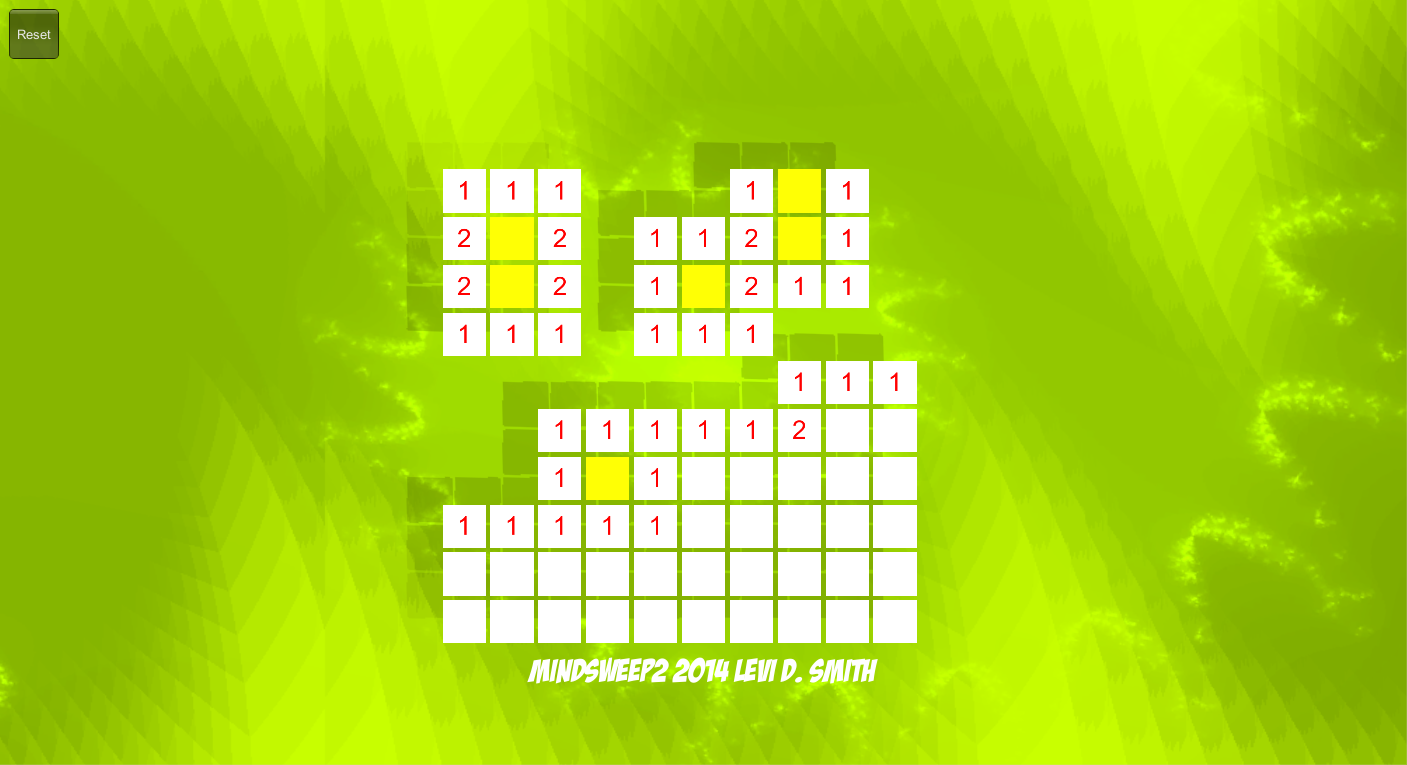
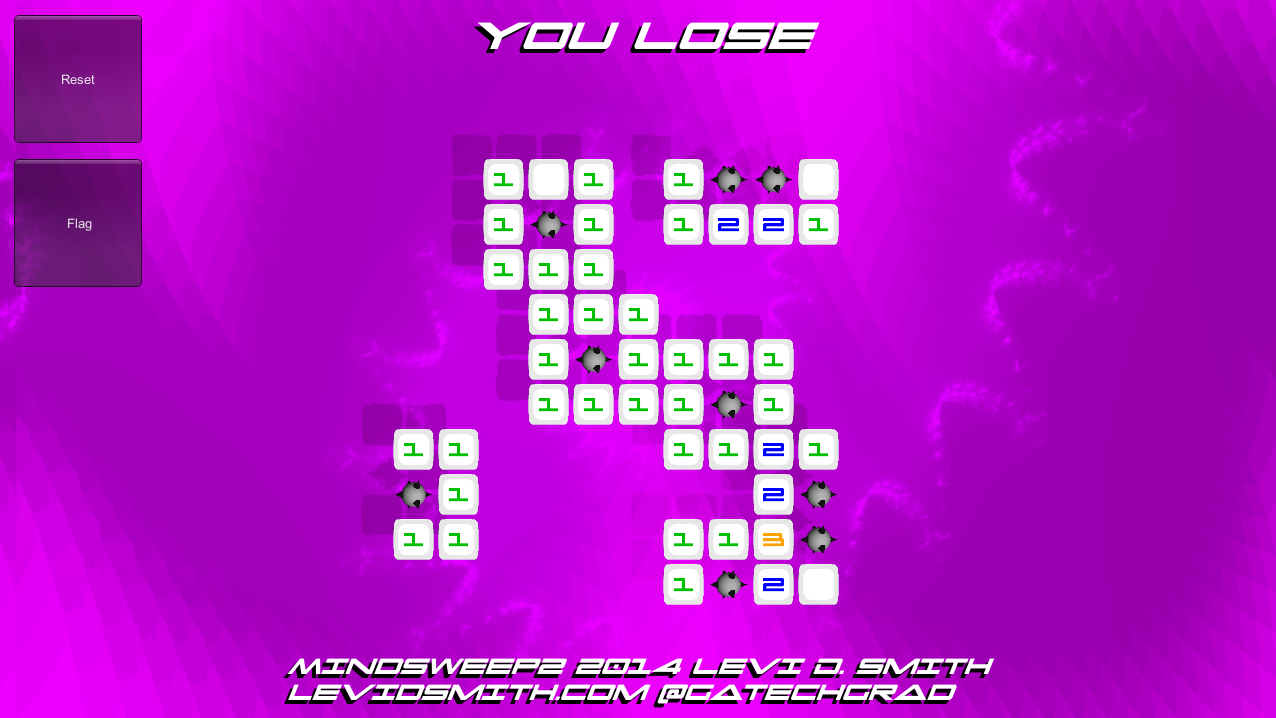
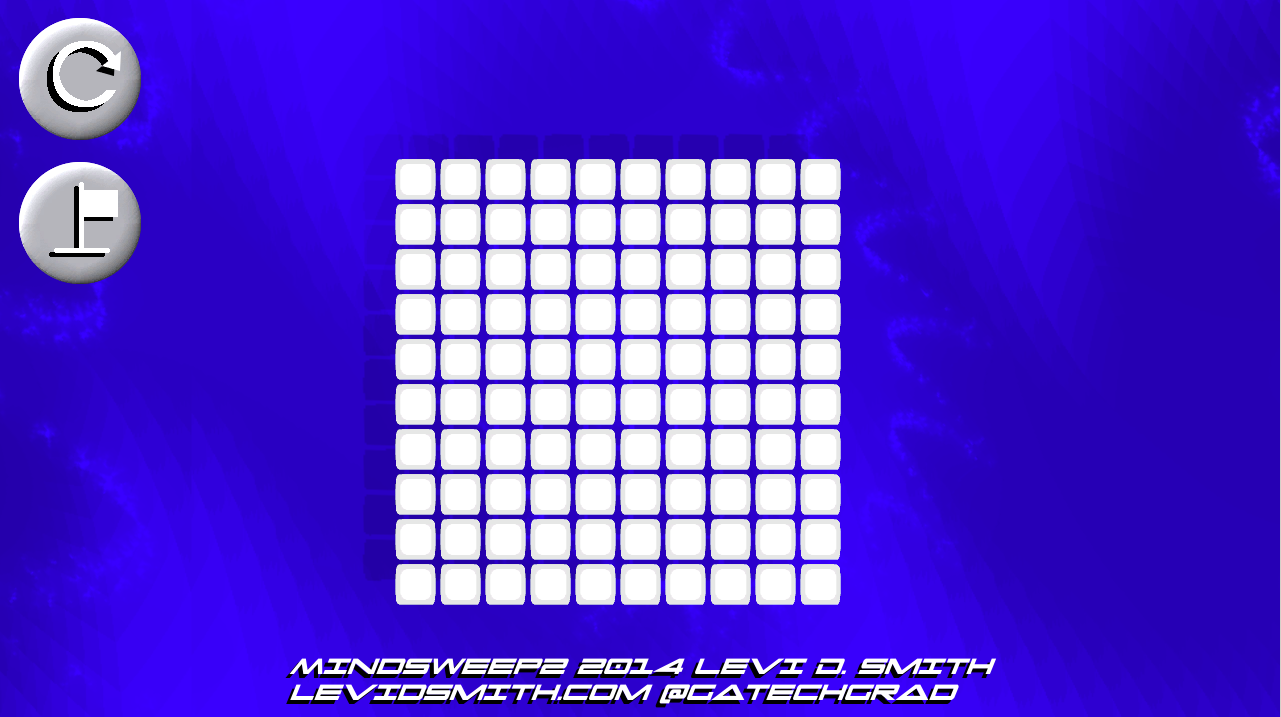
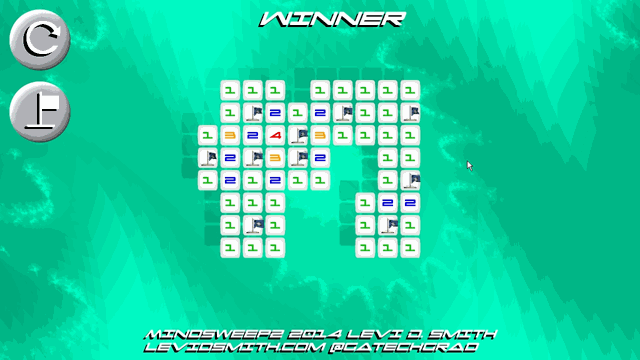
Screenshots

MindSweep – Video Game Makeover
Numerous people have said that polishing a game is one of the most important parts of game development. However, there has never really been a solid definition of what “polish” is. To many people, to polish a game means to make the game look pretty. The problem is that the word “pretty” is really subjective, because as the old saying goes, beauty is in the eye of the beholder. In game development, I suppose the key to polish is to make a game not look ordinary. This can be achieved through many techniques, however one must not “over do it”, otherwise the polish will detract from the gameplay.
For my Ludum Dare 29 warmup game, I created a simple MineSweeper clone (called MindSweep) using the Unity3D game development environment. This is a complete game, however it looks very basic and plain. I will cover some of the methods and techniques I used to polish this game to make it more appealing.
Background Image
One easy thing to do to make this game look more visually appealing is to add a background image instead of the plan solid blue color. In Gimp, the Fractal Explorer under Filters > Render is a nice tool for quickly generating interesting patterns for backgrounds. Since this pattern is generated, I believe it is still allowed according to the rules of Ludum Dare. I selected a fractal and applied it to a 1024×1024 image. Then I used the Colorize option to turn the saturation down to zero, and increased the contrast using the Brightness / Contrast option, so that I had a bright gray-scale image.
In Unity, I created a default plane GameObject, and placed it behind the game board. Then I imported the background image that I created in Gimp into Unity as a texture, and then applied that texture to the plane. Next, I scaled the plane (3 units) so that it was large enough to cover the entire viewport.
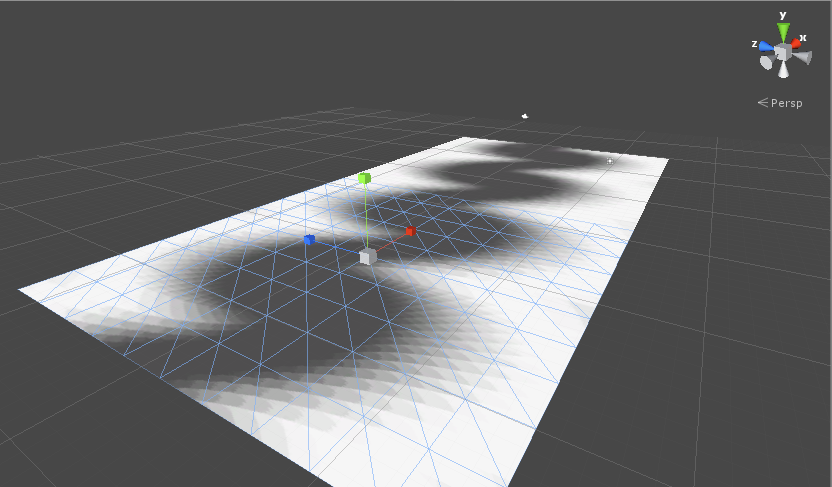
The background looks nice, but it still isn’t very interesting. I duplicated the plane, and set the x position to -30 units, so that it appears as one continuous plane. If the fractal image doesn’t line up correctly between planes, then the Make Seamless option in Gimp under Filters > Map can fix that problem. However, it may greatly distort your image, but other seamless plugins are available. Next, I created a simple script that moves the background along the X-axis using Time.deltaTime, and places the plane behind the trailing plane after it has moved out of view. This will give the effect of one continuous scrolling background.
Hue Values
To make the background even more interesting, I decided to change the color based on how far the player has progressed through the game. The number of tiles revealed is easily accessible through my game board object. Dynamically changing the color can be done by changing the gameObject.renderer.material.color property. Interpolating between two colors can be easily completed using the Color.Lerp method, but I wanted to interpolate between all of the colors in the spectrum. In order to do this, I needed to modify the hue values, but there is no standard way to get or set the hue value in the Unity API. However, this script will provide that functionality to your Unity project.

For my background, I will be starting with hue: 0.7 saturation: 1.0 brightness: 1.0, which is roughly blue. Then, the new hue values will be a fraction based on how many tiles have been removed (0.7 * tiles remaining / total tiles). As more tiles are removed, the hue value will asymptotically approach zero, which is a red hue. When the game is over, the background will continuously transition through all of the hue values.
Translation / Rotation / Scale
Three computationally inexpensive operations that can be performed on any mesh are translation, rotation, and scale. Translation is the same as moving an object around in the game world. Rotation is turning an object on its x, y, or z axis. Scale is essentially making the object larger or smaller. For my game, I decided to gradually scale the tile size down to zero when it is removed from the game board (it has no neighboring mines). This is much more visually appealing than making the object completely disappear when it is clicked. To do this, I had to add a destroy time variable and the amount of time it takes for the object to scale down to zero. I set the scale time to two seconds, which isn’t too long, but long enough for the player to see the scale effect.
When a numbered tile is revealed, I decided to use a rotation on the tile so that it spins. To do this, I added a variable and two constants to the Tile class to track the current spin amount, the maximum spin amount, and the spin speed. On each frame, I set the rotation to Quaternion.identity, and then rotated the tile in the forward direction the amount based on the spin variable. On each Update, the spin amount is decreased by the spin speed multiplied by Time.deltaTime. In my game, I wanted the tile to spin halfway and stop in a half second, so I set the maximum spin to 180 and the spin speed to 360. For some reason, the number was displaying through the spinning tile, so I had to add an additional check to ensure that the number is only displayed when the spin amount is less than 90.
The displayed text in the game wasn’t very interesting, so I decided to add a translation when the text message at the top of the screen is displayed. The GUI Text coordinates range from 0 to 1 in both the x and y axis. I wanted to have the text fly in from the left side, so I simply added a variable that starts at zero and increments by a constant value (multiplied by Time.deltaTime) until the Text reaches its destination position, which is the center (x equals 0.5).
Transparency
Adding transparency to the textures is another way to make the graphics a little more interesting. For my background image, I created a transparency layer and used the grayscale image as the layer mask. That means that the darker grays are more transparent and white is opaque. To get the transparent effect to work in Unity, the Shader for the plane with the texture must be changed to Transparent/Diffuse. For the secondary background, I used the Nautilus fractal in Gimp, which is a radial pattern. To make it more interesting, I created and attached a script which rotates the background, with the rotation speed also based on the number of tiles remaining. Since I’m not worried about keeping track of how much the background has been rotated, I simply used the gameObject.transform.Rotate method, using Vector3.up and the speed as the parameters. For the speed calculation, I simply used the same calculation that I used for determining the number of remaining tiles that I used to get the hue value. That returns a value starting at 1 which approaches zero, so subtracted it from 1, then I multipled by 40f and added 10f. This generates a speed value starting at 10f and approaches 50f. Of course this is multiplied by Time.deltaTime, so it will rotate between 10 and 50 degrees in one second.
Light / Shadows
For any 3D rendered game, a directional light must be added to the scene, otherwise it will appear to be very dark. Shadows are not enabled by default for a scene, but adding them is very simple. Just select the light source, and set Shadow Type to either Hard Shadows or Soft Shadows. For this game, I turned the Strength value down to 0.3 as the default (1.0) seemed to make the shadows a little too dark, which appeared to take the focus away from the tiles. In most cases, the shadows should not draw the player’s focus away from the actual object itself. In this game, I had to be careful to deselect the Cast Shadows and Receive Shadows option on the mesh renderer for the mines, otherwise the mine shadow could possibly give away the location of the mine hidden behind the tile. Alternatively, I could have just disabled the mesh renderer for the mines until the lose condition is met. Unless performance is a big issue, I can’t think of any reason why shadows shouldn’t be enabled in a 3D Unity game. For some of my other games, I have added a script which slowly rotates the light object, which gives a nice effect of moving shadows.
Sound Effects
Adding sound effects to a game can increase the liveliness of the game. Arcade style games will rely heavily on sound effects for each distinct action in the game. One option for generating sound effects is Bxfr, which has many options for generating and modifying sound effects. The downside is that program can only generate retro style electronic sound effects. To get softer sounds, stick with the Triangle and Sin options in Bxfr. The other option is to use a microphone and record your own sound effects, but that is very time consuming. Plus, your desired sound effect may not be readily available. Need a train whistle in your game? Well you’ll need to drive out to the train tracks and possibly wait hours for a train to pass by your location.
In this game, I decided to use Bxfr to generate the sound effects. I basically played through the game, and made a mental note of when sound effects would be appropriate. Clicking a tile, flagging a tile, destroying a tile, hitting a mine, and resetting the game were the events that I felt needed sound effects. After I generated sounds for all of those events in Bxfr, I imported all of the audio clips into an Audio folder in Unity. Whenever an audio clip is imported into Unity, it will most likely sound very faint. This can be quickly remedied by disabling the 3D sound option on the Audio clip. Otherwise, you will have to configure the Listener graph under 3D Sound Settings for the GameObject that has the assigned audio.
I found that the simplest way to be able to access my audio clips is to assign each to its own GameObject. Then I tag that game object with a unique name. This way, I am able to access the audio clip from any script, without having to create and attach the GameObjects to public variables on each script that will use each audio clip. Also, using the tagging method, I can access the GameObject for the audio from either a static object or prefab using the GameObject.FindGameObjectWithTag method.
It is also important to remember to turn off Play On Awake on each GameObject containing an audio clip. For most sound effects, the Play On Awake option should not be enabled. I think that option should be disabled default.
To play the sound effect in the game, simply find the location in the script when the sound should activate, then call GameObject.FindGameObjectWithTag(“clip_tag”).audio.Play.
Music
Every game should have at least a few background music tracks. Since I have three states in this game, I decided to create three music tracks. There will be one track for the active game, one track for the win state, and one track for the lose state. There are many different programs that can be used to generate music for games, and my two favorites are GarageBand (for the Mac) and PxTone collage. PxTone collage gives more of an 8-bit music sound, so I decided to use GarageBand for this game. Sometimes when I’m feeling really ambitious, I will do a live recording of my guitar or other musical instruments. I won’t go into the details of creating a musical track here, since that could be an entire post in itself. I’ll just say that once you have your musical track in a file format that can be imported by Unity, the process of adding it to your project is exactly the same as the sound effect files. The only difference is that the Loop option on the GameObject containing the music track should be enabled. Also, the Play On Awake option should be enabled for the music track that should be played when the game is started, or play it yourself in one of the Start methods. Whenever Play is called, make sure that Stop is called on any other music GameObject, otherwise both tracks will play at the same time. Calling Stop on a track that is not playing does no harm, however calling Play on track that is already playing with start the track over from the beginning. To prevent this, simply check the isPlaying audio attribute. I did this when the Reset button is pressed, so that the background music continuously plays when the game is reset. Also, make sure to remove any silent portion at the end of the music clip using a sound editor like Audacity. Use Fade Out to ensure a smooth transition back to the start of the song loop.
Another neat music effect can be achieved by modifying the pitch value. By default, this is set to one, but it can range anywhere from -3 to 3. For my game, I decided to start the game as usual with pitch equal to one. Then, based on the ratio of number of tiles remaining, I increase the pitch until it reaches 1.25. This really gives the feel of urgency as more tiles are revealed. However, increasing the pitch any further would make the music sound too distorted. Since this value is dynamically modified, it must be set back to one after a new game is started.
Fonts
Using the default Arial font in your game is like a flag that marks your game as created by a novice developer. Therefore, don’t use the default Arial font, especially for your title text. Honestly, I now try to stay away from any default Microsoft Windows font. I don’t have anything against those fonts, but when you have the sixty-fourth game on the marketplace using the Motorwerk font, it makes your game look low budget. I don’t endorse any font creator or bundle, but I will say that there are relatively cheap font bundles out there that allow commercial use in games. Although, always be sure to read the license for the particular font that you are using!
Also text related, all titles and menus should be centered as best as possible. When working with GUIText objects, the screen coordinates range from the lower left corner of the screen (0,0) to the upper right corner of the screen (1,1) with the center of the screen at (0.5, 0.5). Make sure the text anchor is set to center as well, otherwise your centered text will appear to be slightly off to the right since it is left anchored by default.
In most cases, your text should have an outline or drop shadow so that it is visible when the background changes to a lighter color. Unfortunately, there is no built-in way to do this in Unity. However, the effect can be created by duplicating the GUIText object. This script will perform this operation, by simply attaching the script to the GameObject containing the GUIText.
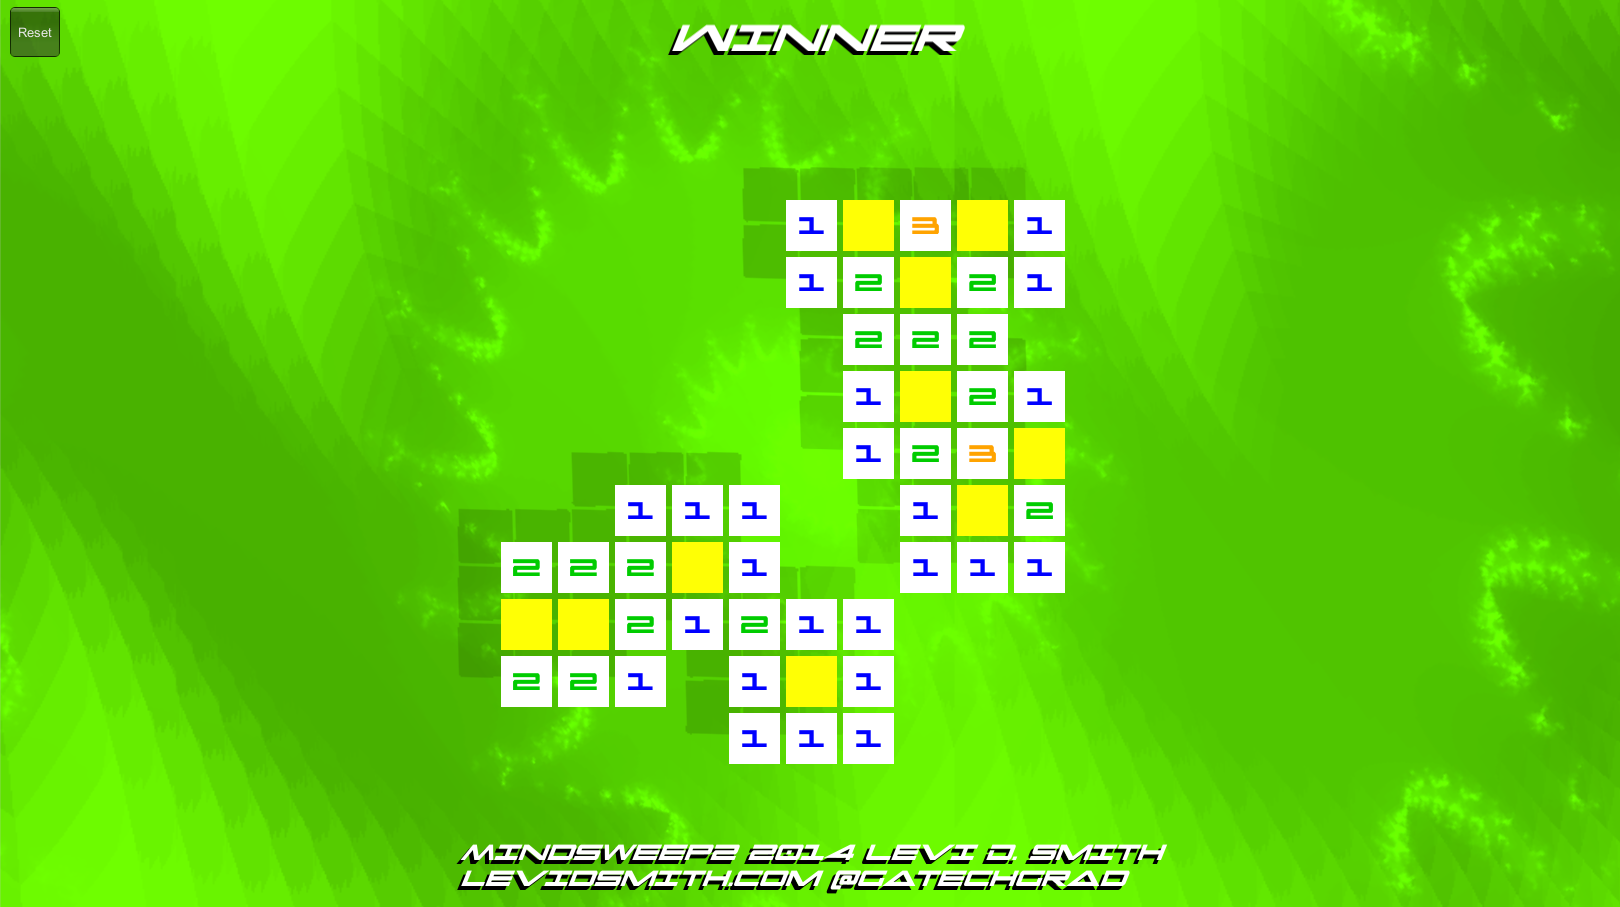
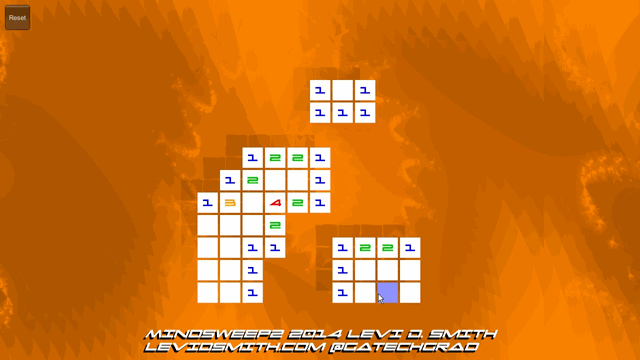
To add to the text appearance, I set each tile number to a color based on its value (1 = blue, 2 = green, 3 = orange, 4+ = red). To add to the effect, I Lerped between the color and a lighter shade, but that effect didn’t look good so I removed it and left the number’s color unchanged. Sometimes there can be too much going on in a scene to the point where it just doesn’t look good.
Screen Transitions
One effect that makes a polished game stand out from an unpolished game is a screen transition. A screen fade can be achieved with a simple script, and there are numerous implementations available. Currently, my game only has one screen, but I added a fade once the game is restarted, so that the switch to the re-initialized screen is not as jarring.
Particles
A particle system in Unity is an object that emits numerous images from a source in a defined pattern and rate. Using particle systems allows the creation of effects such as flames, fog, bubbles, and other fluid and gaseous volumes. Unity has a default particle system which is highly customizable, but it also contains many predefined particle systems which can be imported through the Import Package > Particles menu option.
For this game, I used the default particle system and made it so that all particles are emitted outward from the center. To get this effect, the most important settings are to make the Emission rate something really large (like 10,000) and set the Shape Angle to 90. I also tweaked the color over lifetime so that the particles gradually fade away. I left the particle color as white, and I used the Particles > Additive shader, so that the particles should appear to be the same hue as the background. Unfortunately, particle systems do not destroy themselves after playing, even if they are played only once. To prevent numerous particle system objects from hanging around, a simple script can be attached to the particle system’s gameObject to destroy it after it has played.
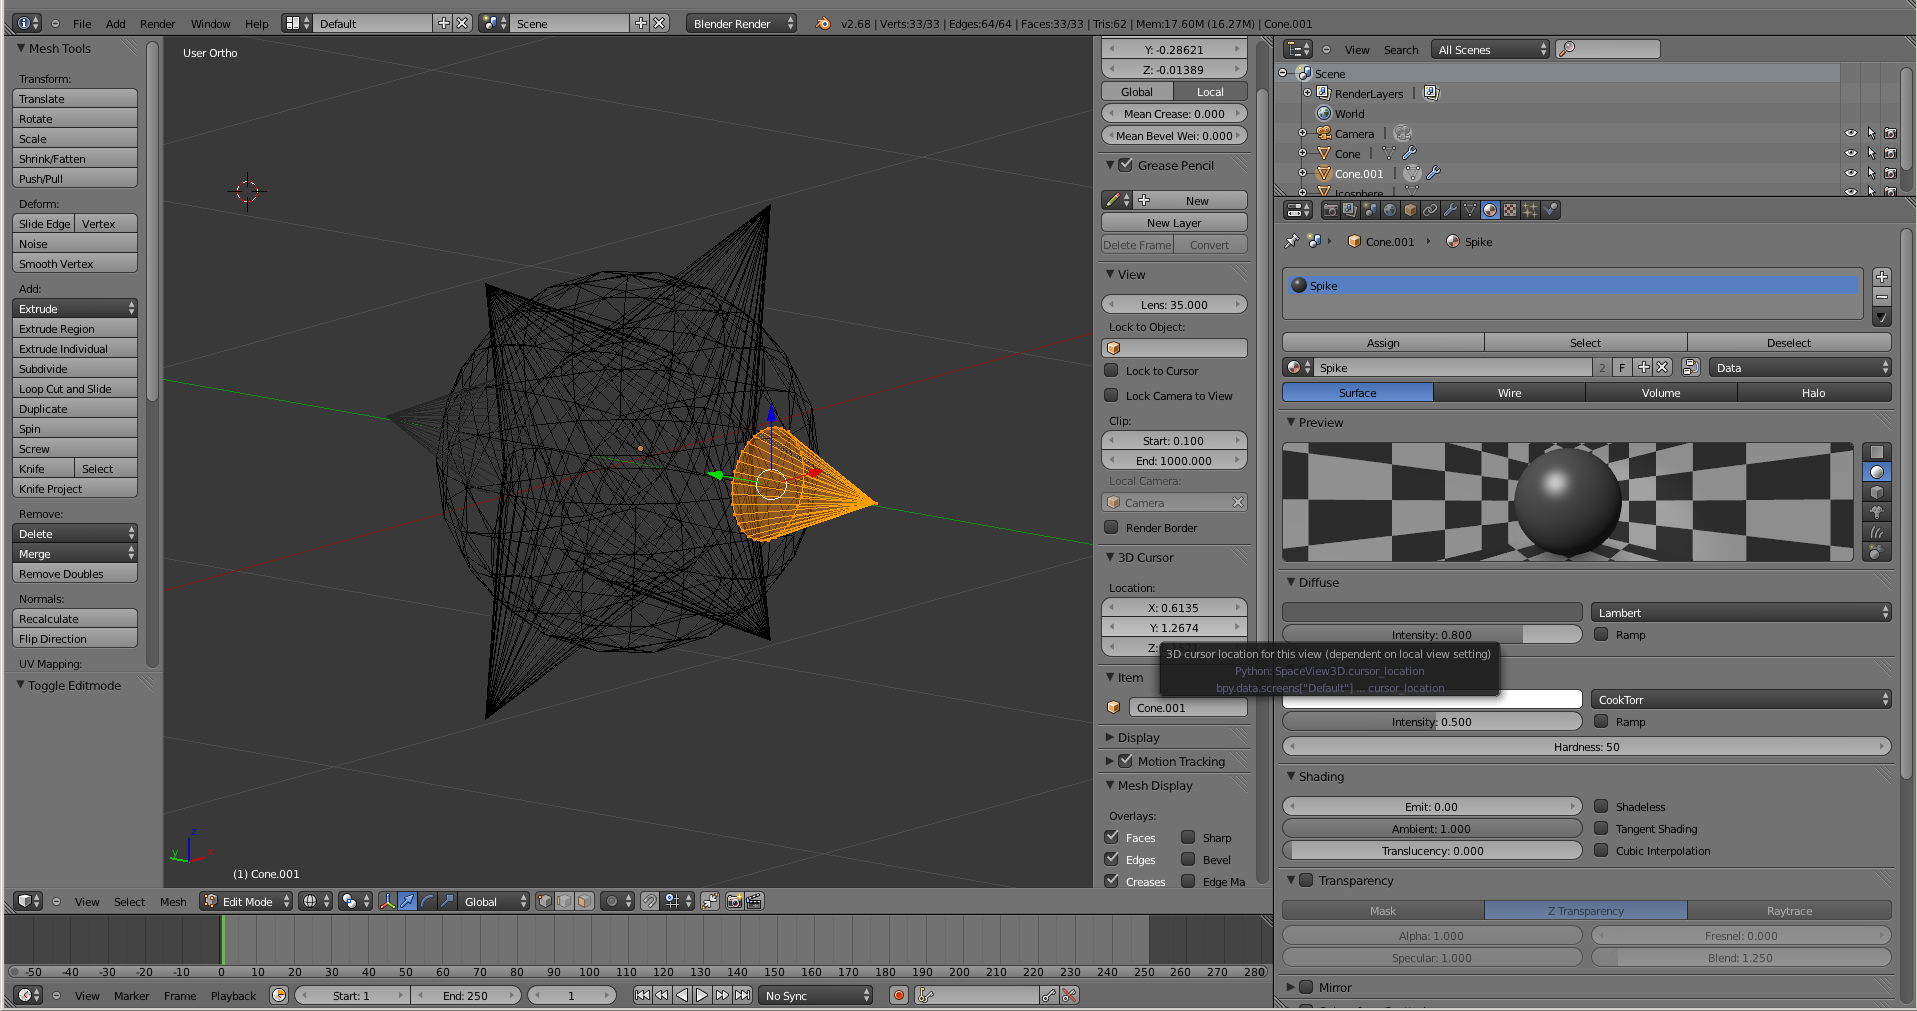
Models and Textures
I won’t go into the process of modeling and texturing here as there are numerous tutorials on the Internet which already cover those topics. I prefer using Blender for modeling, but there are many free and paid modeling programs available. Creating some simple models and texturing them is not overly difficult. For this game, I created a simple mine model in Blender which is a simple ICO Sphere with six cones placed on it. Using the reflection modifier ensures that the cones are evenly spaced. I also created a new tile, which is a simple cube scaled in the z direction with a subdivision surface modifier applied. I also made a simple texture in Gimp, which outlines the title with a light gray color. All of this just took a few hours to complete, and it makes the game look a lot better than having the default Unity cube and sphere meshes.
Adding the new models to the game is accomplished by simply dragging the model files into the project area in Unity. The textures must be manually dragged onto the mesh that is to be textured. For the tiles, I created a public reference to the GameObject containing the mesh in the parent Tile object, that way I can modify the color properties from the Tile script without having to “guess” which child object has the correct MeshRenderer (both the tile model and tile number have MeshRenderers).
Buttons
The default Unity buttons are fairly easy to use and are highly customizable. The button foreground image is passed as a parameter to the GUI.Button method. For the reset button, I used a circular arrow as the button image. The default Unity button background appearance is really plain, and using it in your game is another flag of lazy programming. Set the GUI.skin.button.active.background and GUI.skin.button.normal.background to change the button appearance when it is pressed and released. There is also a hover property as well which can also be assigned a different texture, however this will never be shown on a mobile device because there is not an equivalent to hovering on a mobile device. Your finger is either touching the screen or it isn’t. Therefore, I just set the hover image to my button background image.
Toggles are another GUI component that act much like checkboxes in most GUI libraries. In my game, I will be using a toggle to track whether the user has selected to place a flag. Once the flag has been placed (or the flag button deselected), then the Toggle state will be set back to false. I had to add this Toggle since mobile devices really don’t have an equivalent to a right click. Technically, Unity appears to convert two simultaneous presses at different points as a right click, however the “click” position is the midpoint between the two touch points. The two press method really isn’t practical and it is not intuitive, so I recommend adding button toggles for any action that requires a right click.
Cloth Effects
Another frill that can be added to a game provided by Unity is the cloth effect. This could for example be used as clothing for a character, or in my case I’m using it as the banner of a flag. I simply created a cylinder as a flag pole, a cylinder as a base, two spheres as attachments, and then added the cloth plane. The plane was placed so that it intersects the two attachment spheres, otherwise it would fly off the pole.
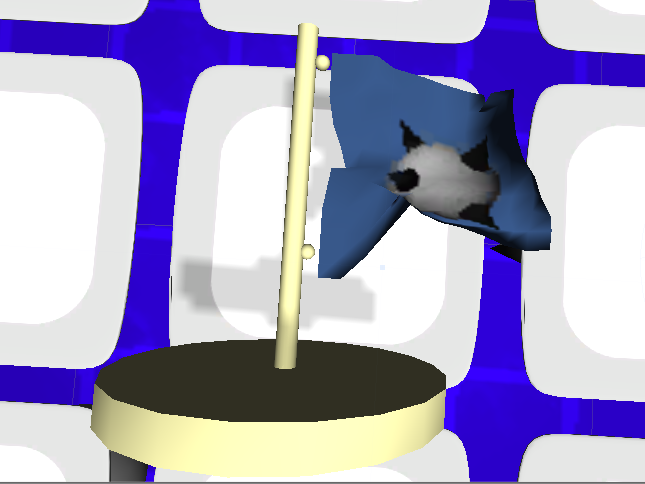
The wind pressure can be modified in the External Acceleration and Random Acceleration settings. Be warned that the cloth effects are very processor intensive, so use it sparingly. For my mobile release, I will probably disable the cloth effects entirely to prevent slowdown in the game.
Copyright
This isn’t necessarily polish related, but I always make a practice to always have my name, year the game was created, my website, and my Twitter handle displayed on the screen at all times. This way if someone takes a screenshot (or uses one of my screenshots), my contact information is contained in that screen. This way everyone knows that I am the creator of the game. This is especially helpful for an “unknown” developer like myself.
While I’m on the subject of names and such, I always use my real name on my games. Not many people will remember a silly studio name, much less the developers in the studio. If I was in a studio, I would make the studio name the last names of the founders, similar to a law firm.
In Conclusion
The resulting product looks much more appealing than the game that I originally developed, but functionally it is the same exact game. The only difference is the appearance. Using some simple polishing methods, I was able to take it from something that looked like a starter game, to a game that looks like it could be published and sold on a digital marketplace.
![]()
![]()
![]()
![]()
Released
One Reply to “MindSweep”
Comments are closed.