Expand-O-Ray Overview
Use the Skiles Bot 5000 to test the Expand-O-Ray, which expands and shrinks objects in the test area. To complete the levels, you must make some blocks bigger to reach new areas and shrink other blocks to pass.
Time-lapse showing the creation of Expand-O-Ray over 48 hours!
Expand-O-Ray Post Mortem
Expand-O-Ray is my seventh Ludum Dare entry. It really doesn’t feel like two years have passed since I participated in my first Ludum Dare back in April 2013. After doing some experimentation with Stencyl and Unreal Engine for previous jam entries, I decided to fall back on Unity this time. Along with the Playmaker addon, it makes creating a game much simpler under time constraints.
On the Friday of the theme announcement, I met with other developers at the Knoxville TechCo. We had a good crowd, and all of the regulars were there (Mike, Dylan, Jeffry, Jacob, and Ruth Ann) as well as two new comers (sorry, I’m bad at remembering names unless I see them written down). I was sort of expecting the theme to be “Edge of the World”, “Grow”, or “Unconventional Weapon”. We all waited for the theme announcement by monitoring IRC and Twitter, and had a fairly lengthy discussion about the current state of indie games. After the theme announcement, my first idea was to make a game where all of the characters are anthropomorphic weapons, but I think I’ve turned themes into characters too many times now. The next idea that came to me on the drive home was having a gun that could expand and contract objects. I don’t subscribe to the theory that you are supposed to write down your first five ideas and throw them out. My games are almost always based on my first or second idea, and I think they usually turn out well.
Later that night, I started working on the base engine. I used a similar layout to my warmup game, Power Panda, but I had to create everything over again from scratch of course. However, I am glad that I created that warmup game, as I avoided some pitfalls when creating my real entry under time constraints. One trick that I learned while creating the warmup game is to create an empty bullet spawn location object that is parented to the player object, which just holds the location in front of the player where the bullet should be created. If you spawn a bullet at the same location as the player, then it will instantly collide with the player and bad things will happen.
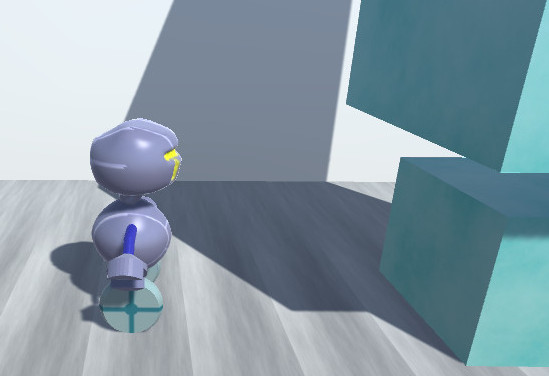
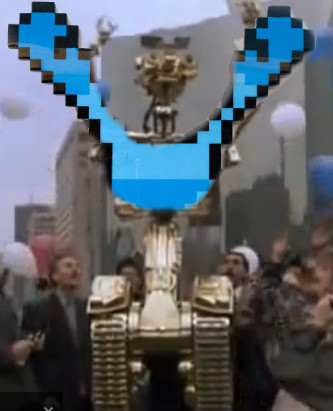
Originally, I had planned for the player to have two guns or rays. One for expanding objects and another for shrinking objects. The player would press a button to switch between the two. This would probably work for a console game, but on the PC I’ve found that players can become easily confused if the game requires using more than the arrow keys and spacebar, even if the controls are displayed on the screen. Using the control key to shoot is really stretching it, so having another key to switch between weapons was out of the question. Therefore, the one projectile can either enlarge or shrink an object. I color coded the enlargeable objects green and the shrinkable objects cyan.
To enlarge an object, I kept a target scale value which is the current scale value plus one. The current scale value is increased at a constant rate until it reaches the target scale. The target scale is clamped so that it will never grow beyond four times the original size. The shrinkable objects use a similar process, except the scale is decreased. One problem with the shrinkable objects is that even if it is scaled down to zero, the player may still not be able to pass since there is an infinitely small box collider still in its place. To resolve this, I added an additional check so that if the scale is zero, then the object is automatically destroyed which completely removes it from the scene. I also considered having an enlarged object slowly retract to it’s original size, since the player could become stuck if an object was enlarged in such a way that it traps the player.
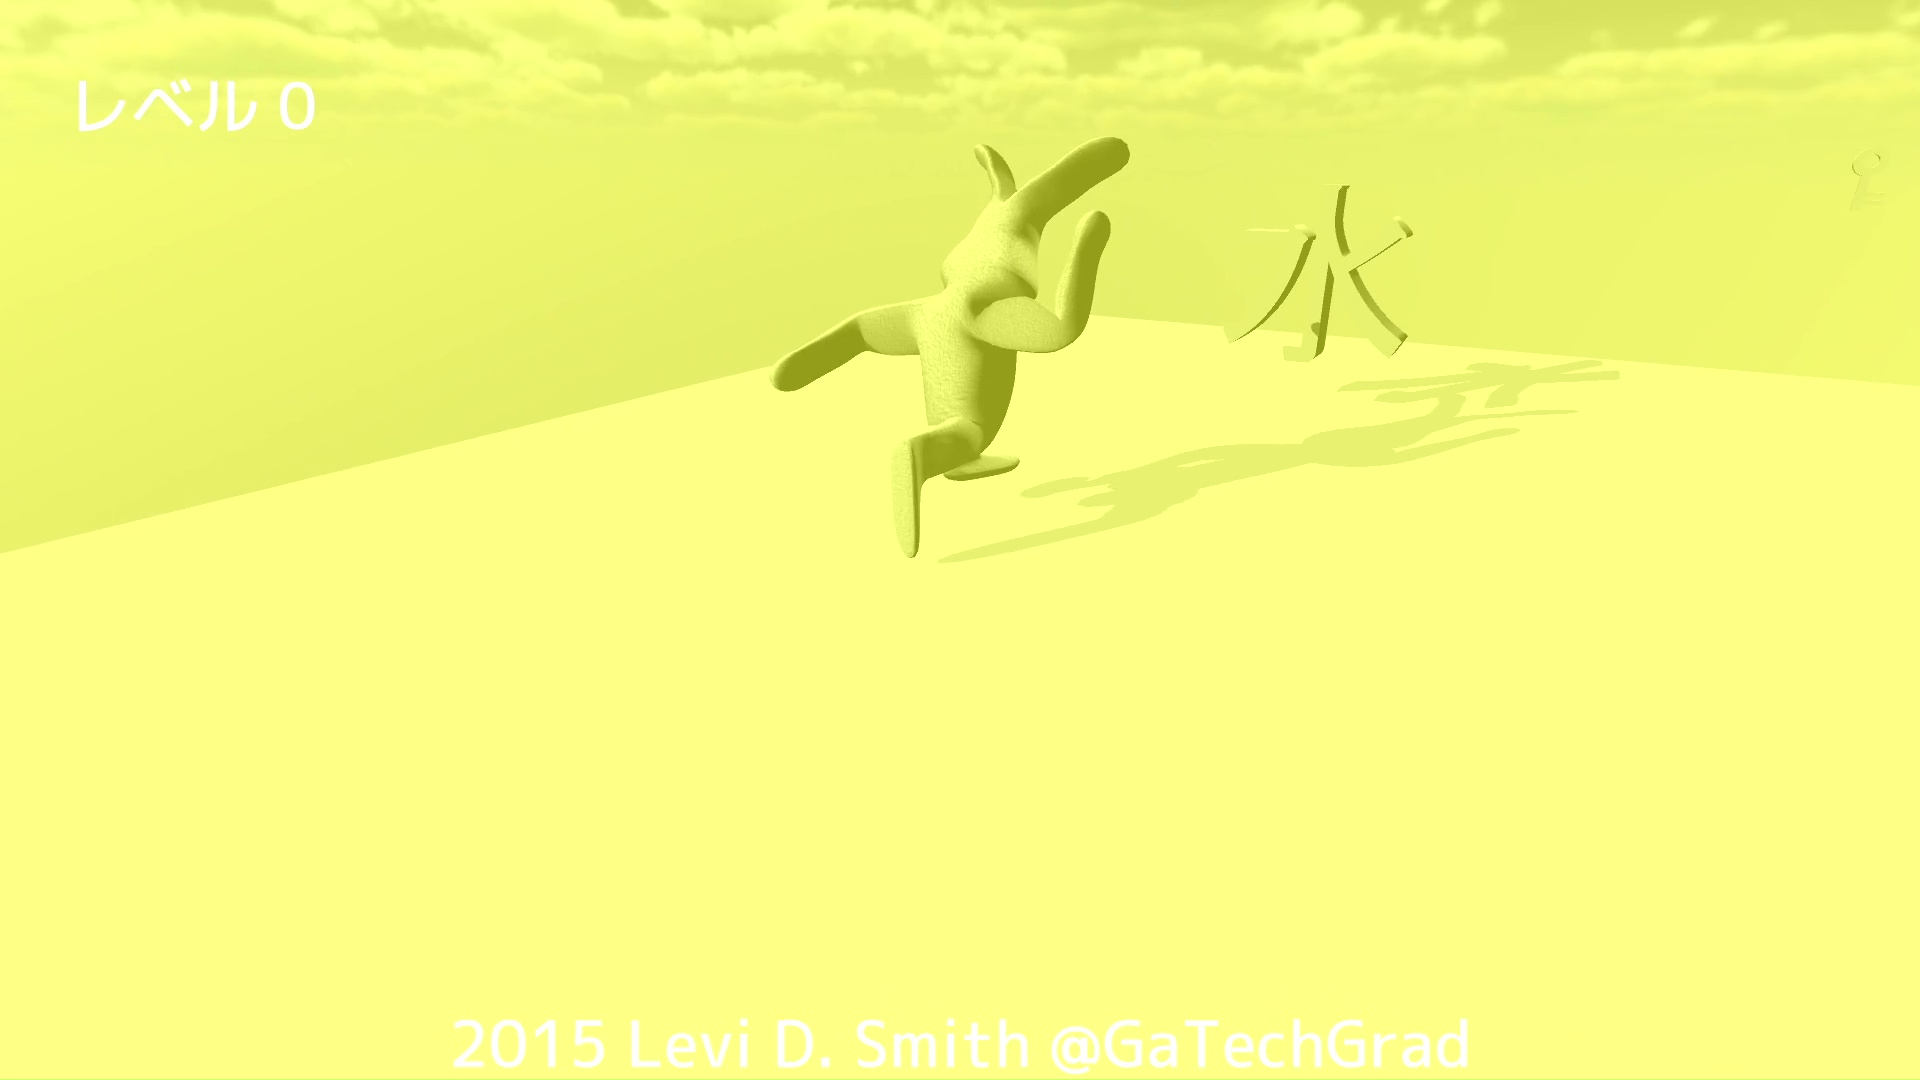
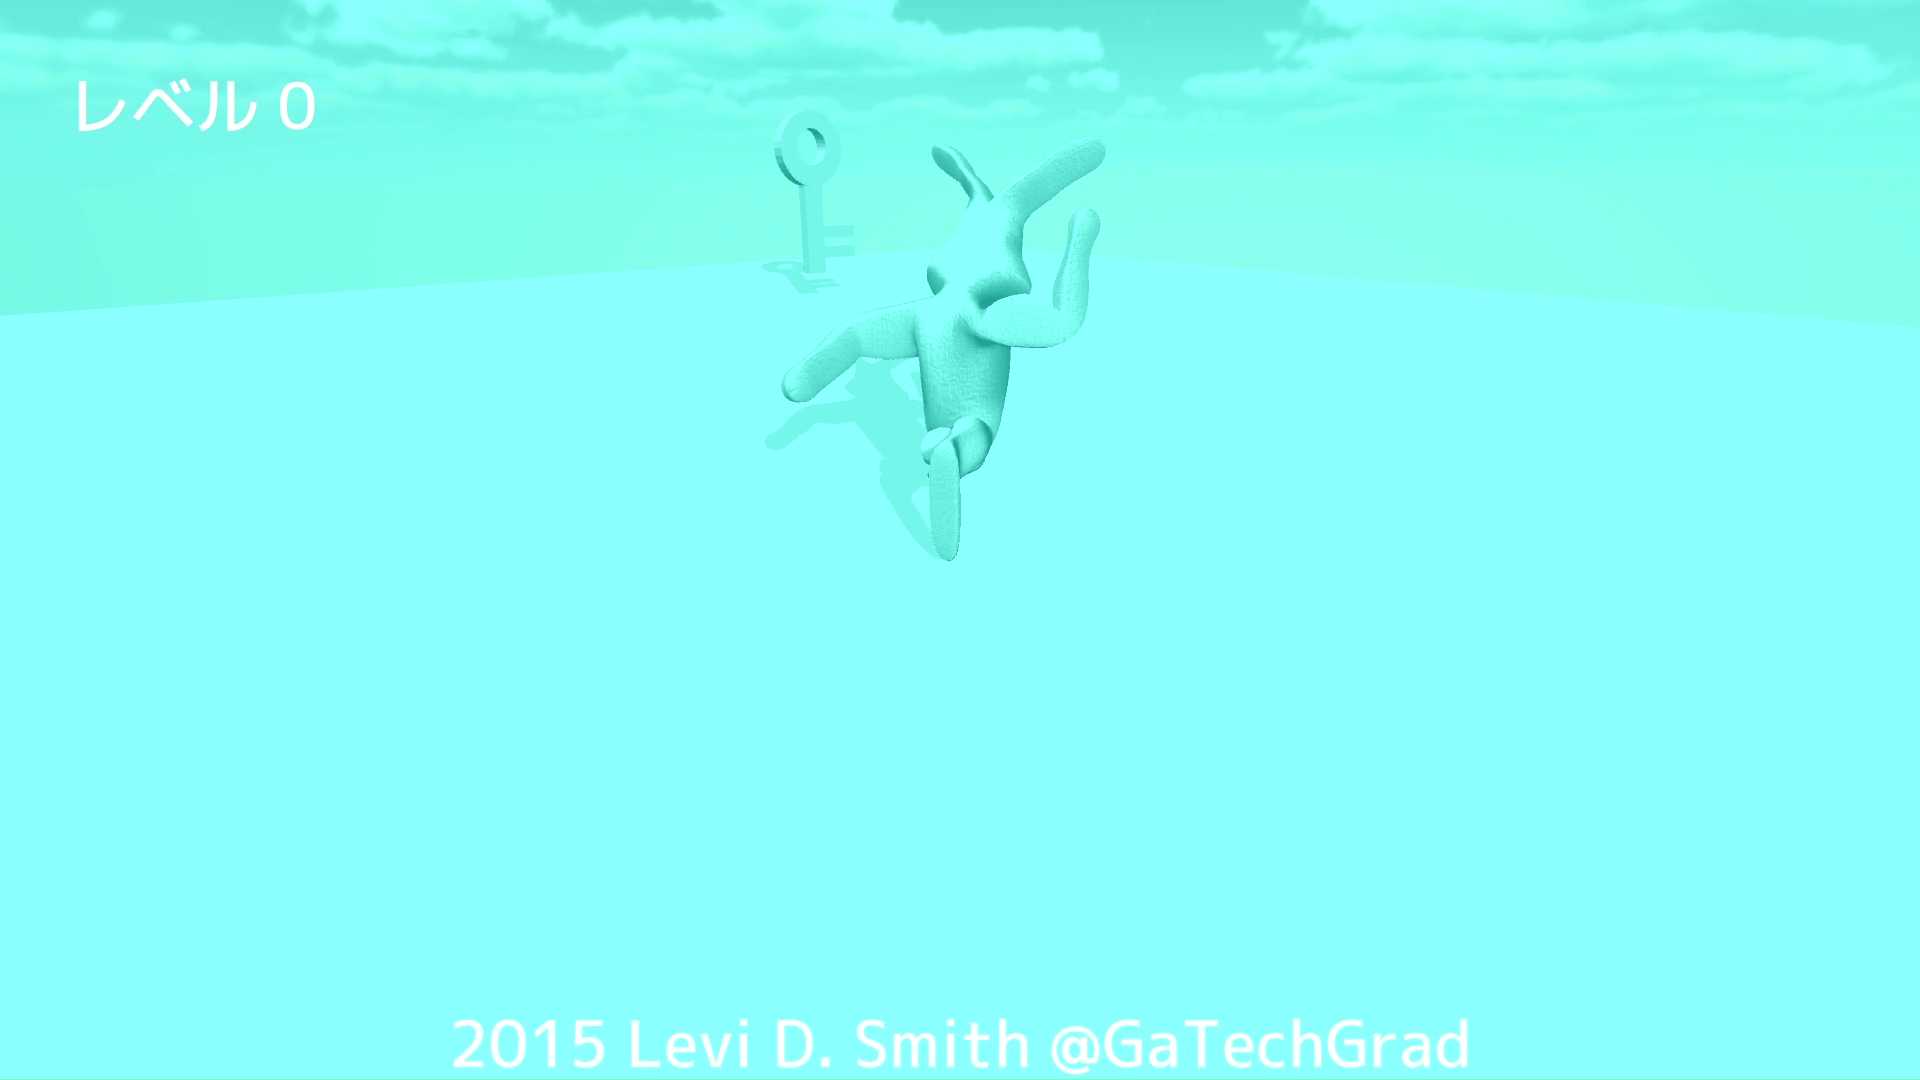
There are a few things that I focused on improving on this entry over my previous ones. I have done voice work for some of my previous games such as Bomb Squad, but the story was always a virtual wall of text that the user had to sit through before starting the game. This time I made a point to have the story unfold while the player is active in the game world. This is a similar approach taken in games such as Bastion, although my narration isn’t as interactive as that game.
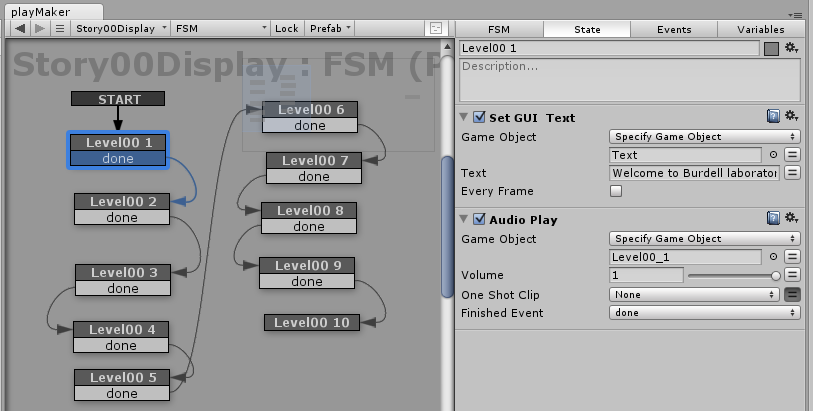
It was easy enough to come up with a simple story in Notepad (did anyone catch the references to my alma mater in the story?), but I wanted to display the text along with the speaking voice. I recorded my voice using my Blue Yeti microphone, and lowered the tone and applied a slight echo using Audacity. I also maxed out the treble modifier twice to make it sound like my voice is being played over an intercom system. The narration for the first level was about a minute long, which I split into ten audio clips with Audacity (one clip for every line displayed on the screen). I created a Playmaker FSM state for each line of text, which played the audio clip and set the corresponding GUIText object at the top of the screen. When the level is completed, the last state transitions to the next level’s state dialogue by responding to the broadcasted level complete event. However, a problem arises when the player completes the level before the narration is complete, so the current level’s monologue continues on into the next level, and the next level’s monologue never starts. Therefore, I created a prefab that contains an object with an FSM for the current level’s monologue. When the player completes the level, that prefab is destroyed, and the prefab for the next level’s monologue is created. It actually works very well, and the voice work is perfectly synchronized with the text on the screen. It seems fairly simple, but only a developer can appreciate the difficulties in implementing something like this. I’m hoping to make this code a little more modular, and then include it in my UnityHelper library.
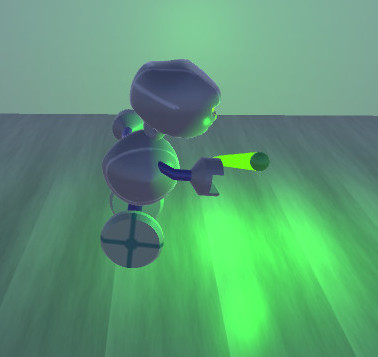
Over the past few weeks, I have been working on my modeling skills by creating a Sculptris a Week on the streak.club site. I started by creating helmet and body for my robot creature which looked pretty good. However, I quickly realized that making cylindrical shapes in Sculptris for the arms and legs was not quite as easy. Therefore, I exported my model to OBJ format and imported it into Blender to add the remanding parts, which were the arms, shaft, and wheels. I think I did my best texture mapping so far for this character. One improvement was learning that I can do a “project from view” in Blender to create the texture map layout, which is imported into Gimp to do the texture drawing. On previous models, I would define seams for the entire model, which is very time consuming and never gives a very good layout anyway. Sure, with the “project from view” technique there is a little stretching on the sides of the model, but I usually don’t put much detail into the sides anyway. Plus, with the extensive time savings, I think it is well worth the trade-off.
For this game, I used my XmlReader script again that I created for my Oiram game and also publicly available in my UnityHelper package that I previously mentioned. It makes creating the level layout very easy by reading the XML level output from a Tiled map. The only catch is that you’ve got to rename your TMX file to TXT and place it in a folder in your Unity project called “Resources”, and then link the text resource to the appropriate TextAsset public object in the Unity inspector. The XmlReader script must be placed on a GameObject (I use an empty one) before it can be called with the “Call Method” action in Playmaker. The XmlReader script defines a GetLevel method, which takes an int as a parameter which is the level number. The script then automatically instantiates the assigned prefab objects in the scene based on the layout defined in the XML generated by Tiled. I also created a LevelManager object, which contains the FSM which handles the loading, clearing, and switching between levels. The level number is kept as an Int variable in the LevelManager FSM.
Moving the character is done by simply storing the Horizontal axis input variable, and then setting the velocity of the player object in the X world direction to the input (-1 to 1) multiplied by a speed constant. Jumping is accomplished in another FSM which waits for input from the “Jump” button (spacebar by default) and then applies a vertical world force to the player object. Another FSM on the player handles playing all of the animations, which were created by modifying the Blender armature using the Dope Sheet and Action Editor. After importing the model into Unity, I used the Legacy setting on the model rig again, since it’s the only way I know how to get animations from Blender to work correctly in Unity. When the absolute value of the player’s horizontal velocity is greater than a specified value, then the running animation is played. Otherwise the standing animation is played. If the absolute value of the player’s vertical velocity is greater than zero, then the jump animation is played. The standing and running animations are looped, but the jumping animation is not. The only problem is that the jump animation played twice, since the vertical velocity is zero at the apex of the jump. Therefore, I had to modify the FSM to only leave the jump animation state once the player has collided with a block. In case anyone didn’t notice, I payed homage to Mega Man and Johnny Number Five in the jump animation. (Yeah, I know nobody under the age of 30 has ever seen the movie Short Circuit). Another rigging issue was that the wheels rotate halfway, but never make a complete rotation. I only set three keyframes in the running animation, which are start (1st frame), mid (15th frame), and end (30th frame), and the start and end frame are the same pose to make looping seamless. When posing the armature, you can only set the rotation of the bone, but it is up to the animation engine to determine the direction to rotate to get to that position. This problem could be resolved in a future update by adding additional keyframes in the animation, which sets the wheel bone at four positions instead of the current two positions, which would force the animation engine to rotate the bone in a complete turn.
One problem that I wasn’t able to resolve is that if the player holds down a movement key while jumping, then the player will cling to the wall. That is normal in some games such as the original Ninja Gaiden, but I didn’t intend on having it work that way for this game. It could be resolved by setting the velocity to zero if the player is jumping and collides into a block, and disallow horizontal input until the player has touched the ground.
On the afternoon of the first day, I took my MacBook Pro to the local Chick-Fil-A and composed the music for the game using GarageBand. I set a basic rhythm using some synth instruments and added a beat using the drum kits. The main melody alternates between two instruments. For the title screen theme, I just took the first few measures, dropped the beat, and cut the tempo in about half.
For the sound effects, I used BFXR again using the basic jump and shoot generators. For the expand object sound effect, I used a powerup sound. When I first added the expand sound, the sound finished much sooner than the time that it took for the object to finish the expansion process (one second). Therefore, I imported the expand sound into Audacity to lengthen the sound effect to match the same amount of time that it takes for the object to fully expand. The shrink sound is the same sound effect, just with the “Reverse” modifier applied in Audacity.
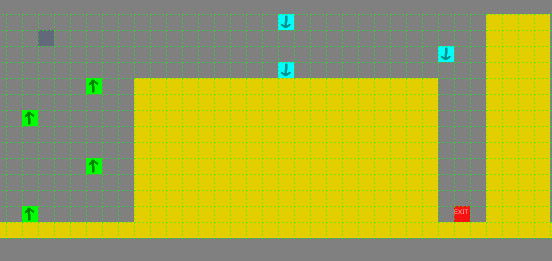
The level design was created completely in Tiled, which basically creates a 2D 14×200 array. I liked keeping the player’s movement restricted to the XY plane to give it the feel of a classic platformer. There are four objects which are the ordinary block which make up the bulk of the level, the expanding blocks, the shrinking blocks, and the exit. I created six levels for the game, which take about a minute or less to complete each. When the player touches the exit object, then the LevelManager transitions to the next level by deleting all of the prefabs, resets the player’s location, increments the level number, and then loads the next level from the XML definition for the room. The first level is an introduction to the game, which only requires the player to jump to reach the exit. The next level is the introduction to expanding objects, which requires the player to expand two blocks to reach the exit. The third level introduces shrinking blocks, so the player has to shrink a few blocks to reach the exit. The remaining levels contain a mixture of expanding and shrinking blocks. The level design isn’t perfect, and it’s probably the one thing that I should have spent a little more time developing. The old school platforming NES games like Metroid are an example of great level design, because those games seemed to always know exactly how high to make a platform to keep it out of reach until the player has performed the correct task to proceed.
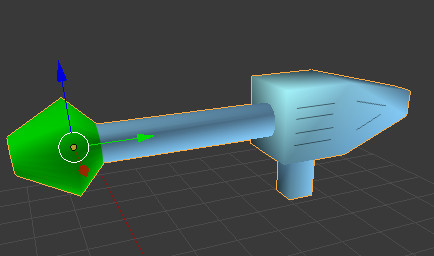
The one planned task that I wasn’t able to complete was adding the gun model. I actually made a decent looking gun in Blender and texture mapped it. The problem is that the gun mesh was a separate object, so I could not attach it to the arm bone so that it follows the arm when animated. I could have merged the gun mesh with the robot mesh, but then I would have had to texture map the entire model again, which didn’t seem like it was worth the effort. I’ve saved the gun mesh in a separate Blender file, so I’m hoping to eventually learn how to apply more than one mesh object to a Blender armature. If I can figure out how to do that, then I could add multiple guns with different mesh structures, which can be switched by the player by enabling and disabling each of the gun meshes. I also had a shoot animation, but I didn’t get it added in the player animation FSM, as it didn’t transition back to the correct animation after the shoot animation completed.
Before the deadline, I added a few special effects to make my game look a little better. The projectile had a tail renderer which looked okay, but I added a green point light to the projectile which really made the projectile stand out against the environment. Originally, the Exit prefab was just a cube, so I made a cylinder in Blender and texture mapped it with a texture that I created in Gimp by adding some random RGB noise and applying the Pixelate blur effect. Then I created a layer mask and added a vertical linear transparent gradient. This makes the cylinder look more transparent at the top and opaque at the bottom. Then in Playmaker I added a simple continuous rotate action, which rotates 180 degrees in a second. I also added a red point light near the top of the exit area. Finally, I added a small particle system which simulates a puff of smoke whenever the player jumps. This was achieved by setting the emission shape to circle, rotating it so that it is flat on the XZ plane, and making sure that prewarm is selected.
Another big time saver was creating shortcuts to my project directory in Blender and Gimp. In past games it seems like I would spend a considerable amount of time just navigating the directory tree just to get to my project folder. I also got in the practice of saving my models, textures, and sound assets directly to the appropriate folder in the project directory. Again, in the past I would waste valuable time saving to a “raw” folder, and then importing the assets by dragging them into Unity. That was a redundant step which definitely got tiresome after doing it for each and every asset. I also wrote a Ruby script which copies my Tiled TMX file to the Resources directory and renames it to TXT, as required by the Unity TextAsset. It is important to keep the original TMX in case changes to the level design need to be made later.
If I decide to develop this game further, there are a few things that I believe I can do to make it into a full retail game. First, I would need to develop more levels. I could add additional obstacles and traps such as spikes, so that the player would have to enlarge objects to make a bridge over them. Shooting would feel better if the player could aim the gun in any direction, instead of just left and right. I would have a variety of objects that could be expanded and shrunk instead of just cubes. I could make some gravity puzzles so that the player has to shrink a block to let objects fall to complete a puzzle. Enemies would also make the game more exciting, but I would want to come up with interesting ways of defeating them, instead of just shrinking them with the shrink ray. I also thought about having the blocks expand and shrink in different directions to make platforms, instead of just expanding on all three planes. It would also be interesting to have moving platforms. New guns could be added to the game with different functions such as freezing time. If I felt really ambitious, I could connect all of the rooms together and turn it into a Metroid-vania style game.
I’ve got to give a big thanks to Splazer Productions and Juipter Hadley for taking the time to do playthrough videos for many of my games. I would definitely recommend subscribing to both of their YouTube channels. Plus, they don’t resort to profanity, cursing, or potty humor in their videos in an attempt to sound cool like other game casters.
I don’t think my game will do very well in the ratings, since it isn’t a 2D platformer using pixel art and pixelated blood splatters. I really don’t care, because I’m proud that I made something that I think is unique and looks cool. My game will never be on a major console, unless the “powers that be” decide to open up their systems for all developers. However, I think developing this game was a better way to spend a weekend than sitting in front of the television playing a rehashed game from one of the so-called “Triple A” monolithic game development companies.
ありがとうございます!私のゲームを楽しむ!
![]()
![]()
Released