Tax Tag and Title

New Title Logo

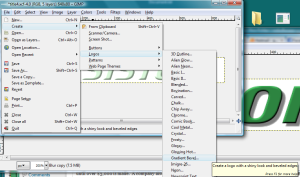
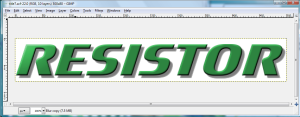
After wasting about an hour trying to follow a Gimp tutorial to make a 3D text logo, I ended up using Gimp’s default  bevel logo creator.  The results are just as good as the 20 step tutorial I was using, and it was done in about 2 minutes.  I went ahead and made separate layers for each letter in the title.  I exported each layer as a separate PNG image, that way I can apply special effects with each individual letter.  I also kept each letter image at the full size of the title text.  It is a little wasteful, but eliminates the need to do calculations in the code to place each letter.  I just put each image at the location where the title needs to go, and it should look fine since everything but the letter is transparent.  Hopefully, this won’t have an impact on performance, and it’s just a title screen so high frame rate isn’t essential.


New Title Background

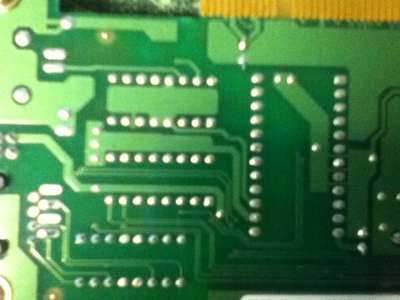
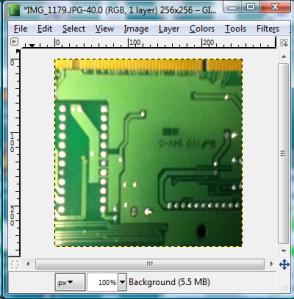
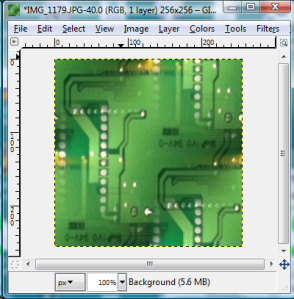
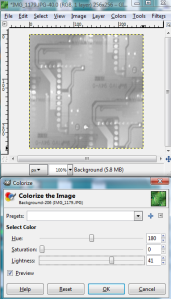
Used the image of one of my old computer boards, and shrunk it down to a 256×256 pixel square.  Then I used the Make Seamless filter in Gimp, which is found under the Map menu.  Then, I made the image grayscale and lighter by using the Colorize option and setting the saturation to zero.


The new graphics were then imported into the project.  I added a variable to track which letters should be displayed on the screen, and a constant to track the amount of frames between displaying letters.  Currently, the letters just pop-in, but I would like to add a zoom in or other method of displaying the letters later.  I added a variable to track the offset of the scrolling background image.  I simply created two loops to display the background image, setting it off vertically by the number of pixels in the offset, which makes it scroll.  Finally, I created a gradient that is filled with light green at the bottom, and gradually transitions to a transparent color.  I overlap this on top of the scrolling background image, to make it appear as if the background is fading away.  Well, it doesn’t appear that way to me because I know how it’s implemented, but I think it should appear as fading away to the untrained eye.

One problem now is that the title screen looks considerably different than the rest of the game.  The title screen has realistic images and rendered text, while the rest of the game looks like it could have been created in Microsoft Paint.  This is really apparent on the level select screen which still has the old title logo.  I may have to use Blender to render some of the components to make those look more realistic as well.

So until I create another update video, I won’t be able to show off the scrolling effects.   This picture will have to do for now.

The Game Biz

Began reading up on what needs to be done to publish the game, if I want to make money off of it.  One question I also have is if I need to create an LLC or other form of company to sell the game.  I read on one site that a company is not required until over $3,000 is made.  A company also helps protect the individual from being sued directly, if that unfortunately happens.  Taxes would also be paid through the company instead of my personal income, which may help in the long run if the company does not make much money.

Week 3 Wrap-Up

(The capture format was set to FLV in XSplit (instead of MP4) with the highest recording quality (20), but there is still some initial distortion in the video after it was loaded to YouTube)

Touch Up Work in Audacity

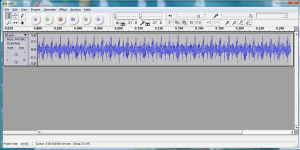
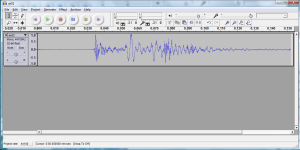
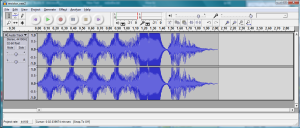
Touched up the sound effects in Audacity, to give them the appropriate lengths to be used in the game.  For the buzzer, I trimmed down the hair clipper sound effect to 0.25 seconds.  Not sure why, but I wasn’t able to find a crop function in Audacity.  Therefore, I just had to select the portion of the clip I want to use, copy, then paste it in a new Audacity window.  Next I started looking for a sound to use for the main menu.  The buzzers and rings were too harsh of a sound, so I loaded up my shaken Pepto Bismol sound effect.  After cropping out everything except for one shake of the bottle, I realized that this makes a great menu selection sound.  It actually sounds like muddy boots on a wooden walkway.  For the wire filling sound, I slimmed down the running water clip.  The original sound is a little harsh, so I raised the pitch by 265.  The ice sounds were a little flat, so I increased the speed by 200.  It now sounded like an old fashioned money changer.  With this new sound, I added 2 seconds of silence at the end, and then applied the echo effect (delay 0.5 seconds, decay 0.5).  The spoons sounded good without any modification except for cropping out the rest of the noise.  I’ll use this as either a menu sound or a rank display sound.  The spoon hitting the glass made a good sound, but there was a lot of background static noise in the sound capture.  I used Audacity’s noise removal tool to fix it, but it seems to have raised the pitch of the sound as well.  It still sounded okay, so I’ll probably use that as the sound when an LED is lit.  The CO meter made a nice beeping sound, but it was really loud so I used the normalize effect.  I’m not sure where I will use this sound, but I’ll go ahead and import it into the project for now.  This gives me a total of eight sound effects, which should be enough to get me started.


Apparently, the volume of the MediaPlayer object uses a value between 0 and 1, and I incorrectly assumed that it was 0 to 100.  For some reason, the sound when it is played on the PC is much louder than it is on the XBox.  Maybe the XBox (or my television) has sound normalization so it isn’t loud like on the PC.  Setting the MediaPlayer volume to 0.1 makes it sound about right on the PC, which I believe is one tenth of the volume.  I will have to test it on the XBox later to see if that makes it too low to hear on the console.  If it does, then I may have to write some platform specific code to handle the differences between the PC and console.

Ran into a bit of an issue with playing sound effects.  In order to play a sound effect, the current screen must have a handle to the MediaPlayer object, which is only available in the main ResistorGame class.  I don’t want to have to pass a MediaPlayer object to each function on each screen that may want to play a sound effect.  I think I’ll make the sound effects like the screen transition, where the screen will implement a public method which will report whether or not the screen needs a sound effect played.  Then the Resistor game class will query that method on each update, and then play any sound effect that is requested to be played.  I usually don’t write code this way, but I think it may make things cleaner in the end, especially if I decide to write a media handler class.  I created a method called getRequestedSoundEffect in the Screen class and added a protected instance variable called iSoundEffect.  If the ResistorGame calls that method and it returns a value greater than -1, then it will play the sound effect at that index in the sound effect array.  Thefore, any of the subclassed Screen just have to set the iSoundEffect variable to any of the sound effect constants defined in the ResistorGame class.  Amazingly, this worked perfectly the first time that I tested it.  I also discovered that MediaPlayer is not required for playing SoundEffect objects (Songs objects only), but it was good that I implemented it this way, otherwise I would have the same problem with passing the sound effect array around to all of the screens.  Just calling the Play method on the SoundEffect object itself will play the sound.  One drawback is that only one sound effect can be played for each update call, otherwise the previous sound effect(s) ID assigned to the iSoundEffect variable will be lost.  This may be a good thing, because there shouldn’t be too many sounds playing at the same time.  Once scenario that I can imagine is if two LEDs are lit at exactly the same time.  Just playing the sound effect once should be sufficient.

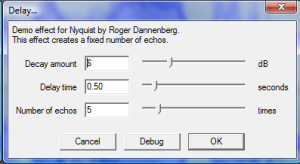
Using Audacity and a short tutorial from eHow, I was able to record my voice for the title screen which I gave a repeating robotic sound.  First, I used the Repeat Effect on the start of the audio clip.  Then I used the Delay Effect with Decay=10, Delay=0.01, and Echos=20.  I repeated that effect about 6 times.  I also made audio clips for “level complete”, “game over”, “S”, “A”, “B”, “C” and applied the same effects.


Level Selection Modification

I may have messed up by making the LevelDefinition instance a member of the GameLevel class instead of the ResistorGame class.  The ResistorGame class needs to pass the maximum number of levels to the LevelSelectScreen class.  The maximum number of levels is defined in the LevelDefinition object, so it has to get a reference of that object from GameLevelScreen which is a little messy.  I may have to rework this later.

Sound Effects Added to Game

After updating the game code, I now have sound effects for menu movement, menu selection, wire begins filling, light filled, and light busted.  I had to add an additional variable to keep track of light filled, since this property was never actually tracked.  I added that check to the game win check, since it was already looping through the lights on the board, so if the number of lit lights is greater than the number of lit lights on the previous check, then the lit sound effect is played.  I was happy with all the sound effects, except for the electricity one (originally water running from the faucet).  It still sounded to static-like, and it started to give me a headache after awhile.  Therefore, I replaced it with the phaser sound that I made (also from the water running) which has a much smoother sound.  I also had the Pepto Bismol sound (now named SE_PLOP in the constants) play on each menu movement and the spoon sound (SE_SPOON) played on the selection.  This didn’t sound right because the SE_PLOP was longer than SE_SPOON, so I just switched out the occurrences of those two sounds, which makes it sound much better.  The lit light and light busted sound effects sound great.  I may need some delay or an animation when a light is busted, because the light busted sound effect plays through the game over screen.

Special Cases

While playing the game, I noticed a special case that may need to be handled.  If a wire is placed next to two (or more) filled wires (or other pieces), I believe it just takes the Elex value of the first one in the if/elseif statement.  I should calculate the highest of all the neighbors, and assign the new wire the highest value of all the adjacent pieces.

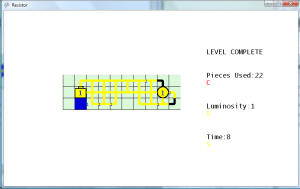
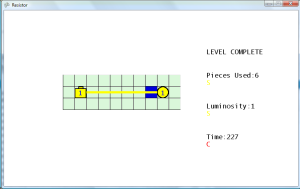
Another thing that had been bothering me is that I thought that the time statistic was proportional to the pieces used statistic, which would make it somewhat redundant.  However, through testing I found that it is possible to get a S rank in time and a C rank in pieces by quickly spamming wire pieces.  This is a good thing, which prevents someone from getting the best possible grade by quickly spamming pieces.  The inverse is also true, where someone can get an S rank in pieces but a C rank in time.  Just take a long time laying down the pieces in the shortest path.


Amateur Foley Artist

Gathering Sound Effects

Now is a good time for me to start gathering sound effects for the game.  I could have went to one of the sites that offer free creative commons sounds effects and downloaded what I needed there, but one has to be careful to read the license for each sound effect to ensure that it is covered by a creative commons license that allows it to be included in a work that is sold for profit.  Right now, I’m just creating this game for the contest, but if the game is popular I would be willing to sell copies of it for money (sorry RMS).  I’m trying to make the development of this game as open as possible without sharing the source code, because I believe I read once that sharing source is not allowed by XBox Indie games.  I also didn’t want to make another credits screen, which would be filled up with URLs with links to sounds effects.

My iPod Touch was used for recording all of the sound effects as voice memos.  The sound quality isn’t the best, but it does the job.  I wouldn’t mind going back later and recapturing the sounds using a high quality recording system.  Using a tip that I found on the Internet, I was able to export all of the sound effects through iTunes directly into WAV (MP3 was also an option) so I can edit the sound effects in Audacity.  To change iTunes to export as WAV (default is AAC which is useless), there is a setting under Import CD that must be changed.

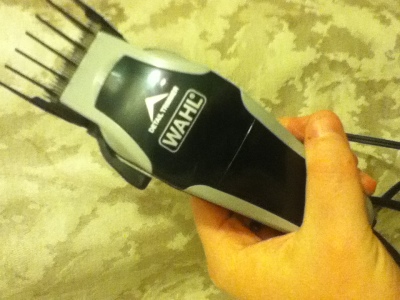
Now is the fun part of capturing sounds.  My clippers and hair trimmers were used to make buzzing sounds.  These can be used for error sounds.
 

Running water at full pressure almost sounds like electricity.  I doubt anyone would notice the difference, unless they read this post.  Futher modifications in Audacity will also give it a more electric sound.  This will probably be a constant sound that plays as wires are filling.   I think Audacity has an option for making an audio file seamless, so it can be looped multiple times without any breaks in the audio.

 

Ice makes a nice chrunching and breaking sound, without all the mess of breaking a real glass.  This will probably be the sound when an LED breaks.  I know it should probably be a burn out for fizzling sound, but I think the breaking sound will be more dramatic.


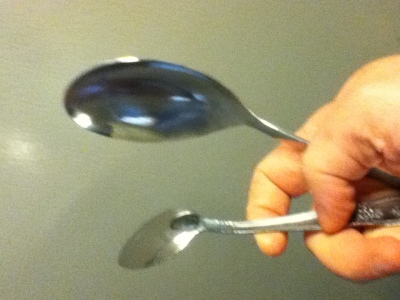
Two spoons were used to make a nice ringing sound.  The spoon hitting the glass makes a longer vibrating ringing sound.  These will probably be used as a confirmation sound effects.
   

A drawer slamming makes a good sound, which can be used for a cancel event.
 

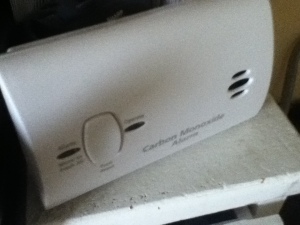
The test on this CO detector makes a nice beeping sound.  I could imagine that sound being used as the ranks at the end of the level are displayed.
 

I’m not sure if this will make the final cut of sound effects in the game, but a shaken Pepto Bismol bottle makes a great liquid type sound.  I’ll probably find some way of working it in the game.

Background Images

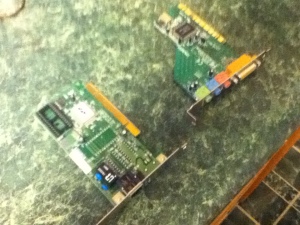
While I was at it, I went ahead and used my iPod Touch to take picutres of an old sound card and network card that I had in storage.  After some touching up in Gimp, these should make great background images.
 

Minor Graphics and Input Fixes

Set the default cursor position for the level to 5,5 because it really bugged me that the cursor starts off the board on the first level in the upper left corner.  It also minimizes the distance that the cursor must move from the starting position to any other space.  The position of the game board has also been centered on the screen (SCREENWIDTH – (iTotalCols * CELL_SIZE)) / 2, (SCREENHEIGHT – (iTotalRows * CELL_SIZE)) / 2 = (640 – (10 * 32)) / 2, (480 – (10 *32)) / 2.  This is a very helpful formula that I’ve used for centering objects in many games.  Fortunately, I already defined a board offset variable as a Vector2, so I just needed to add that formula to that offset variable.

By simply adding one line of code, I was able to disable the ability to place a piece on a empty space.  I still allow the player to move the cursor to empty spaces, primarily due to the fact that the starting position of the cursor (5,5) may be in an empty space.  This happens on level 4 (donut level) where there is empty space in the middle of the board.

Fixed the resistor graphics so that it can be superimposed over the default wire images.  Increased the maximum pieces to 10 (1 + 9 resistors).  Now all resistors are selectable.  The currently selected piece has a red background.  Later, I will probably make only certain resistors available on each level.  For example, there’s really no point in having a 9 resistor on a level where the maximum battery and LED value is 2.  The selected piece can now be changed by using the left and right bumpers.

Now displaying the selectable pieces at the top of the screen, but I’ve got to be careful that it isn’t cut off on the television screen.  I think I remember reading that 20% of each side of the screen image is not displayed on the television.  Added right/left bumper pressed/released abstract methods to the Screen class, which made me implement it in all the Screen subclasses.  Added methods to increment and decrement the selected piece, which is called by the action button (X) press and the bumper button presses.


Fixed the GamePieceResistor class so that the Elex value can’t be lowered below zero.  LEDs can be activated with a zero value wire, but it won’t add any points to the total luminosity score at the end of the level.

Made minor modification to the level 3 board, so that the last two LEDs are placed further back on the game board.

The Level Select screen now takes the player to the selected level once the confirm button is pressed.

Changed the cancel button to set the selected piece to the wire (index 0).  The Back button now takes the player back to the main menu.  The Back button will probably be disabled, after I create a Pause menu.

Noticed an issue on the XBox 360 that doesn’t happen when running the game through the PC.  If I set the MediaPlayer sound to zero (for mute), then it must be set back to 100 for sound to play through the XBox again.  Just commenting out the line that set the sound volume to zero will still keep the sound muted.

Went through and manually played the five levels that I have so far, and used my score for the S ranks.  I just created values for the A, B, and C ranks, which seemed appropriate.  All these values are stored in arrays in the LevelDefinition class.  I updated the getPieceRank, getLuminosityRank, and getTimeRank methods to return the appropriate values based on the current level.  Forgot that I was passing the time as milliseconds, which took a little while to debug.  Dividing the time value by 1000 before passing it to the getTimeRank method fixed that problem.

Changed the message from “YOU WIN” to “LEVEL COMPLETE” after completing a level.

Removed the fill frame number from currently filling cells.